Fixing Macintosh SE FDHD
This is Professor omzn, specializing in vintage Mac restoration.
Even when left unpowered and merely displayed, my old Macs continue to steadily deteriorate.
Last December, when I powered up my Macintosh SE FDHD after a long absence, it spat out an error screen during boot. The hard drive was making abnormal noises… Has it finally gone…?
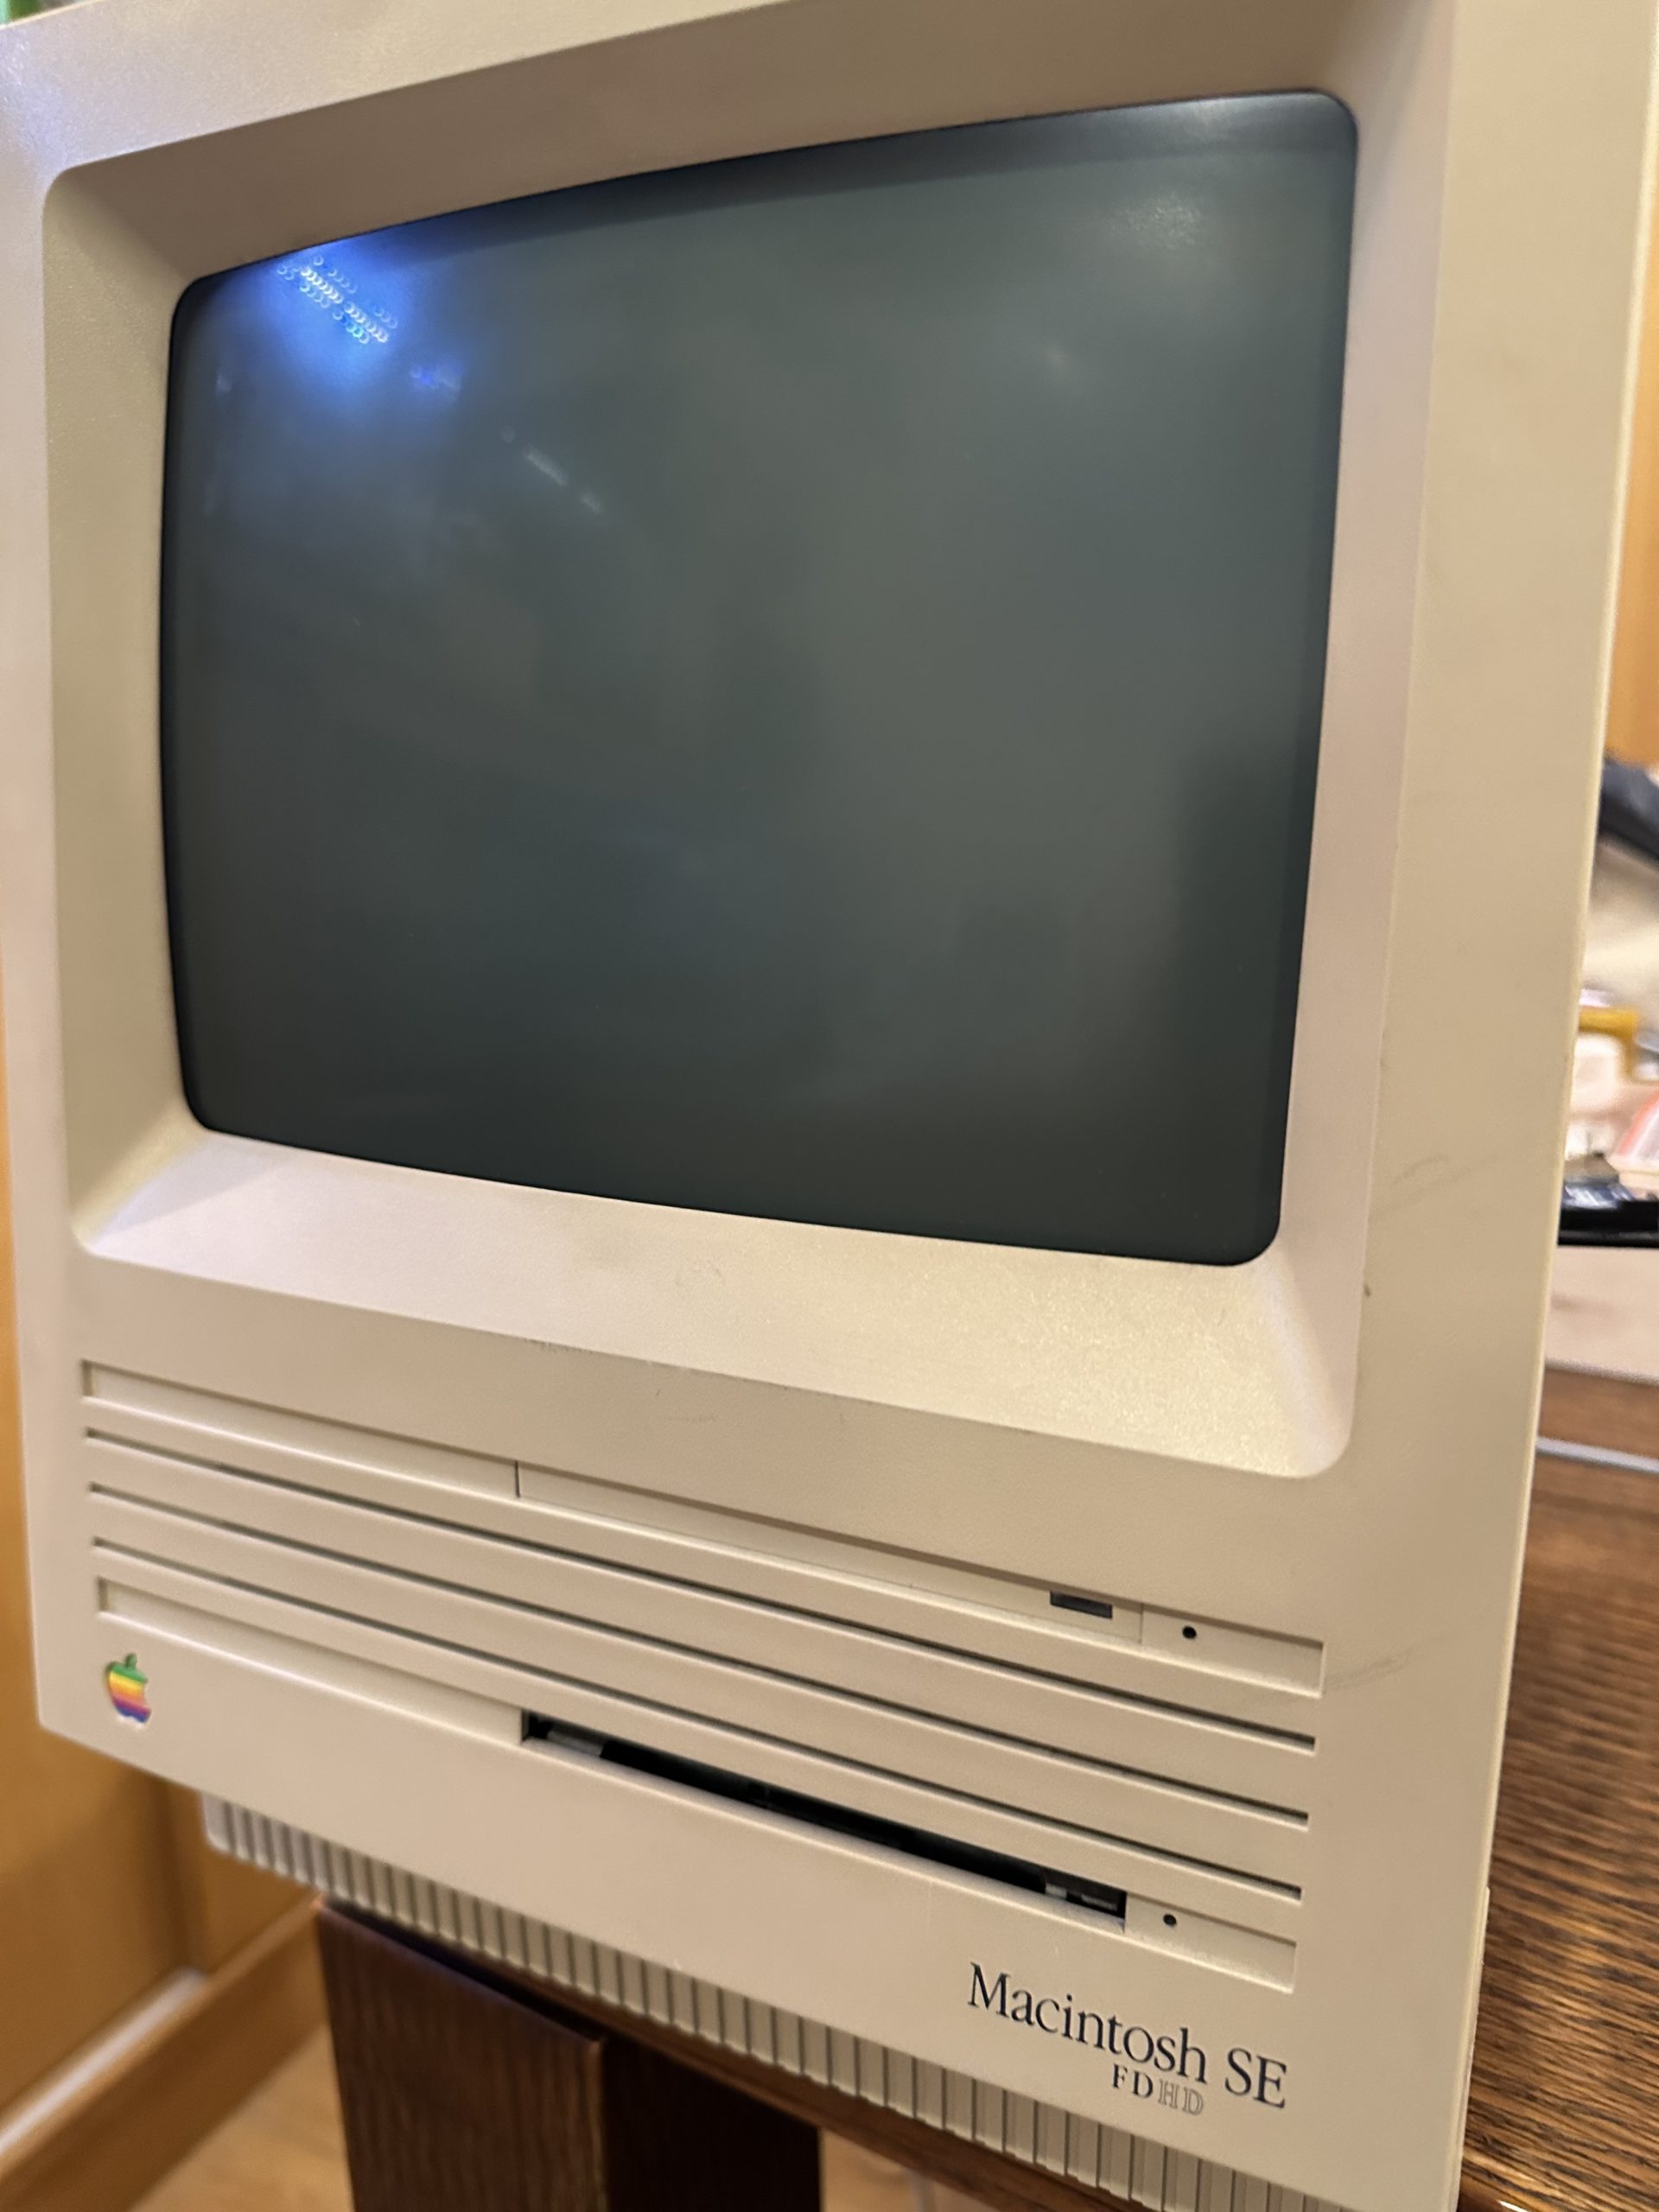
Basic specifications of the Macintosh SE FDHD:
- Launched: August 1989
- CPU: Motorola 68000 @ 8 MHz
- Memory: 4 MB
- HDD: 20 MB SCSI
- FDD: 1.4 MB
The 68000 was a CPU that competed directly with Intel’s 80286 in its era.
From a modern perspective, the CPU is roughly 1,000 times more powerful, memory capacity is 1,000 times greater, and HDD storage capacity has increased by 100,000 to 1,000,000 times…
For reference, the Macintosh SE was released in March 1987 with only a floppy drive. The OS was even booted directly from this floppy drive.
The SE FDHD introduced an HDD expansion option – a name that shows absolutely zero sense of design sensibility. Later models like the SE/30, which featured a 68030 CPU, became massively successful.
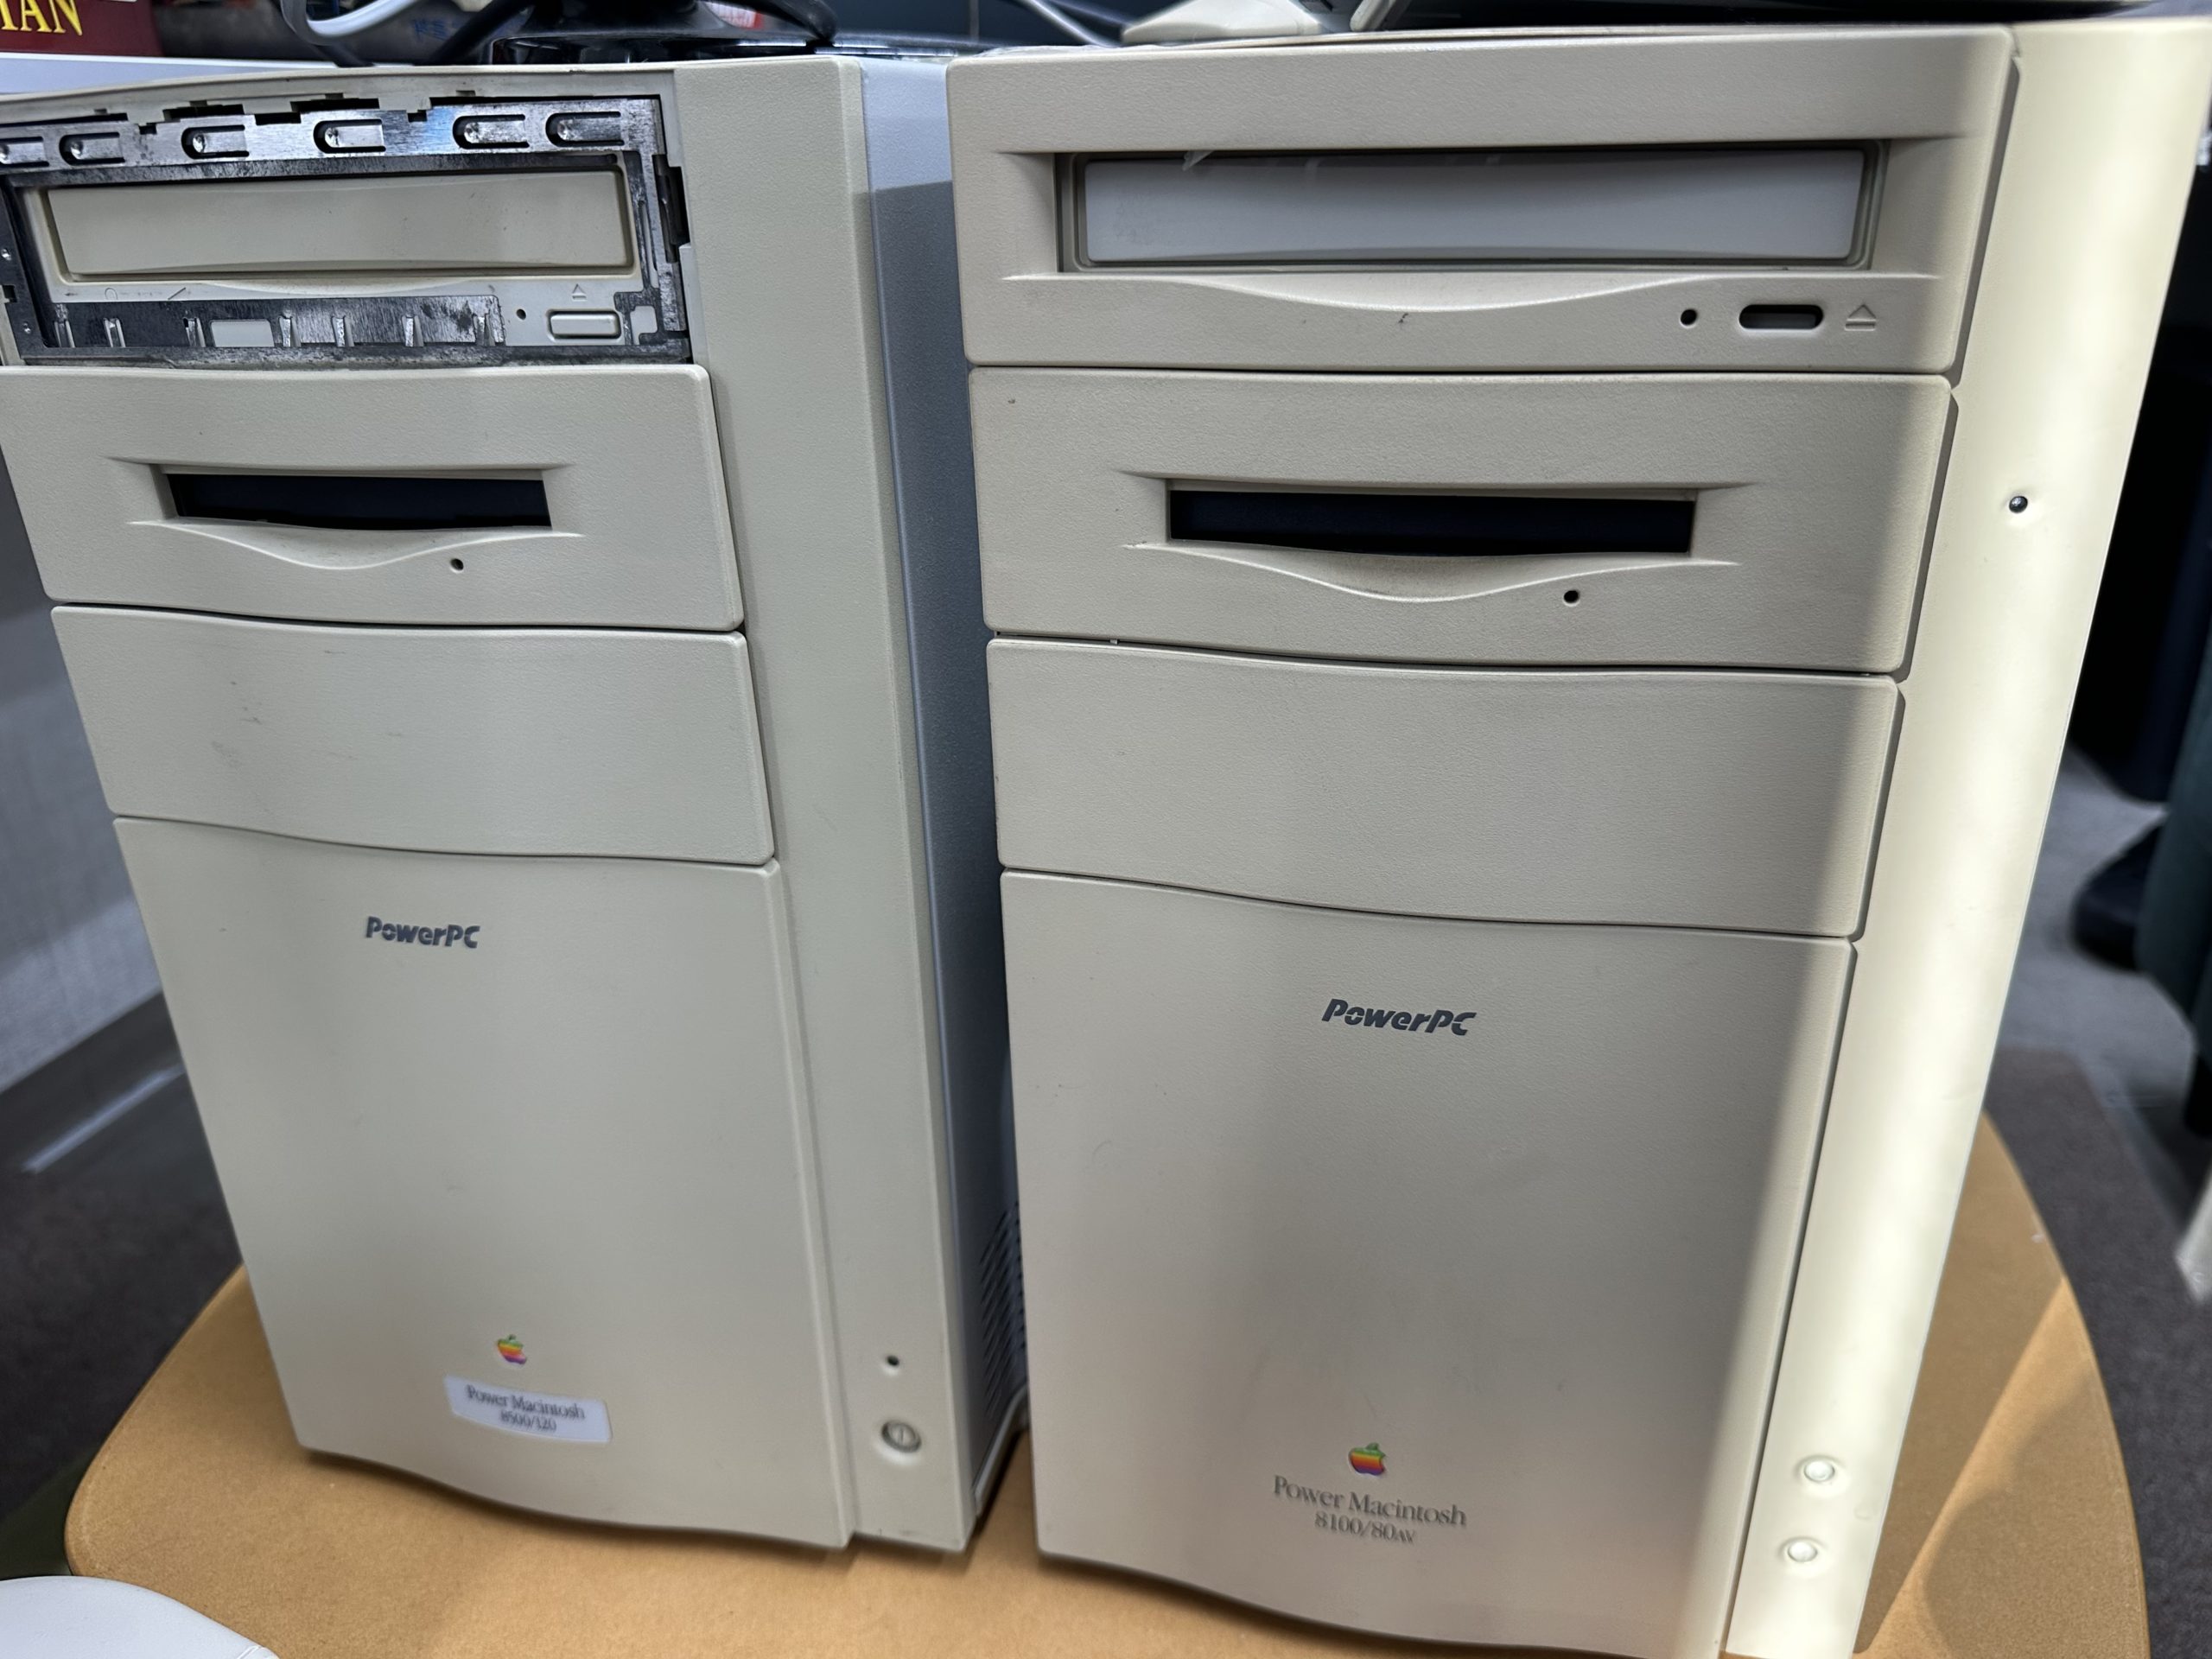
Older Mac models (pre-Power Mac G3) used SCSI hard drives.
SCSI was a convenient standard that could accommodate up to seven devices on a single bus, but eventually faded in favor of cheaper IDE (ATA) connections. Moving on, I began disassembling the SE to extract the HDD.
Opening the back required a long-handled Torx bit, which took me several days to acquire.
After removing the screws, I found that a tool called a “Mac opener” would make removing the back panel easier, but after brief research, I discovered it wasn’t available for sale, so I settled for opening it with a flathead screwdriver.
The exposed CRT tube gives me quite a fright.

The CRT’s display settings can be adjusted from the side. The focus was slightly blurry, and the image was shrinking vertically and horizontally – with some adjustment, the picture became crystal clear.

The HDD has been successfully removed. What a massive unit… What exactly is that stepping motor-like component?
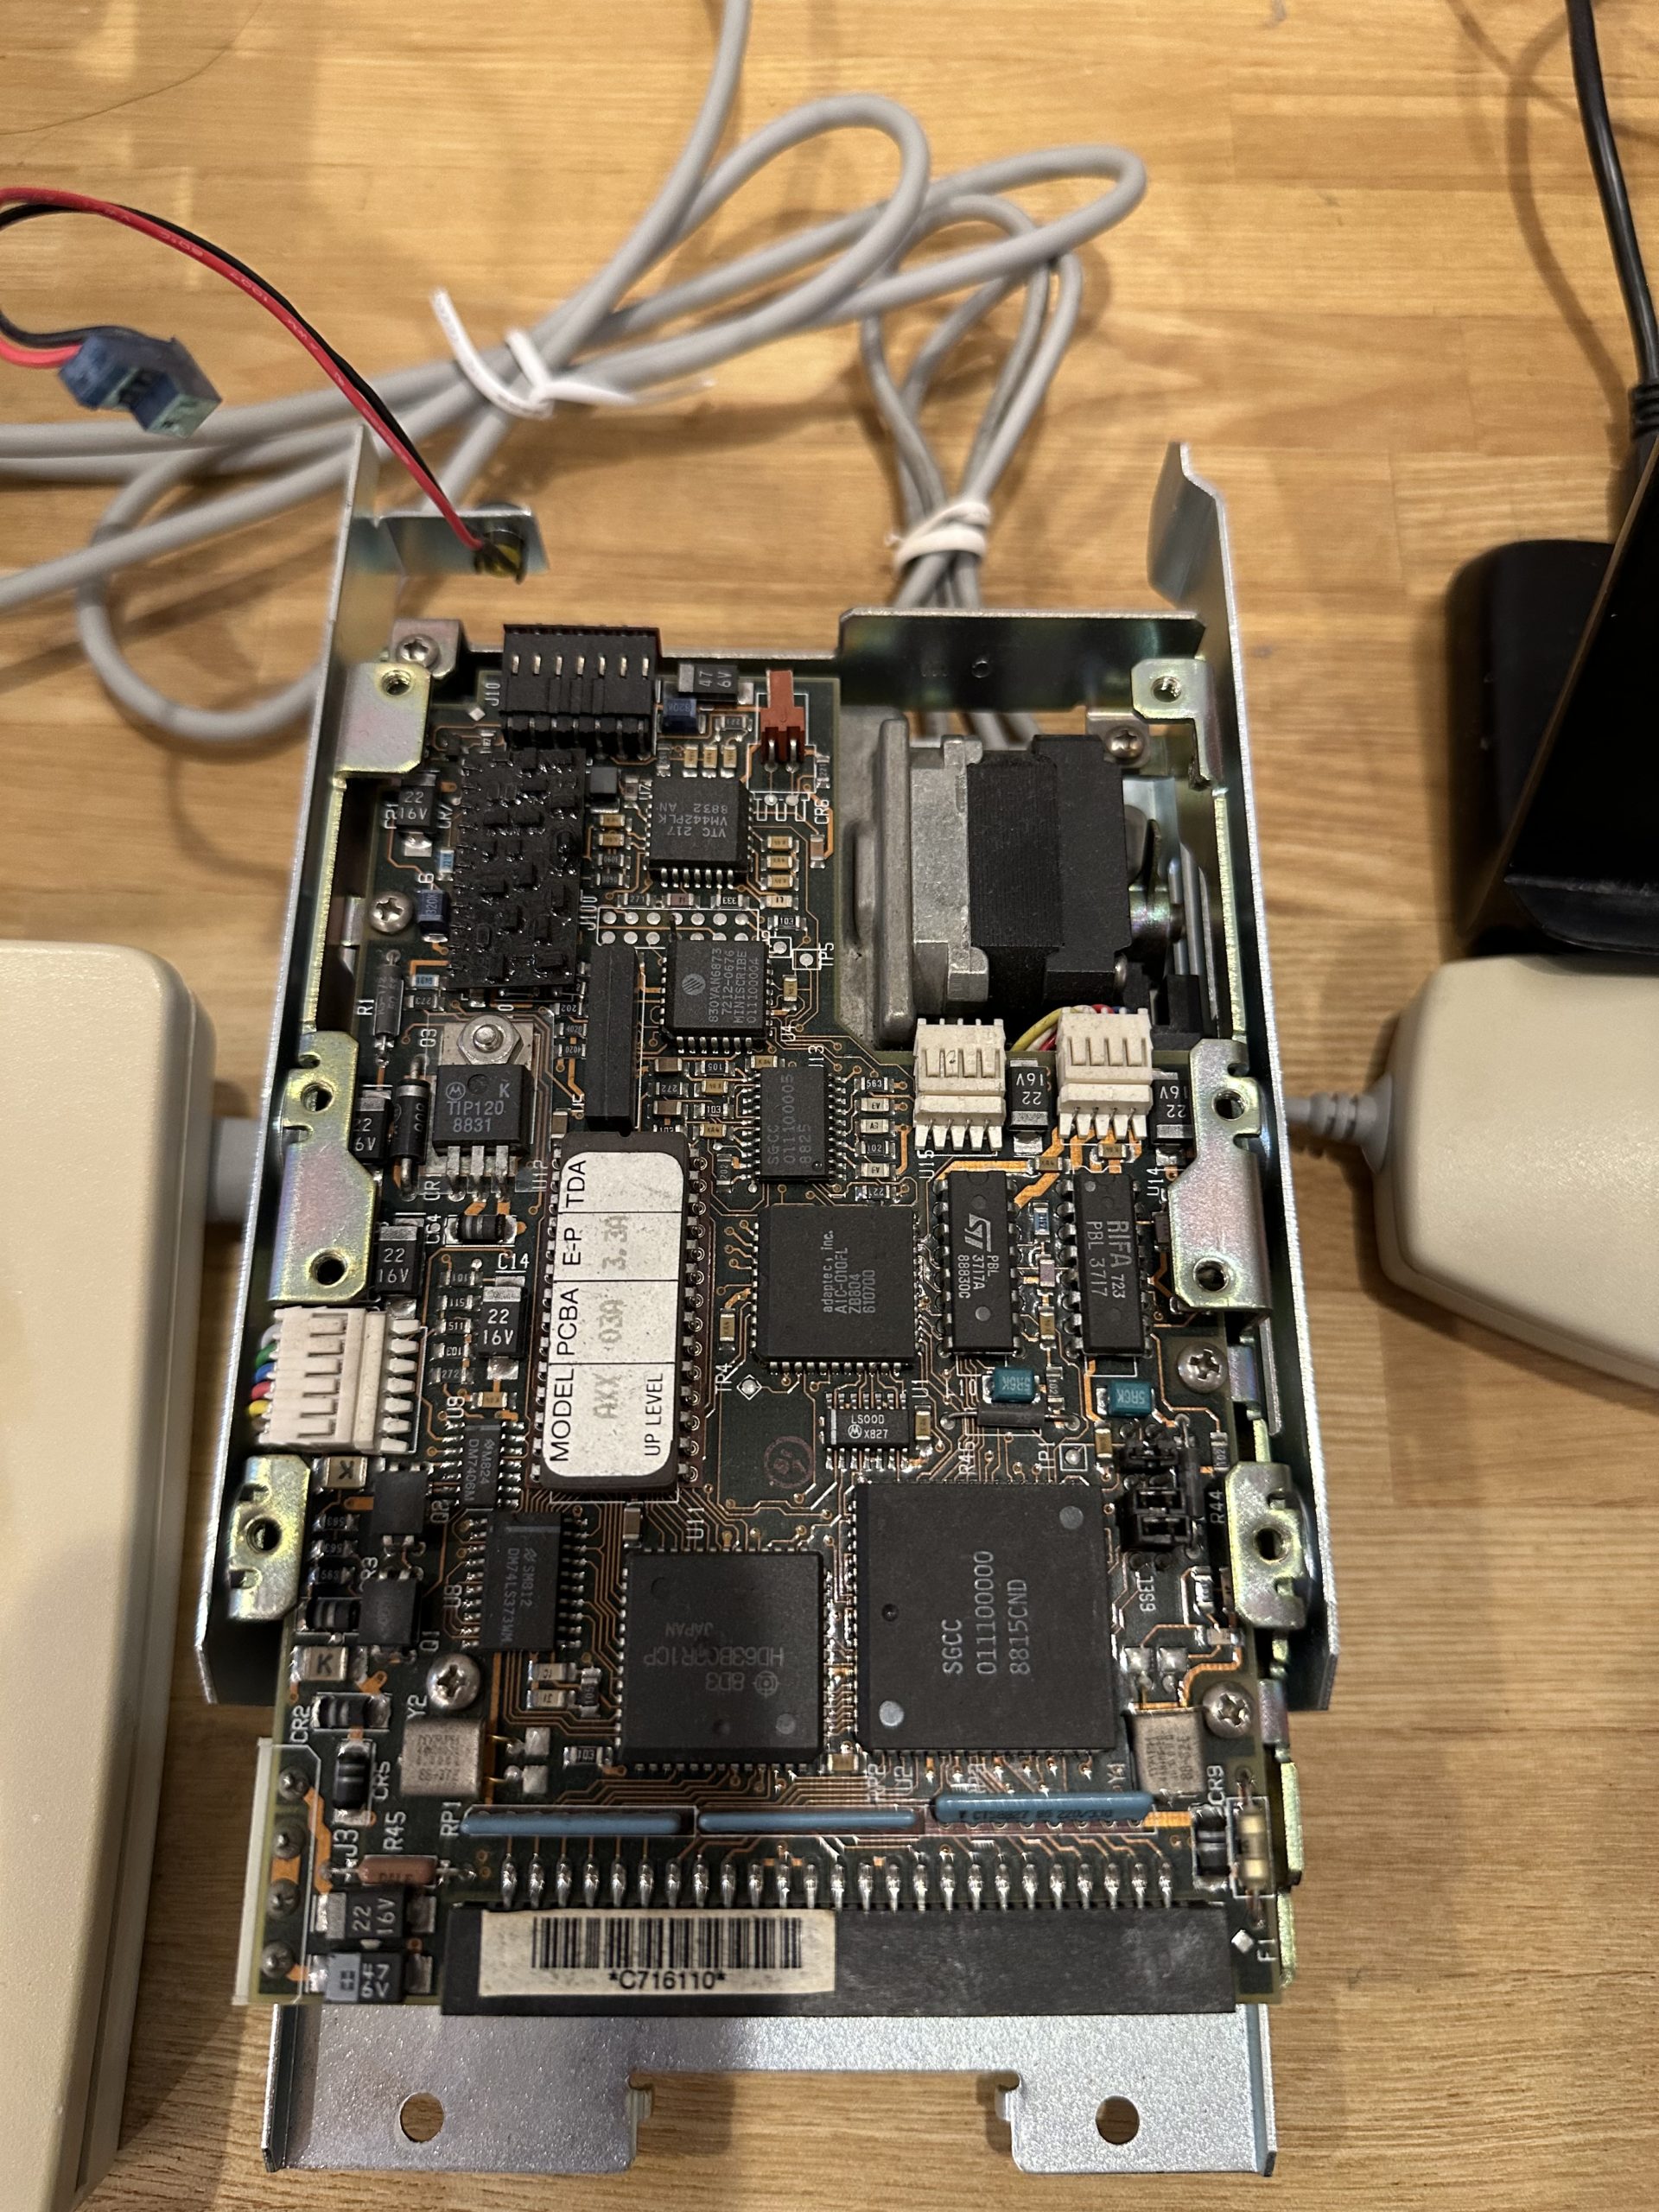
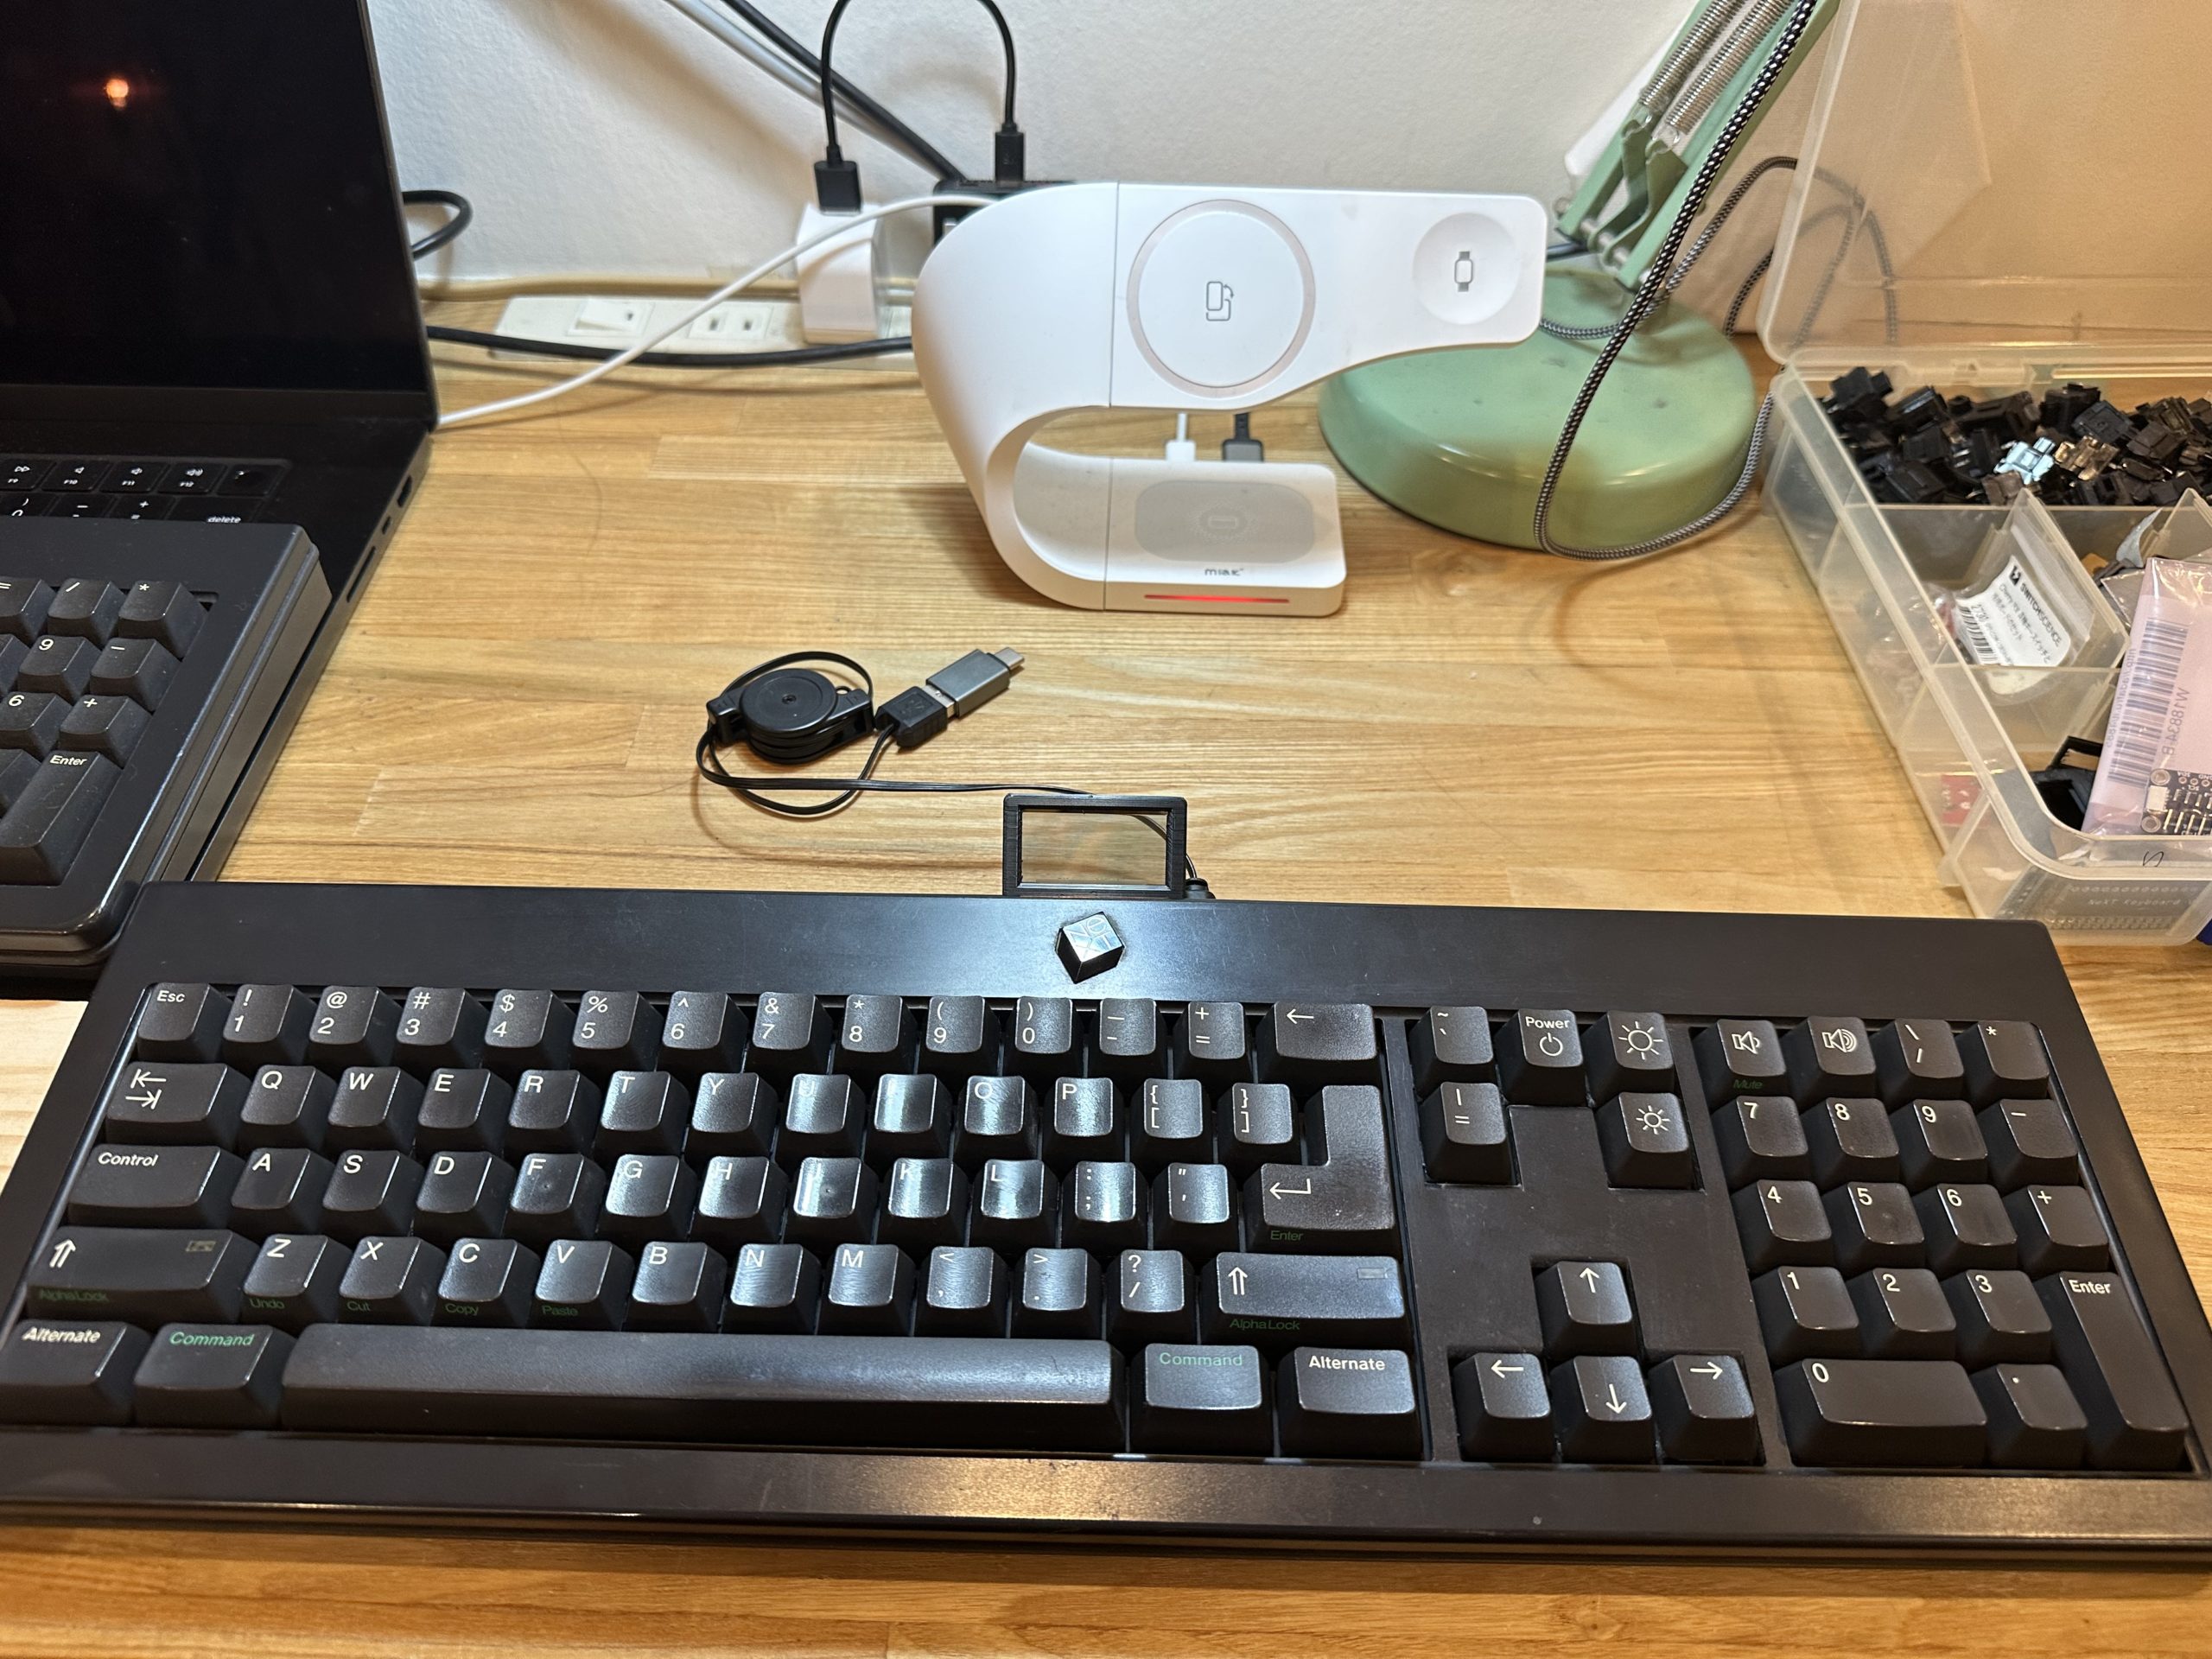
As already shown in the second image, the BlueSCSI device serves as a replacement for the SCSI HDD. Presumably, the embedded Raspberry Pi Pico handles SCSI protocol emulation here.

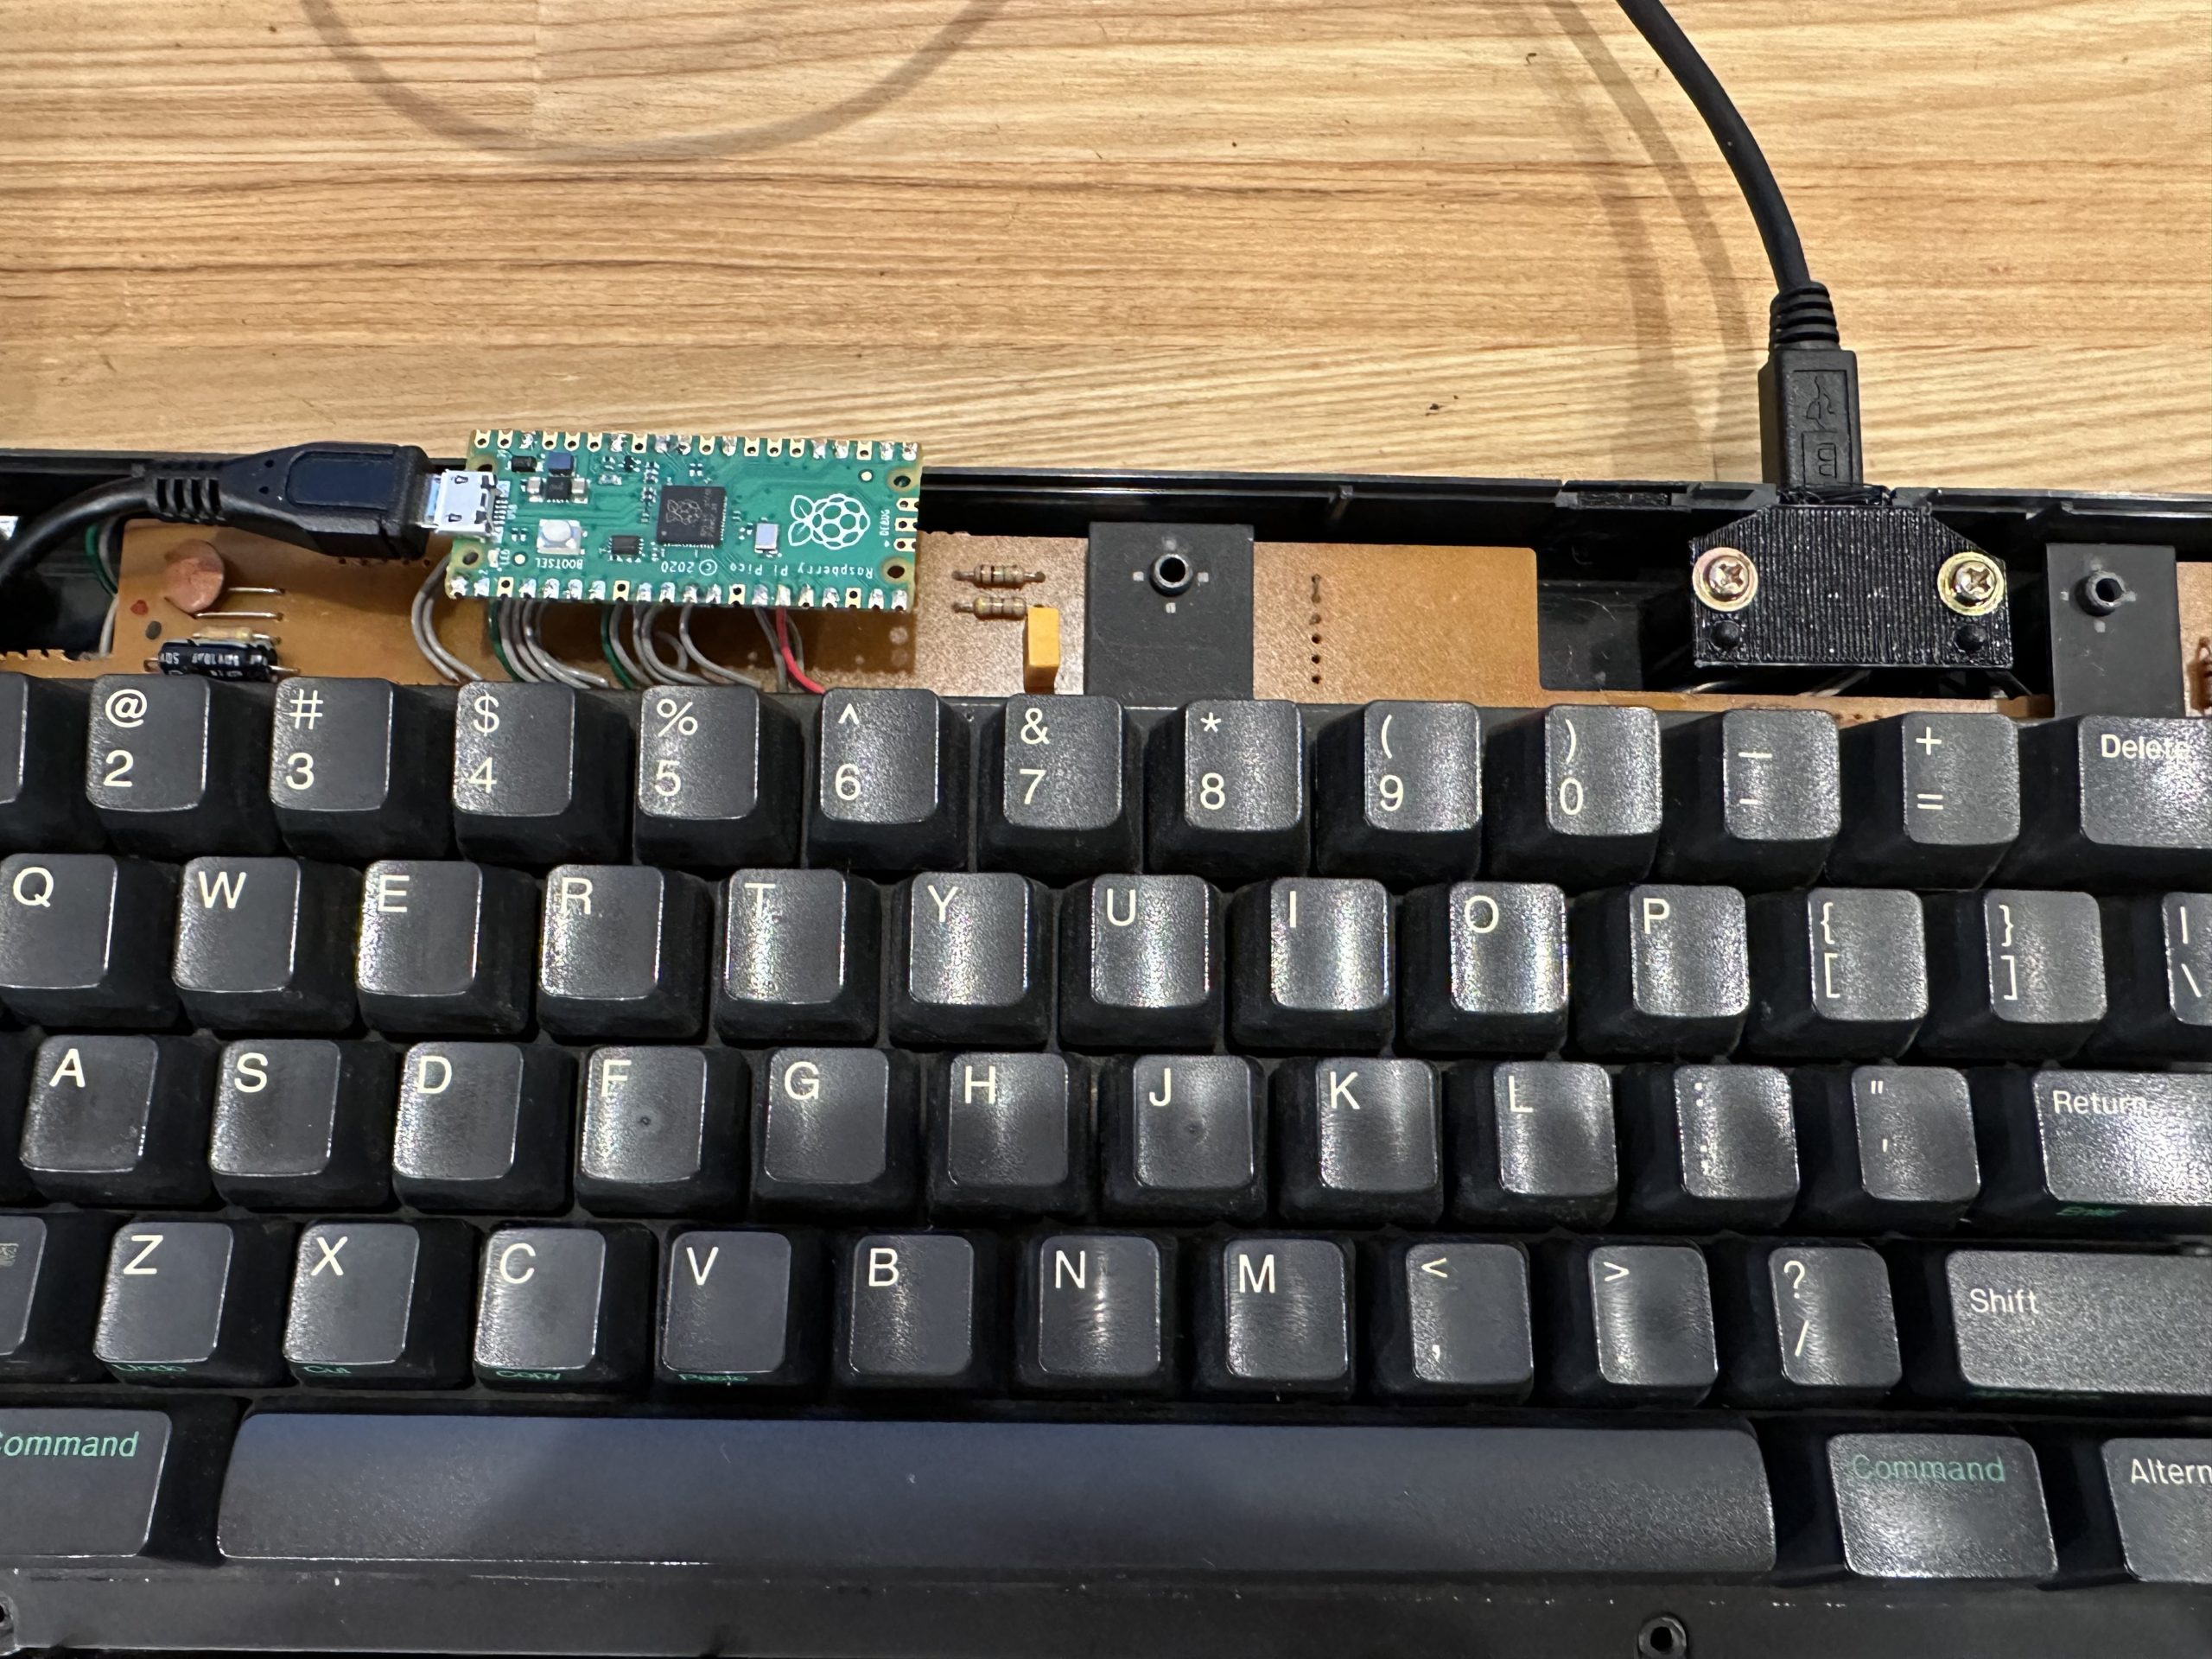
What’s truly impressive about this product is that it doesn’t simply convert the SD card into SCSI itself, but rather converts the disk image stored on the SD card to SCSI format. Since the disk images are compatible with Mac emulators like BasiliskII and SheepShaver, you can copy emulator-generated disks and mount them on the actual hardware. The SD card can contain multiple disk images, allowing you to present multiple drives as if they were connected via SCSI bus. Since this functionality is possible, there’s no point without enabling SD card access. I created a bracket for SD card access in the SE’s rear expansion slot.
The most challenging part is creating the boot drive, but BlueSCSI makes this process significantly easier.
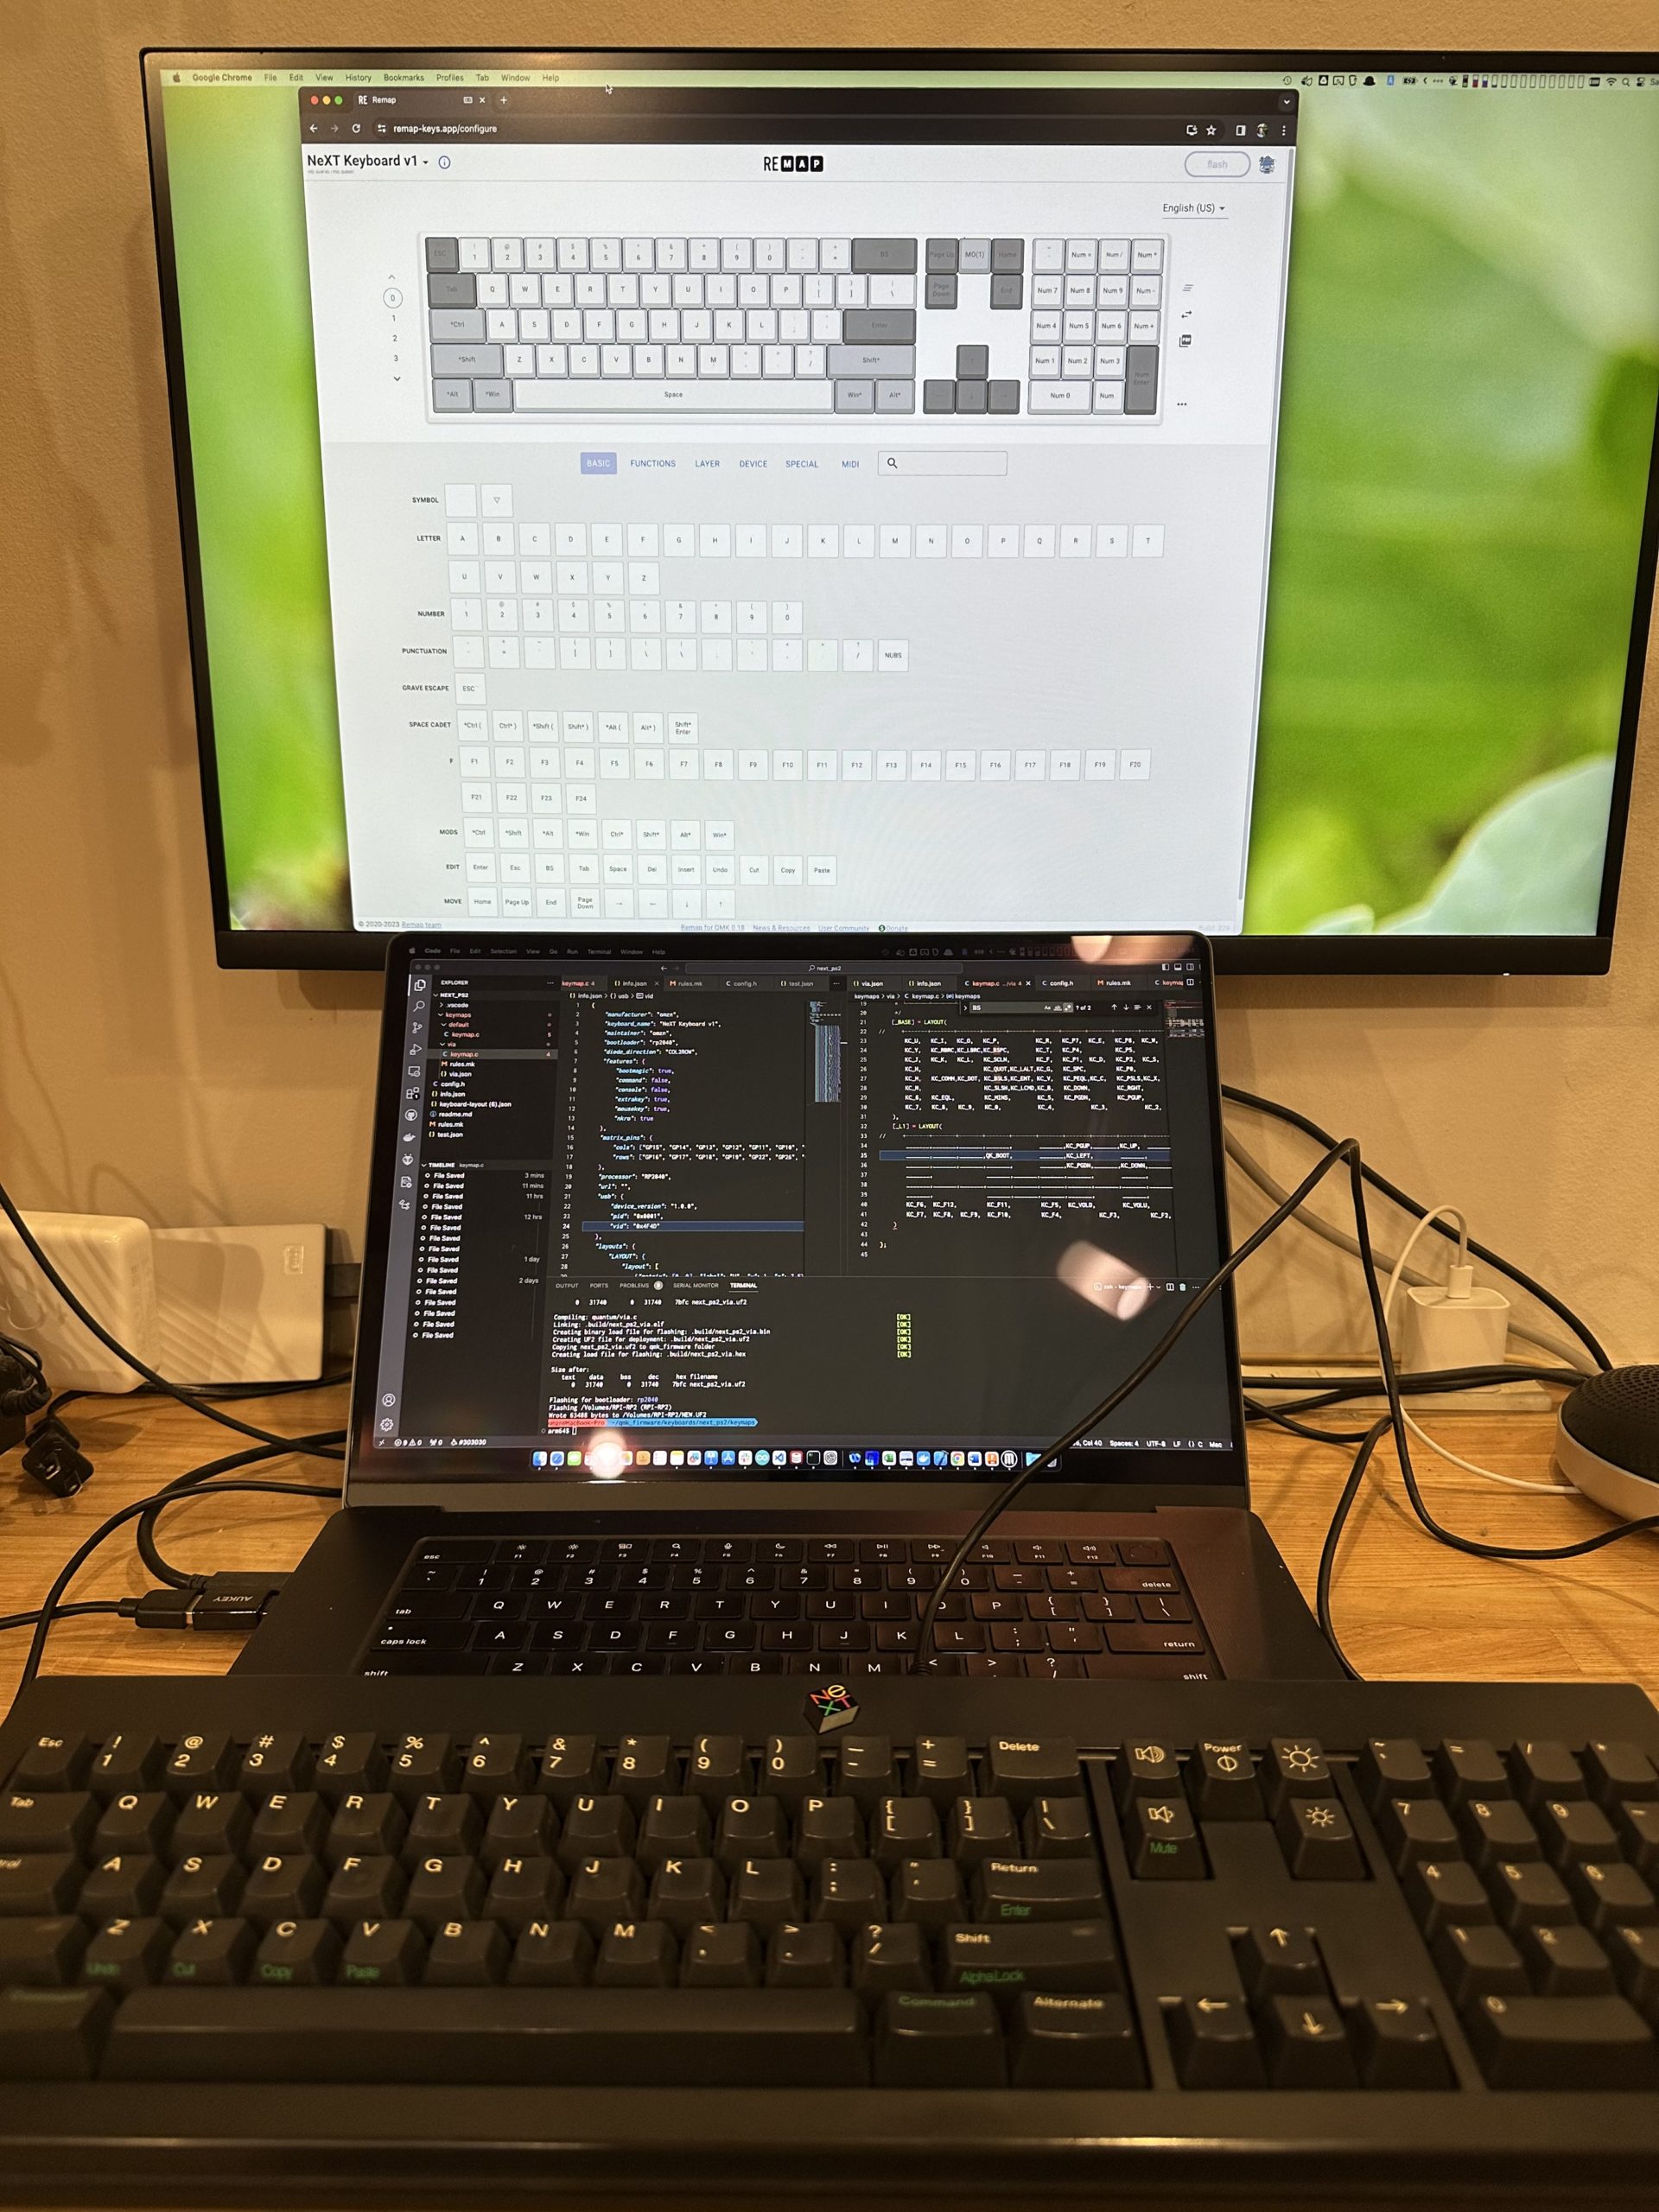
First, I set up a SheepShaver (PowerPC emulator) on my MacBook Pro to create a MacOS 9-compatible environment.
I prepared both the 漢字Talk 7.1 installation media and a disk image for installation. The installation disk image requires incorporating an SCSI driver, so I created it using Disk Jockey app.
Once ready, I launched the 漢字Talk installer from MacOS 9 and had it install onto an empty drive. After unmounting the disk image, I copied it to the SD card and booted it on the physical Macintosh SE.
Pong!

From conventional thinking, numerous strange phenomena occur – why does the 680×0-specific installer run under PowerPC-based MacOS 9? Why does a raw disk copy function as a boot drive without any consideration for bootloaders or such…?
But when it comes to Macs…
that explains everything.
See you!


")


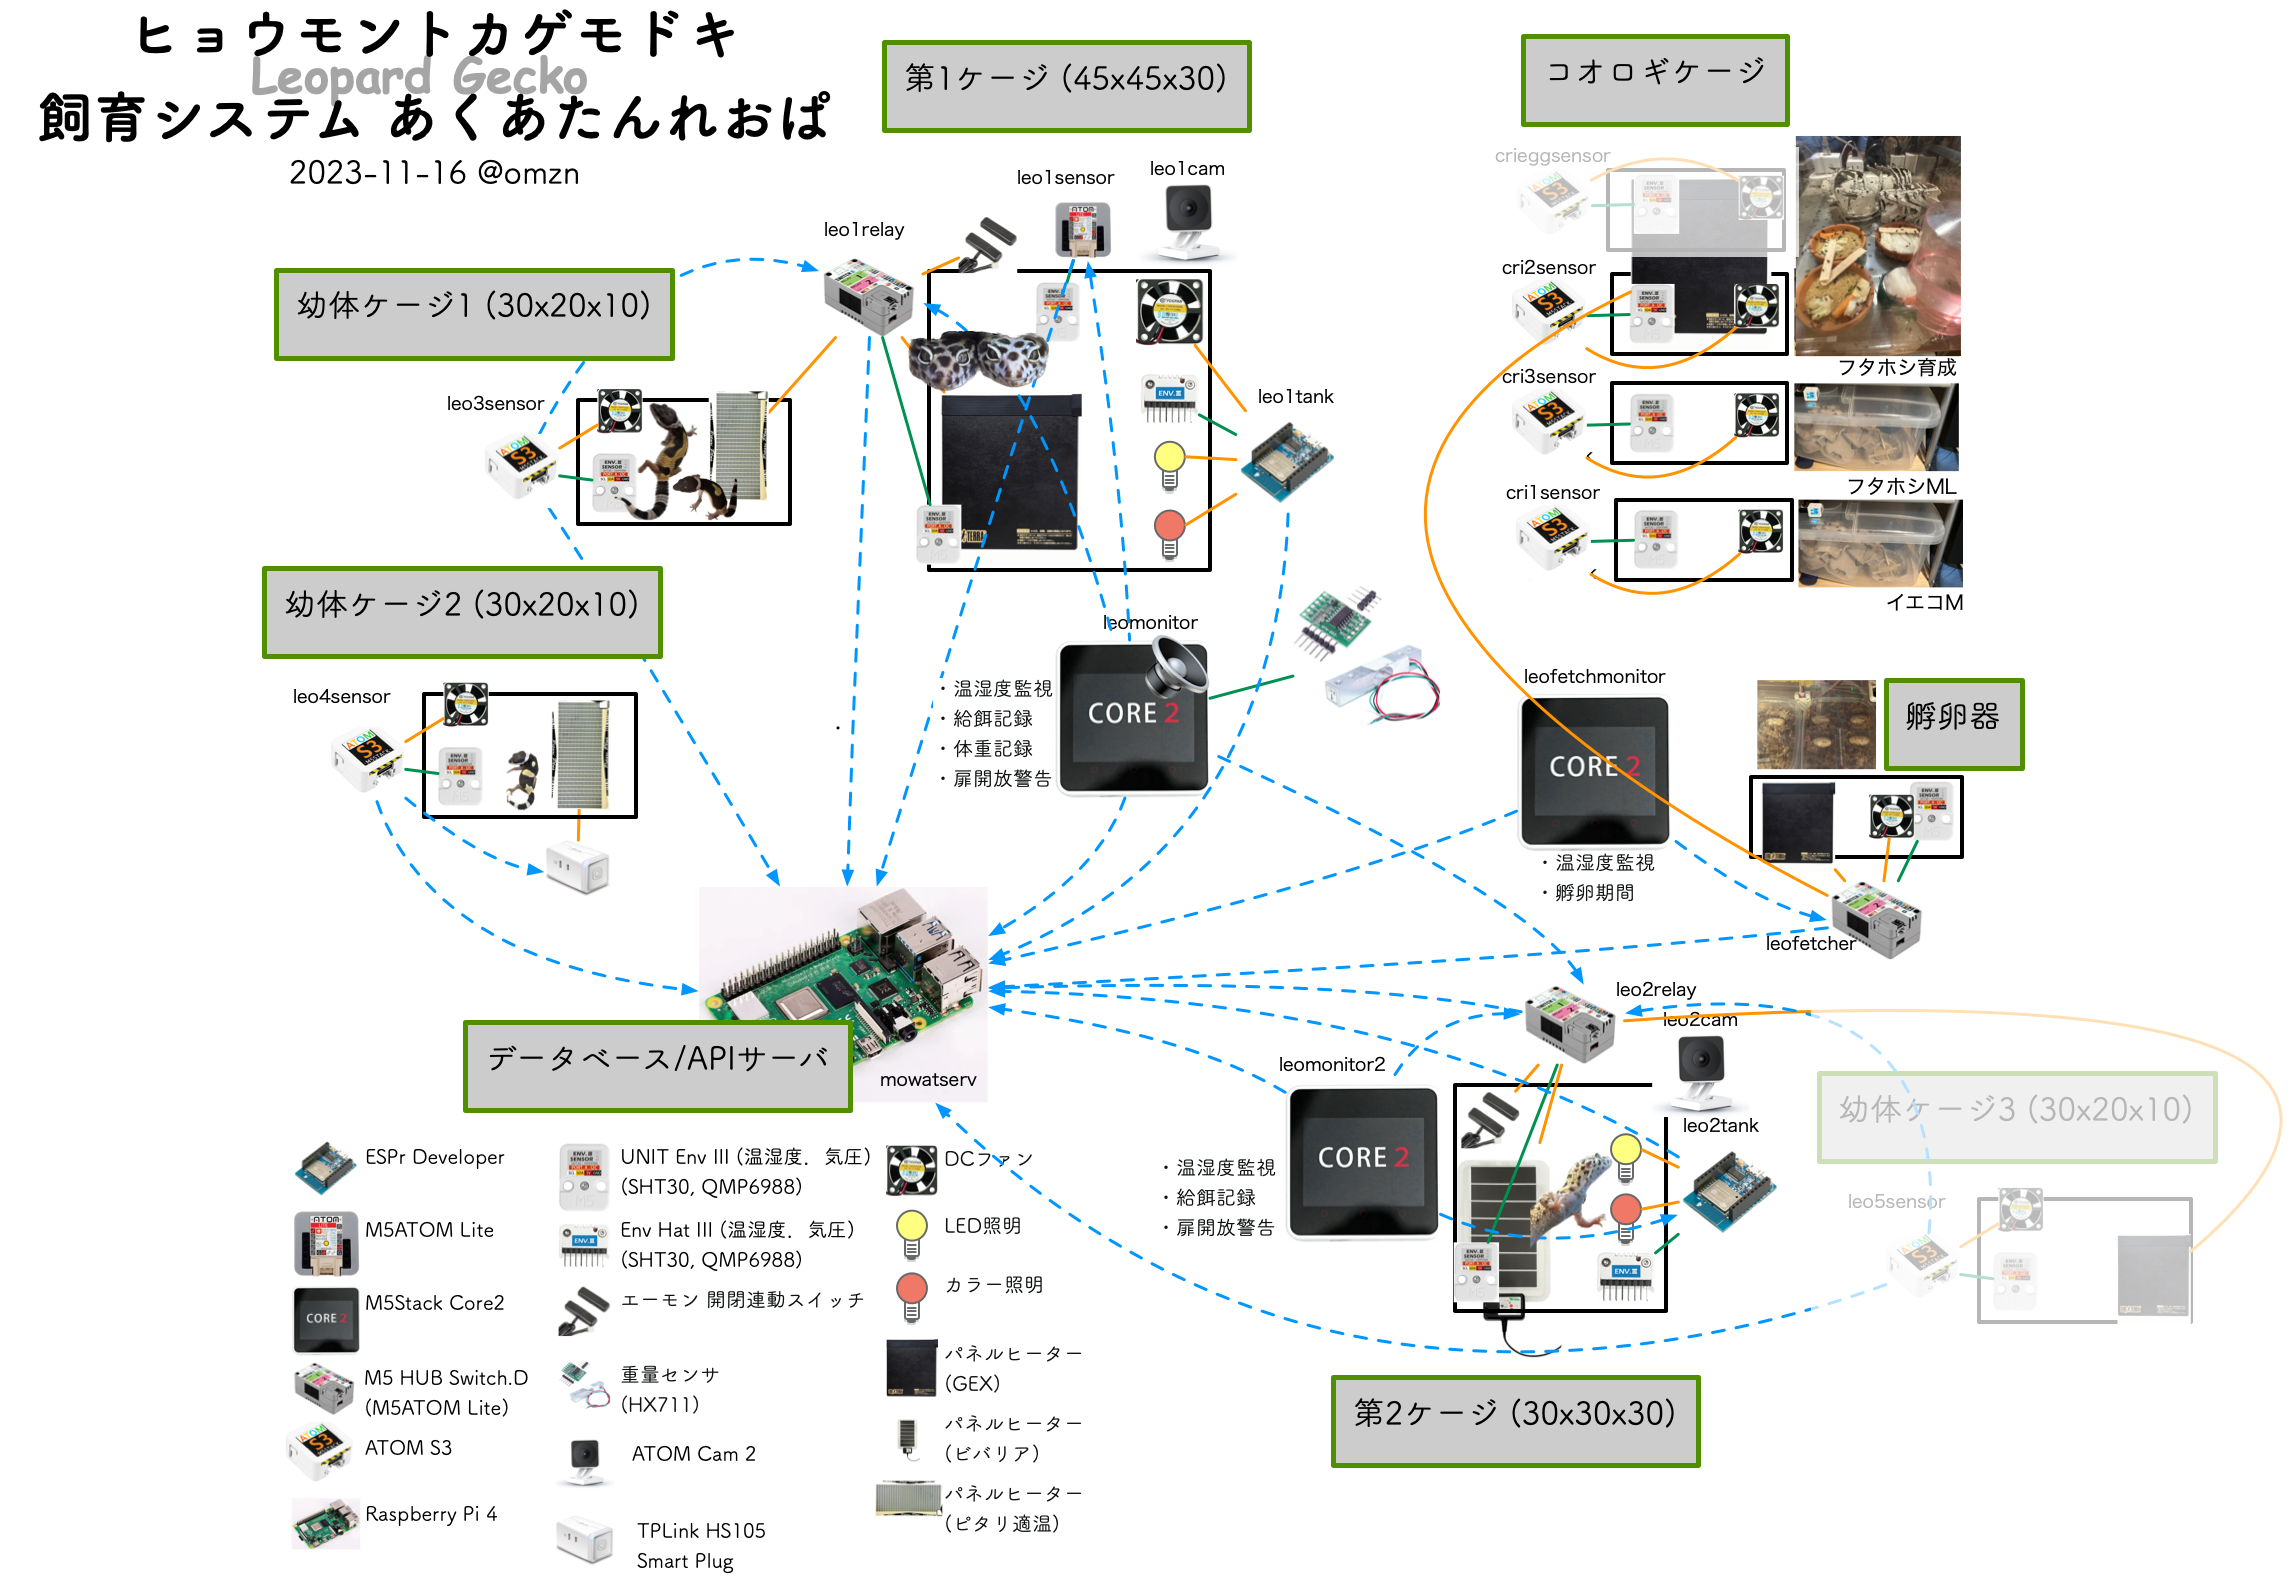
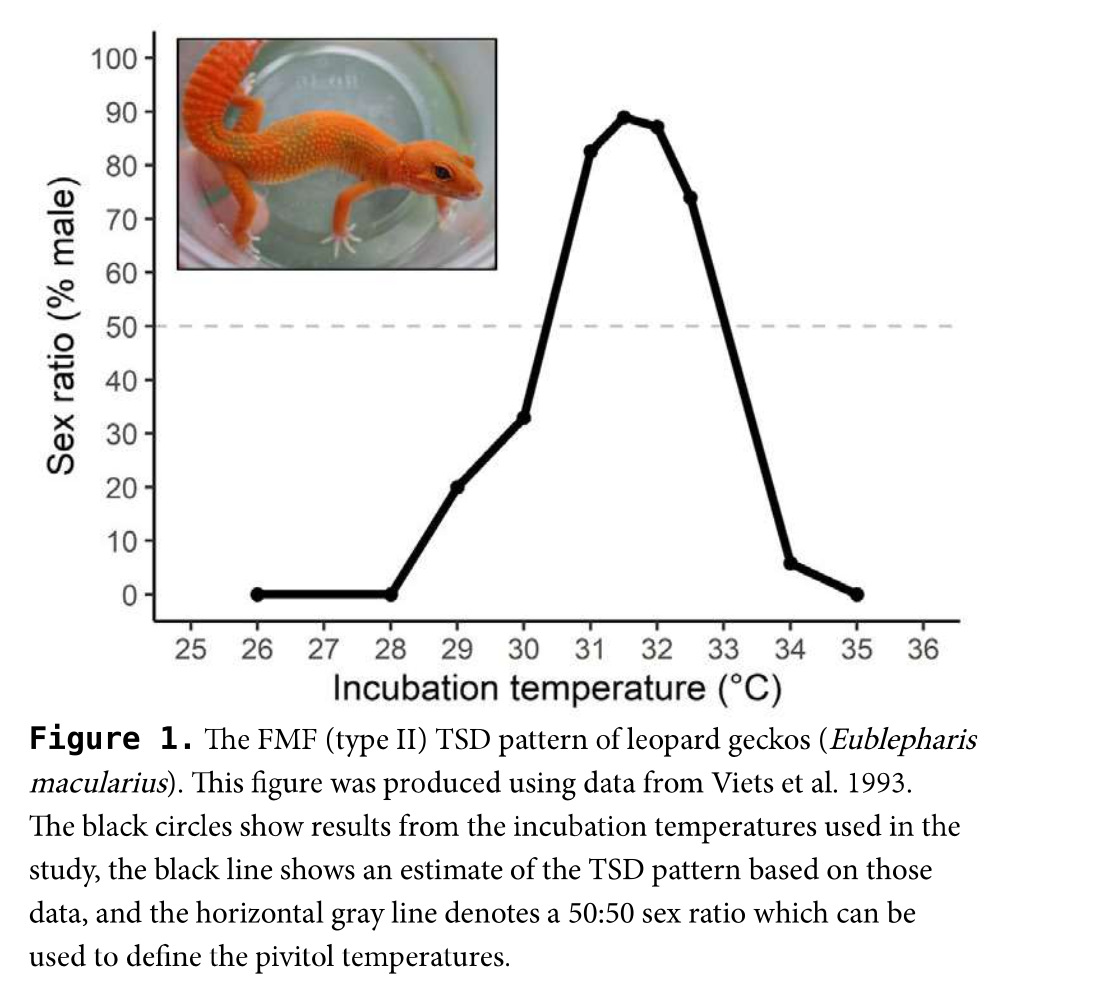 ヒョウモントカゲモドキの温度依存性決定([1]より引用)


 あくあたん名(迷)言集")