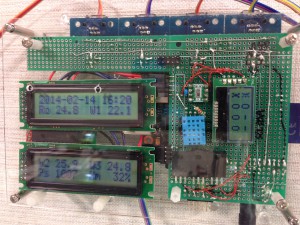
The swamp of a modified keyboard (Reiwa NeXT keyboard V2)

The swamp of a modified keyboard (Reiwa NeXT keyboard V2)

This article is the 22nd day of the advent calendar of Studio Aquatan 2023.

Hi, this is Prof. omzn (keyboard modification studies).
This is a continuation from a week ago.

Reiwa NeXT keyboard V2

Actually, I have an unmodified NeXT keyboard, but this one is junk and does not work even if it works.
I decided to modify this one, too.

The eBay price of the NeXT keyboard as of December 2023 is as shown below.

I’m so nervous about wasting it…

Now, we will realize the following three points.

  • No pattern cutting
  • Change the physical keys to compatible ones
  • Make them light up

Key layout

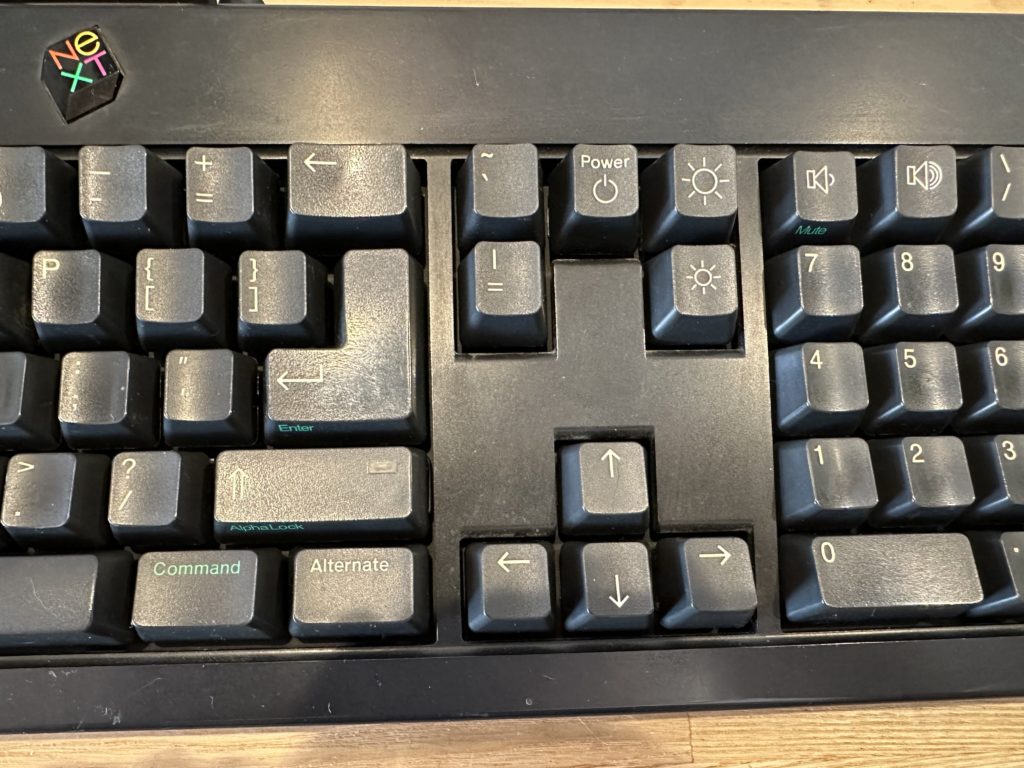
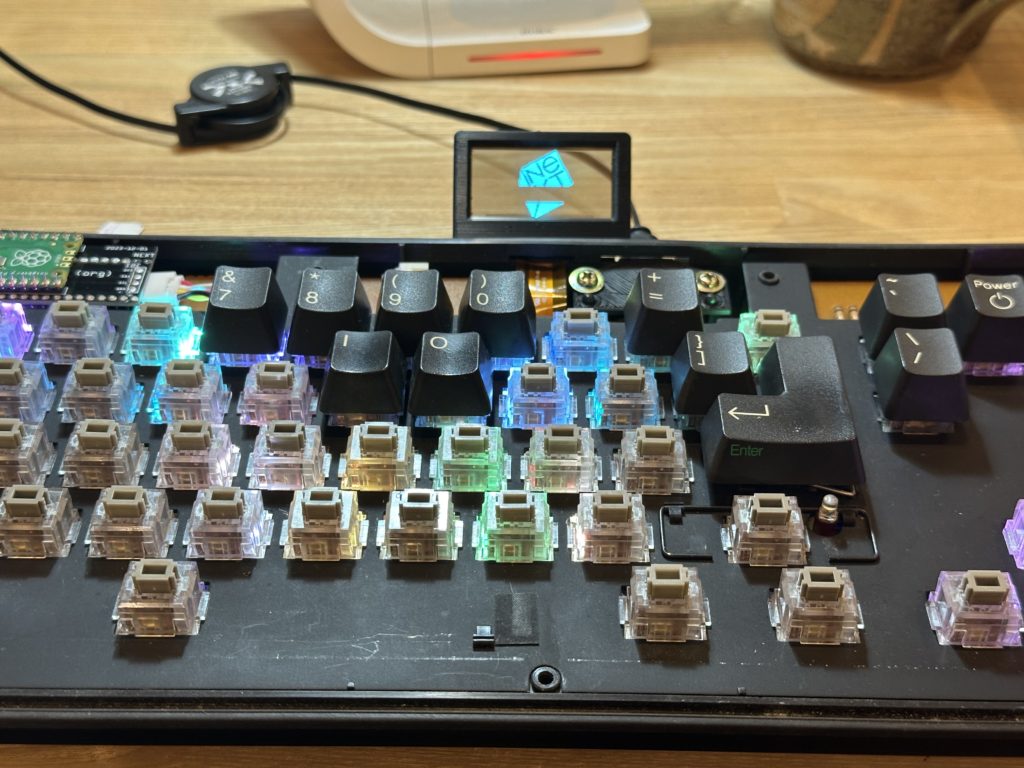
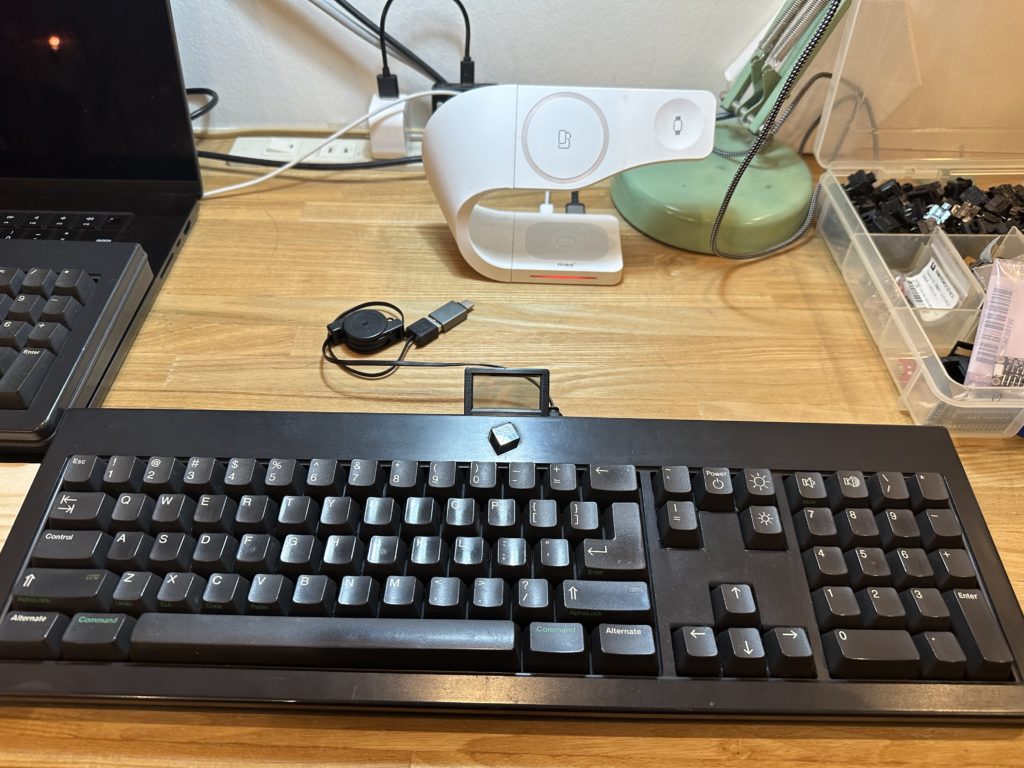
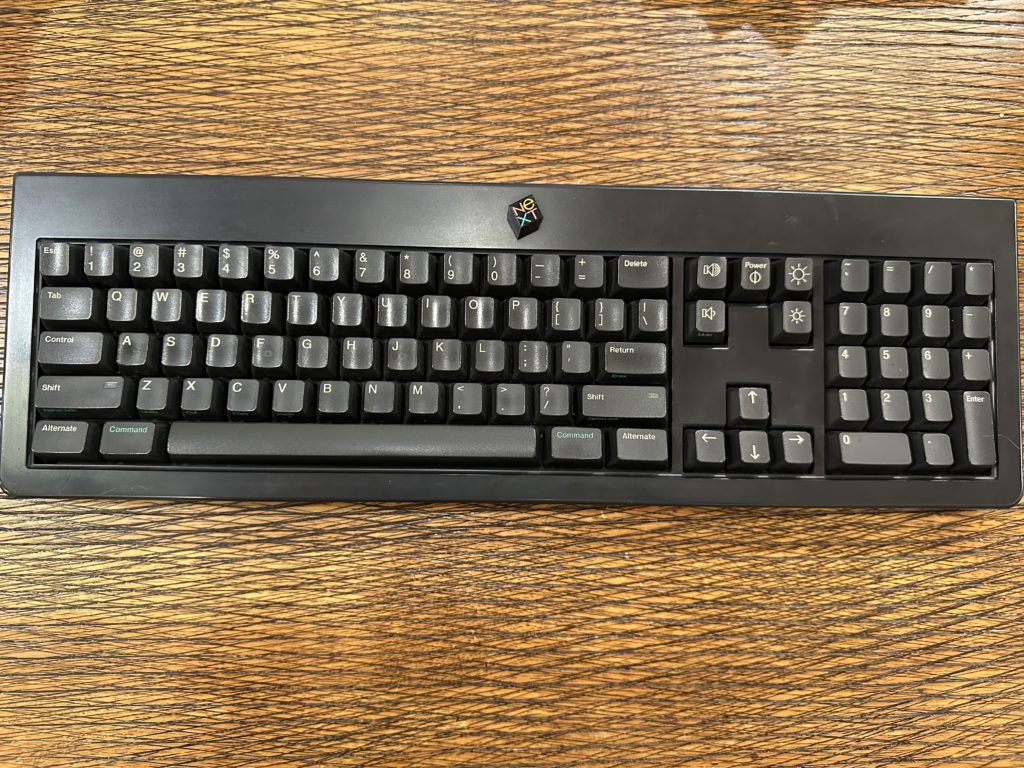
Similar to V1, but the Return key is inverted L-shaped, and the backslash key is pushed out to the numeric keypad.
The backslash key is pushed out to the numeric keypad.
The engraving looks like old Macintosh.

Physical keys

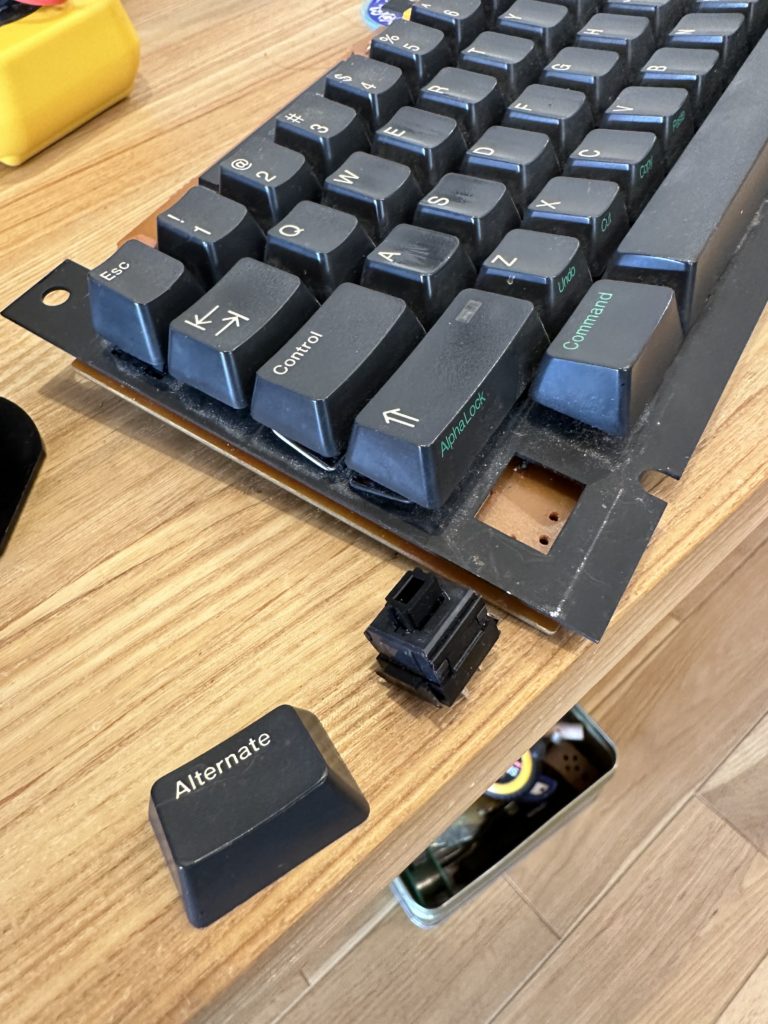
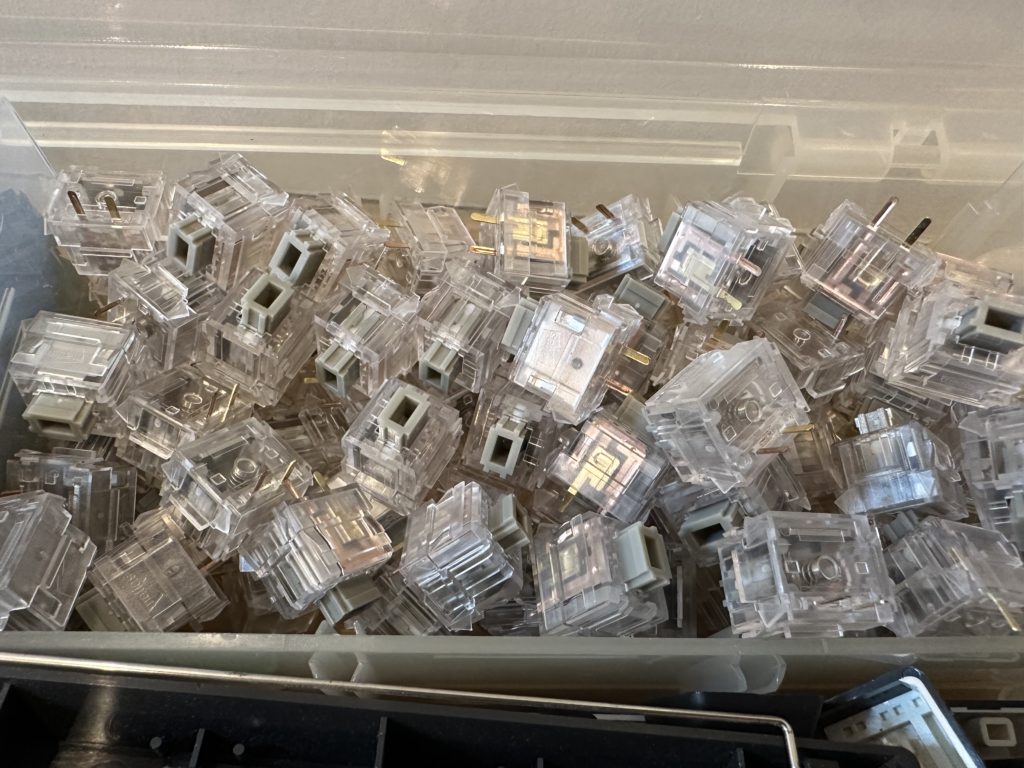
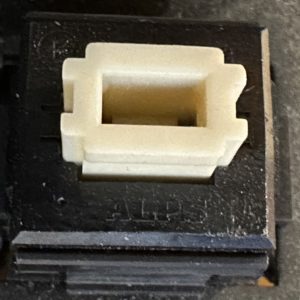
This keyboard uses ALPS black keys.
The ALPS axis is no longer manufactured by ALPS Electric.

Key Matrix Analysis

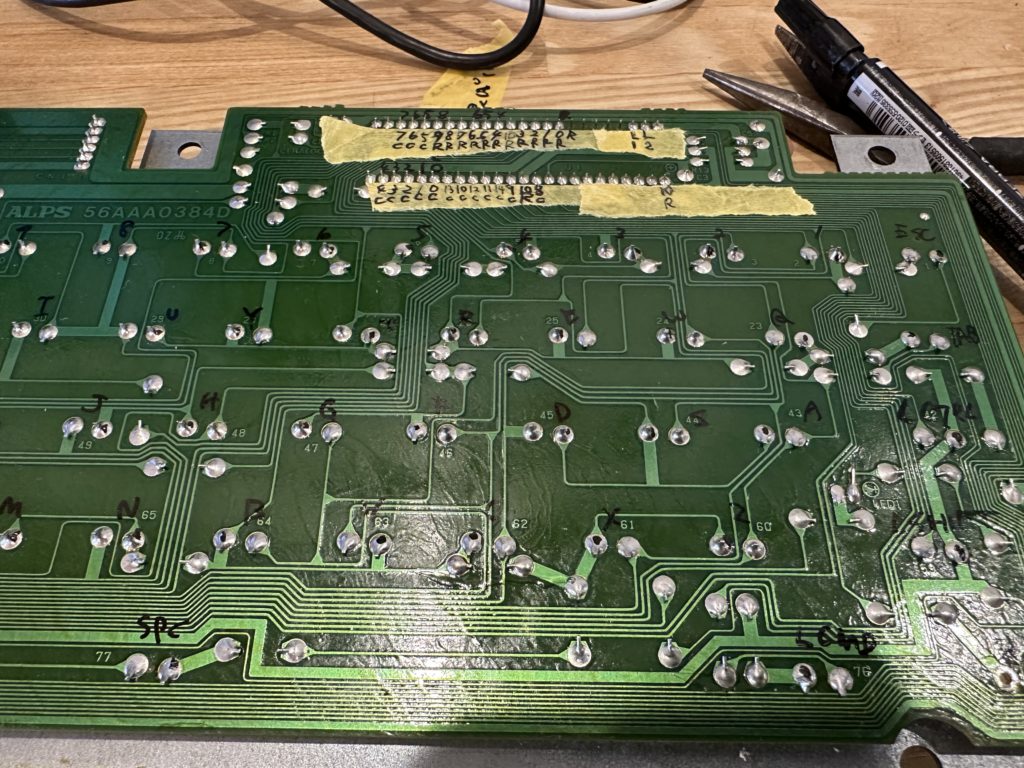
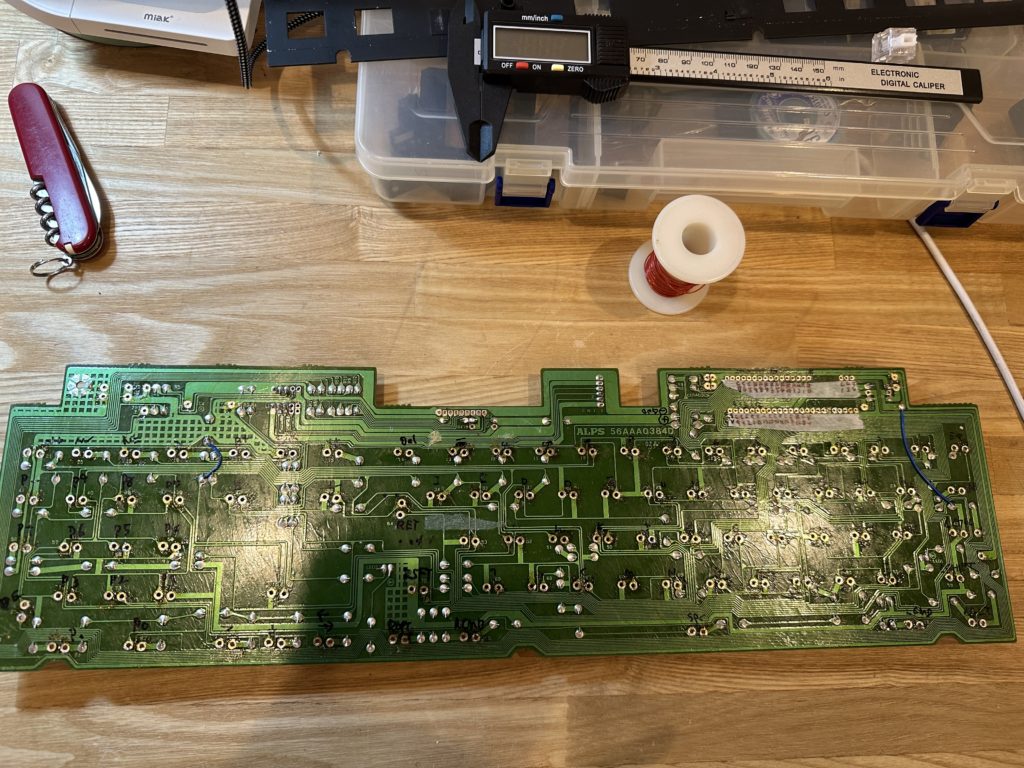
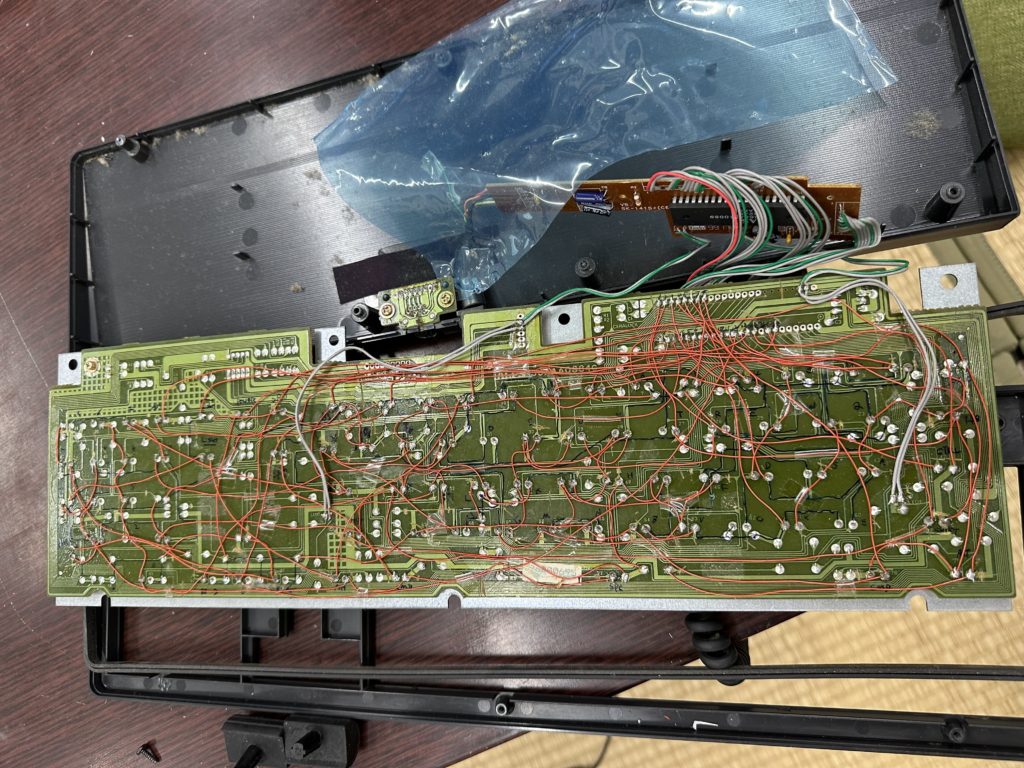
The matrix pattern of the original NeXT keyboard is analyzed. With a tester in hand, we follow the pattern on the back side.
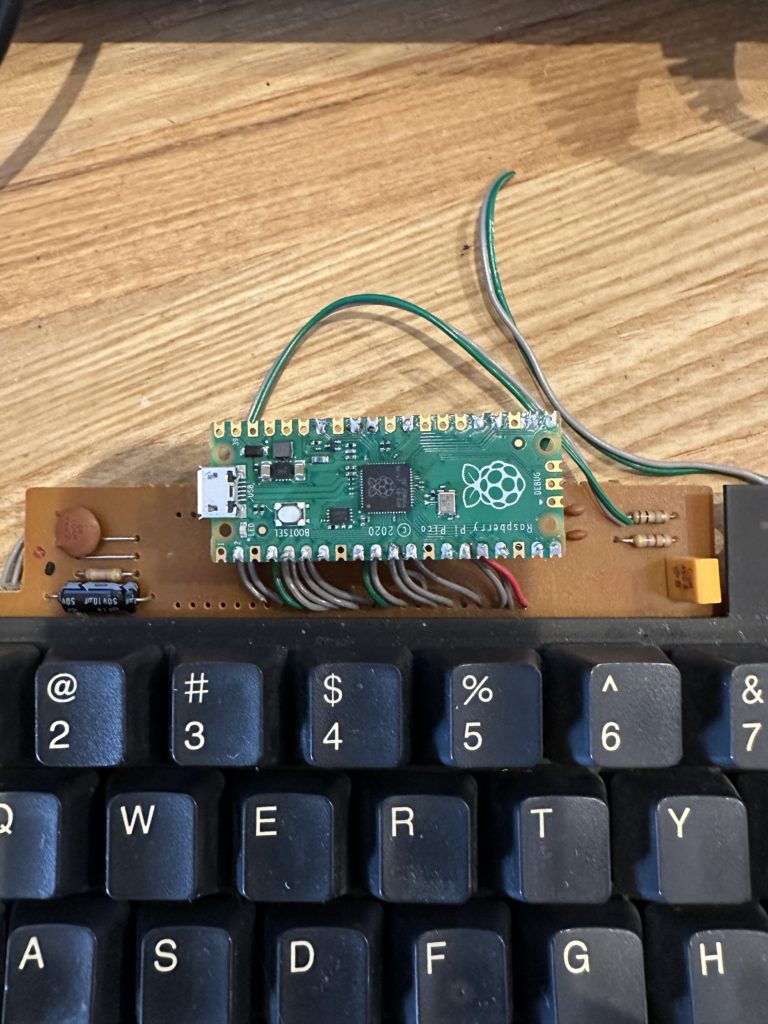
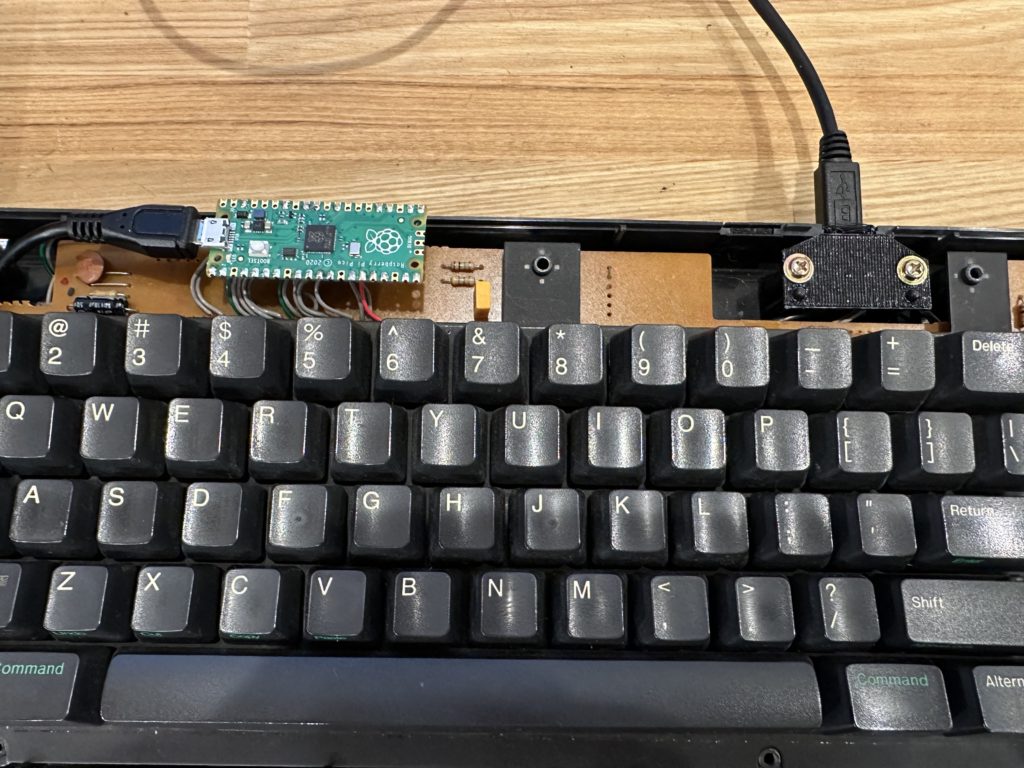
This time, I will make the keyboard without cutting the pattern. We will also make a board on which Pi Pico will be placed, and fit it into the place where the original controller was removed.

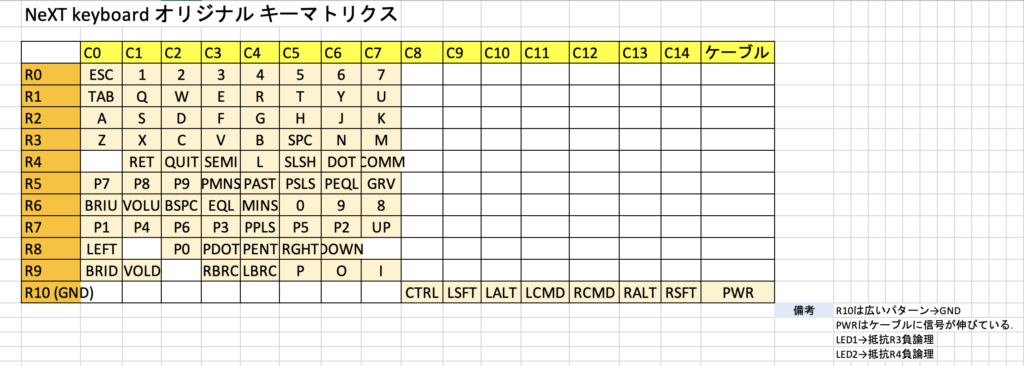
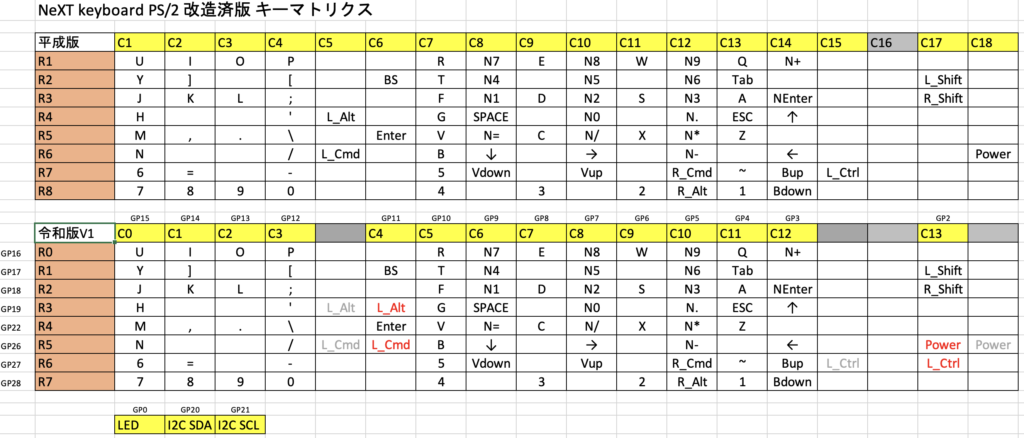
The following figure shows the result of the analysis.

The keys close to each other are compactly arranged, and the matrix looks like it could fit in an 8×10… but only the modifier keys are sticking out. What’s this? If you look closely, you can see that the line marked R10 is GND. So, these keys are not matrix keys, but direct keys.

Since we are not using a microcontroller with that many pins, we integrate the modifier keys into the matrix by following the GND pattern and removing the jumper from GND to make it a single bus.
The final matrix is as follows. The modifier is integrated in the rows and columns for the convenience of the Pi Pico board.

We will make a board to convert this matrix to Pi Pico. This is very convenient because the modifier keys can be integrated only on this board.


After designing the board, I ordered it from Elecrow. The cost of the board is $1.00. Shipping is about $15 and it takes less than a week. I decided that it would be better to solve the problem with money than to try hard to arrange the line where the bug would enter.

Mounting

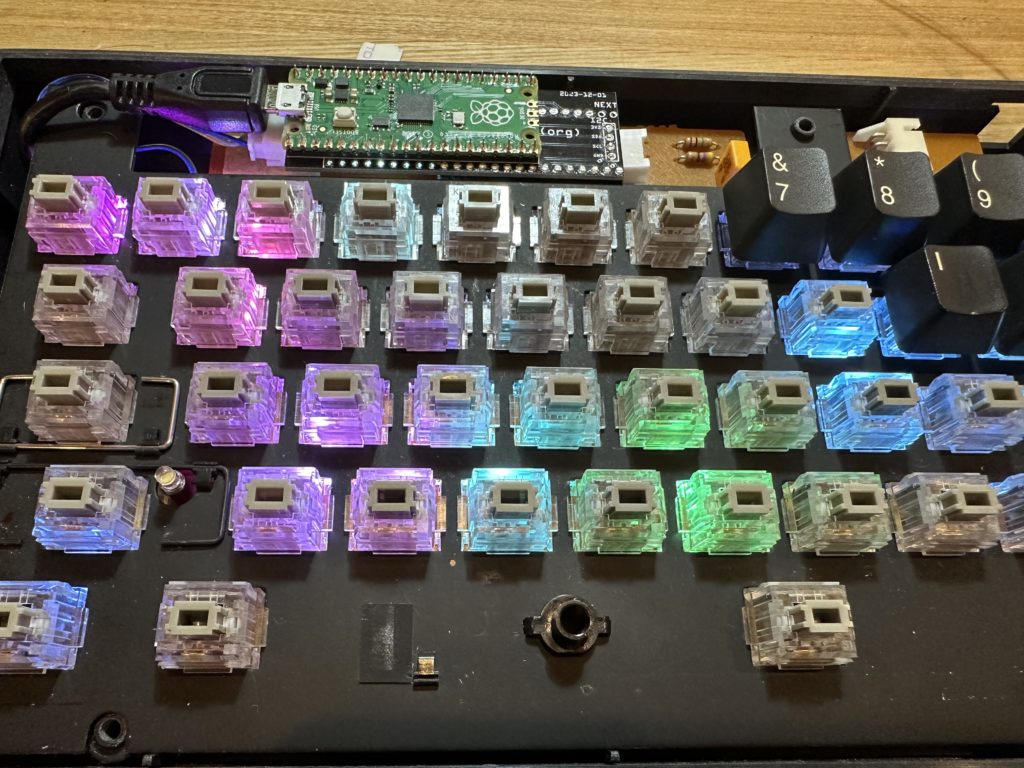
I looked around for a way to make the LEDs glow from behind the keys, but in the end I decided to replace all the switches.

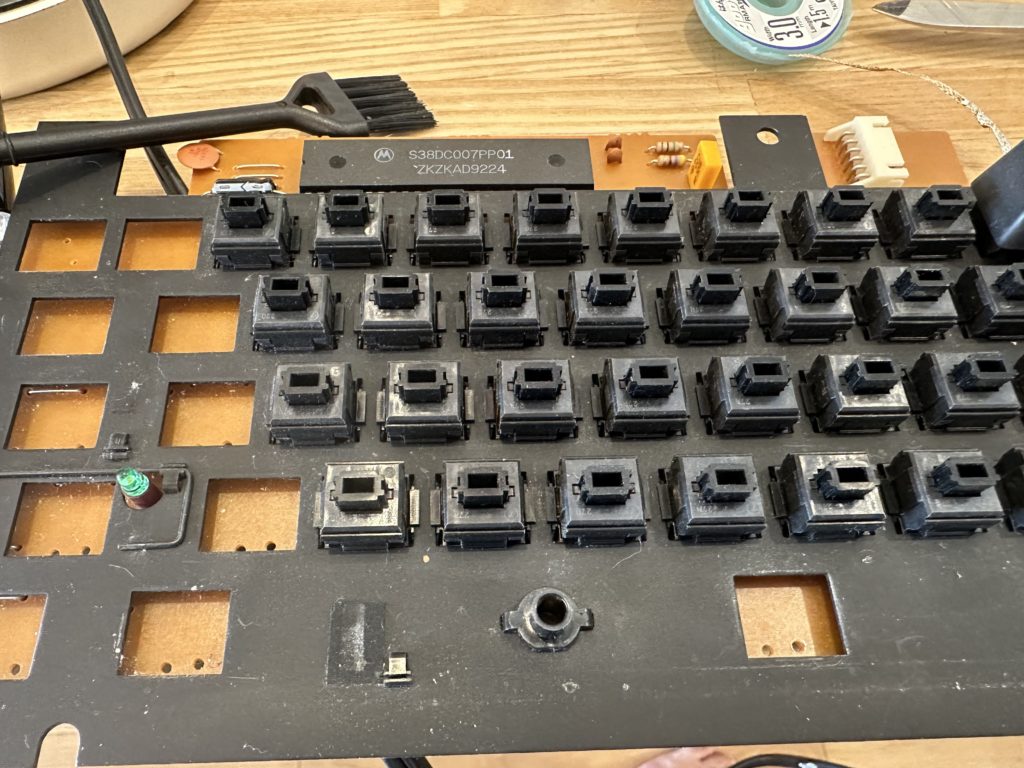
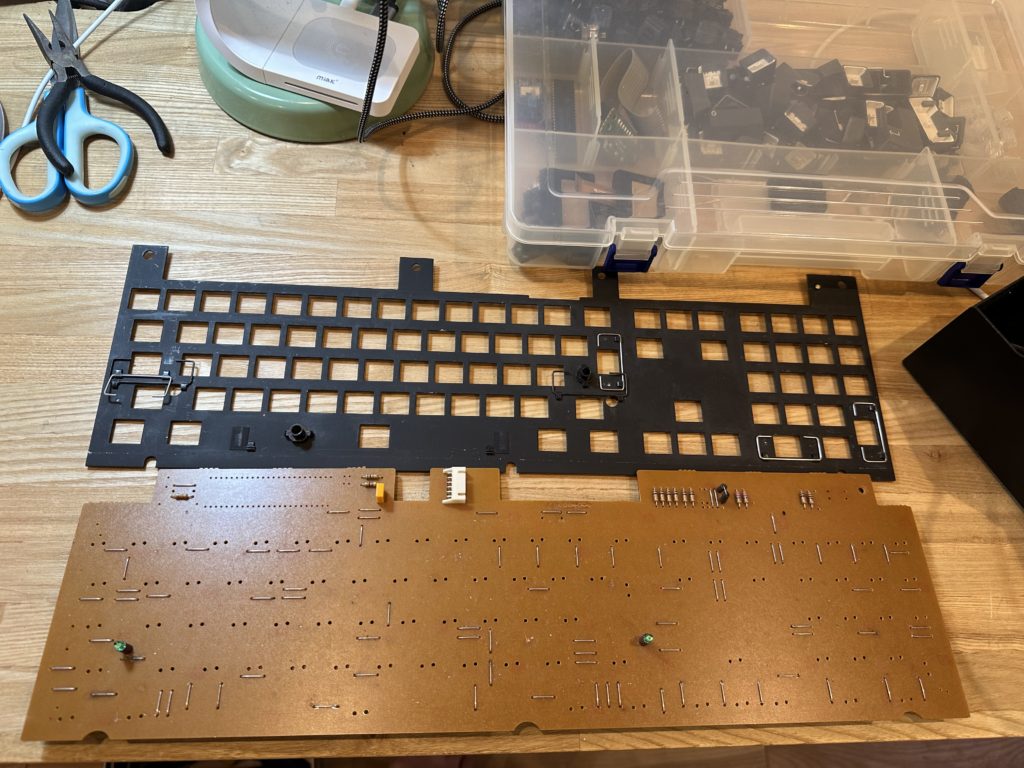
The board has a single-sided pattern, so it is easy to remove the solder.
However, the copper foil pattern itself is brittle and easily peels off since it is an old board.
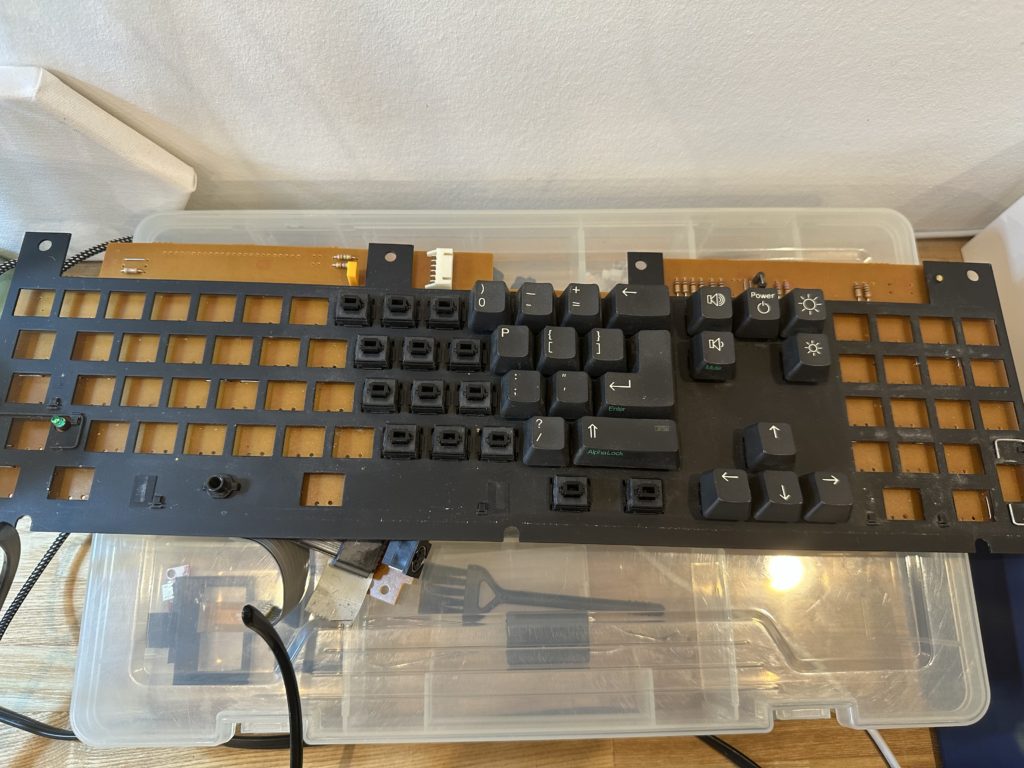
With great care, we removed the solder and the switches.

Remove…

Remove…

Remove…

Voila!

I got Matias Click Switch Gray and White from FILCO Direct. Only the numeric keypad is made to click with White.

The jumper on the surface of the switch will be removed and re-mounted on the back side of the switch, because the LED strip will be in the way.
The consumption speed of the desoldering wire is extraordinary.
In the end, I had to remove more than 90% of the mounted parts.

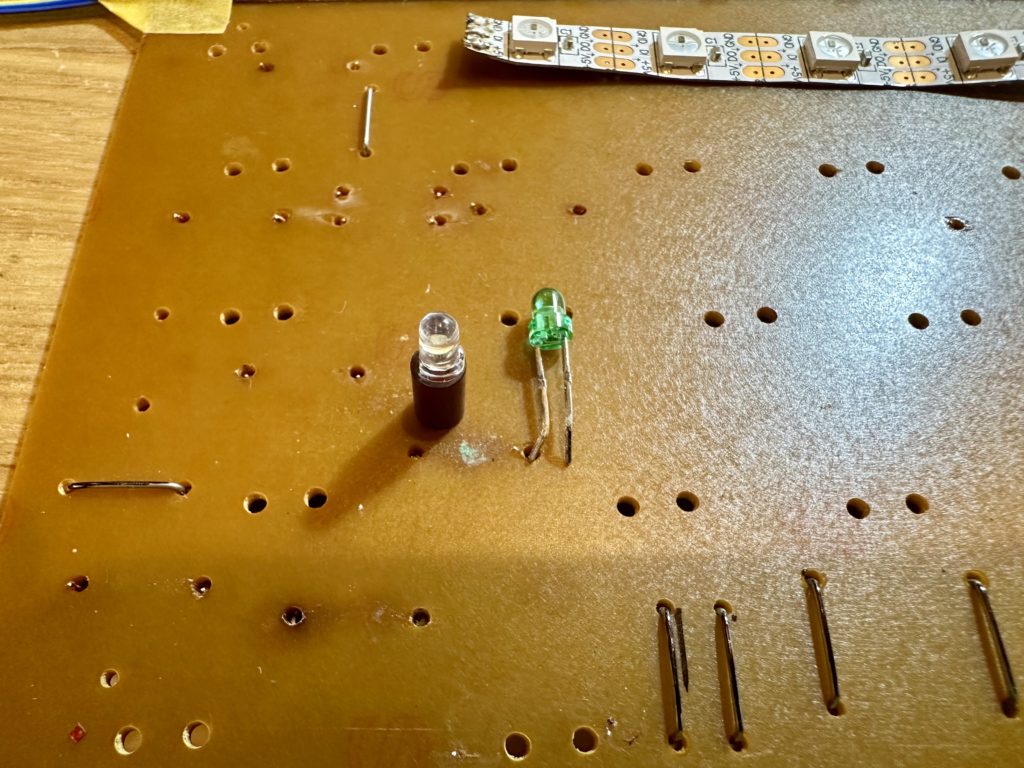
In addition, the Caps Lock LED is changed to a white LED.

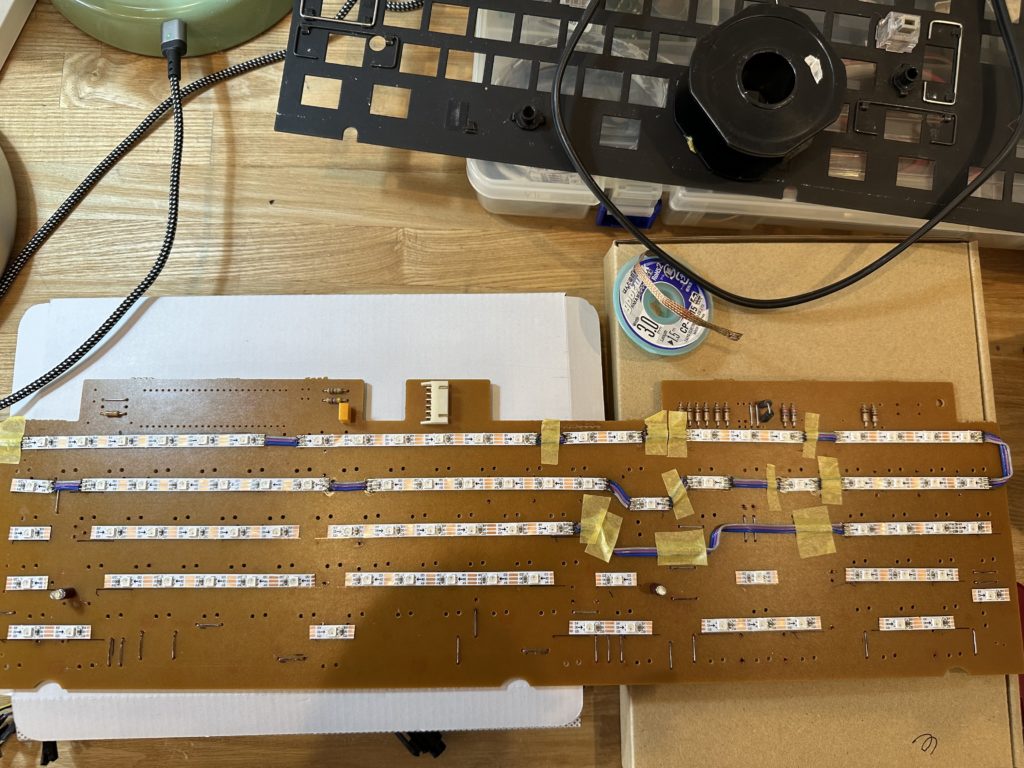
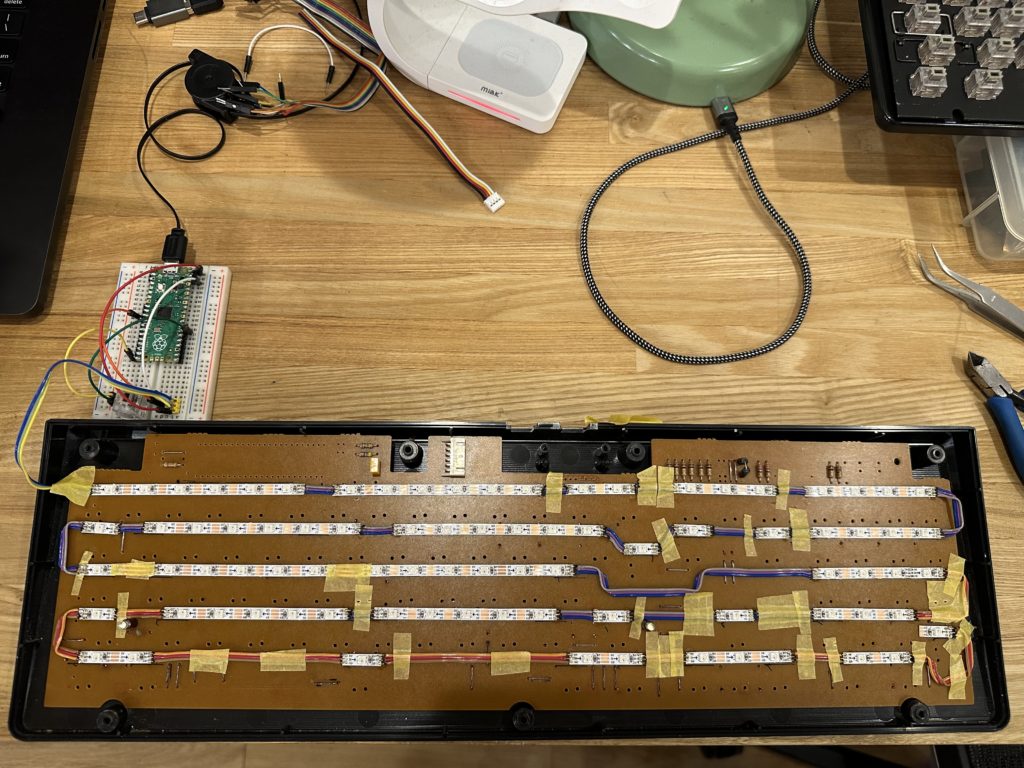
Next, I installed LED strips to make the LEDs shine. 10mm wide LED strips are commonly used, but they seem to interfere with the keyswitch (just barely), so I got 5mm wide ones this time.

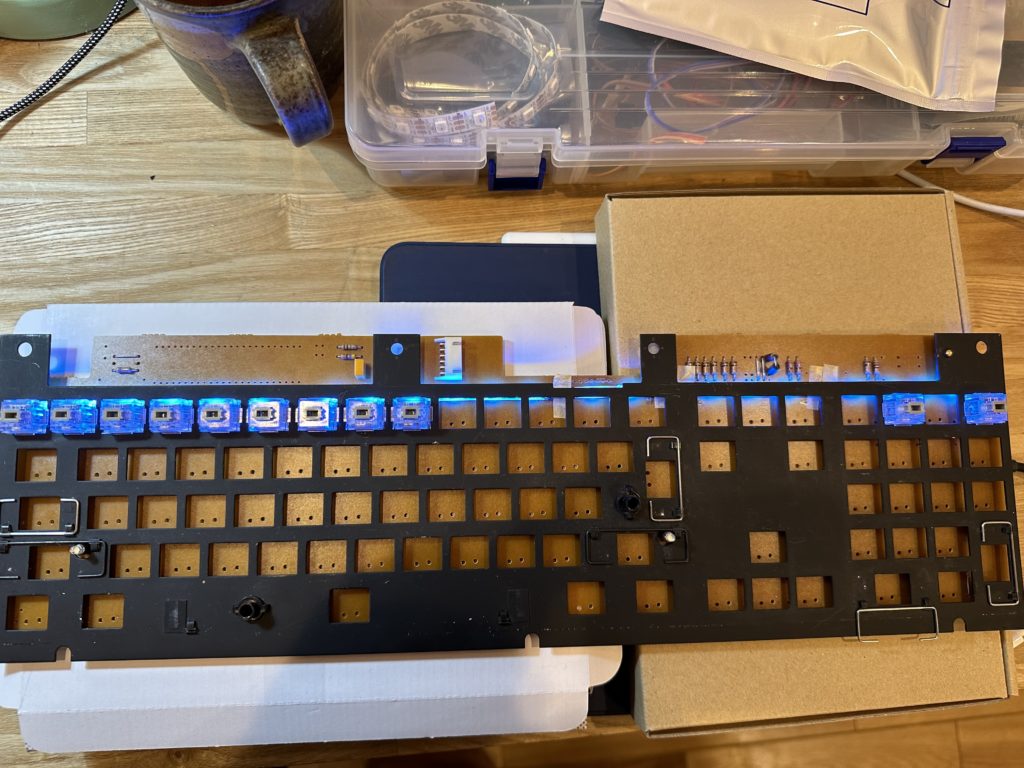
First row…

2nd row…

All rows…

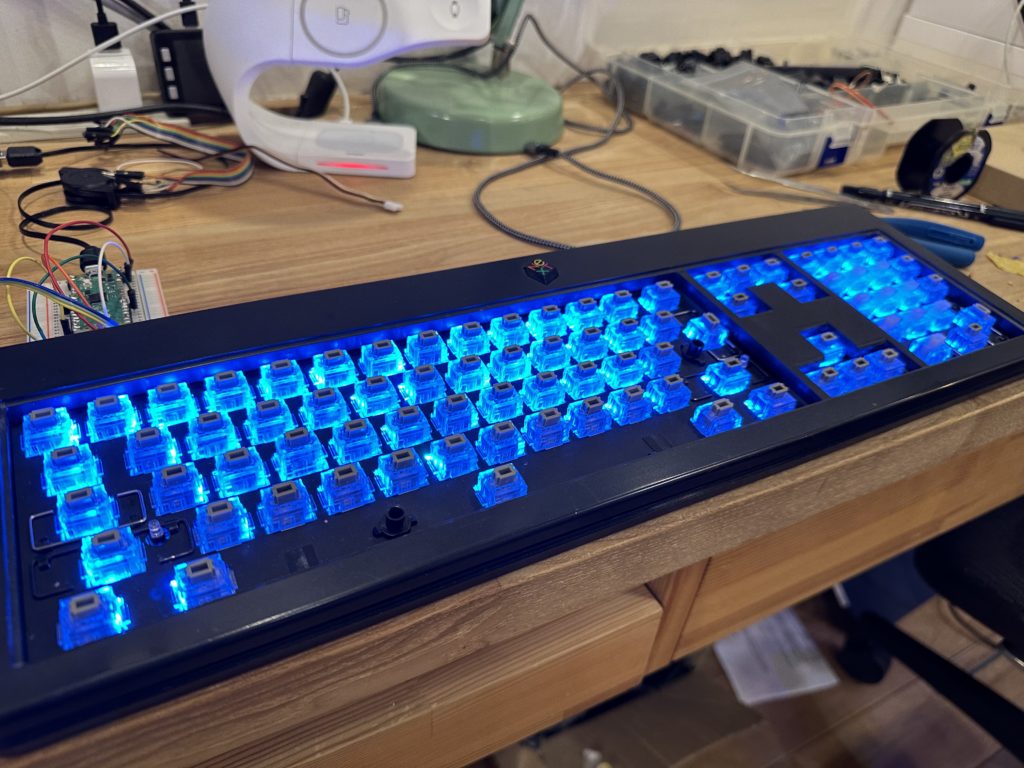
Lit!

This is the end of the work on the board, so let’s solder the keyswitch.
Once the keyswitch is soldered, the LED strip cannot be touched, so it is necessary to double-check for poor contact.

Finishing

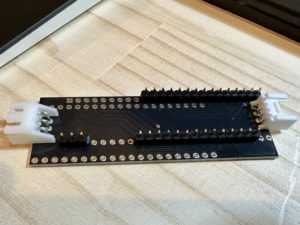
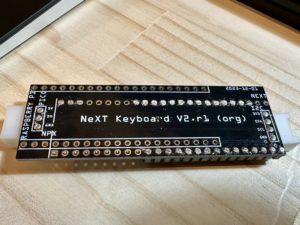
When I finished soldering the keyswitches, the key matrix conversion board arrived from Shenzhen.


Connectors for I2C and WS2812 were also pulled out.
This is used to bridge the Raspberry Pi Pico and the keyboard board.
As long as there are no bugs on the board, the wiring work can be completed without connecting a single wire.

Test lighting! Good!

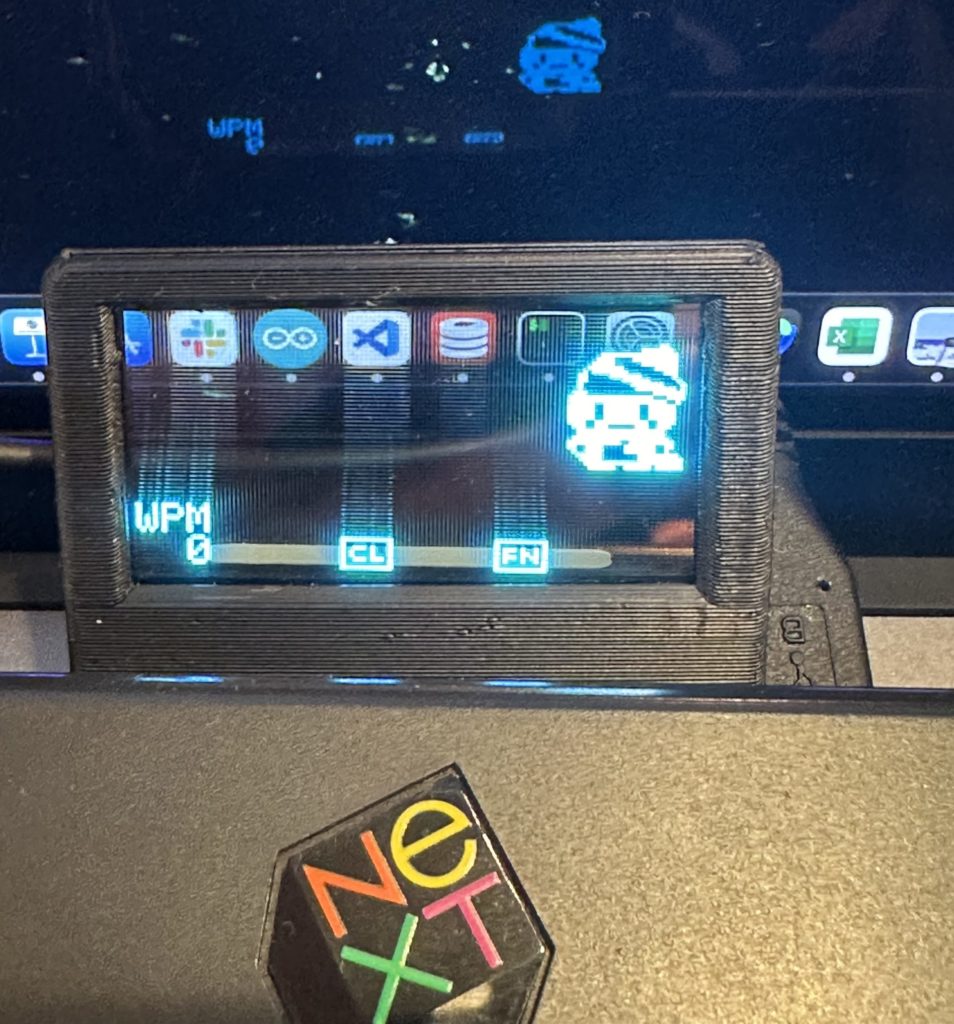
The transparent OLED is also attached via I2C.
This is exactly the same as V1, so it is easy to do.

All that is left is to assemble it.

Completed!

It’s done!


The code of QMK is available in GitHub.

Bugs and failures along the way

  • At first, I misunderstood how to light the LEDs on the main board, and thought the 5V line was GND. I made the first conversion board as it was, so I had to do a major re-do and ended up reordering.
  • After installing the LED strips and soldering all the keyswitches, I did a key matrix test and found that one line was unresponsive. The tester found that only when the LED strip was connected, 5V was connected to the line in question. This was because when the jumper wire was replaced, a small portion of the jumper wire was in contact with the 5V of the LED strip.

Conclusion

It is fun to revive old keyboards by modifying them.
In particular, keyboards with mechanical switches from the 1990s are worth reviving because they have a good feel when you hit the keys.

If you find a good keyboard in a junk shop, you can get it immediately!

Merry Christmas and a happy new year!

The way to a modified keyboard (Reiwa NeXT keyboard V1)

The way to a modified keyboard (Reiwa NeXT keyboard V1)

This article is the 15th day of the advent calendar of Studio Aquatan 2023.

This is Prof. omzn (keyboard modification studies).

Heisei Version of the NeXT Keyboard

When I was still young, in the 2000s, I enjoyed modifying old computers to convert them into the latest PCs.
I modified NeXT cube, NeXT station, Macintosh LC II (I think), Mac G4 cube, etc. to make a mini PC.
Despite all the hard work, we produced a terrible machine that could not deliver much performance, and would run out of control quickly because of its broken thermal design.
I feel bad for the old computers that were sacrificed.

The NeXT keyboard was something like a Mac-style ADB, but at the time it was just a useless keyboard.
Then, young omzn had a flash of inspiration.


“I think I can get a controller from a junk PS/2 keyboard lying around here and port it to the NeXT keyboard.”

He immediately investigated the keyboard mechanism, and found that the keyboard had a key matrix decoder on it, and, unfortunately, the key matrices were all different.

“I want to make the most of this PS/2 keyboard I’ve taken apart…”

Here, omzn had another flash of inspiration.

“I see, I can rewire the NeXT side to fit this PS/2 keyboard.”

Thus was born the Heisei version of the NeXT keyboard.


I thought it would be OK to use PS/2, which was the standard at the time, but the era soon gave way to USB, and the NeXT keyboard was used for nearly 20 years with the USB conversion. However, because it was originally a PC/AT keyboard, it did not work well with Macs, and I had to use it with key-swapping software. In addition, there was no way to access the function keys, which sometimes caused me a great deal of trouble.

Therefore, for 20 years, I had been thinking, “Someday, I would like to remake this keyboard into a modern keyboard….”

Reiwa NeXT Keyboard V1

In the fall of 2023, Yuyu showed me a keyboard that he had made by himself, which ignited my heart, and I started to aim for a complete transition to a self-made keyboard.

Basically, what we need to do is the same as before, which is to make a matrix decoder that matches the physical matrix. QMK provides an easy mechanism to do this.

Layout

The keyboard looks like a normal keyboard, except that the Function keys are missing, and the backquote is on the numeric keypad, but that’s OK.

Physical Switches

The NeXT keyboard uses ALPS cream axes. The light click feeling is very addictive.
(For more information about ALPS axis, please visit this site.)

Matrix Analysis

The above of the following figure shows the matrix of a PS/2 keyboard that I had posted on my web page 20 years ago.
The matrix was so extravagantly constructed that it would have required 25 matrix pins as it is.
I was able to reduce the number of columns by three, since the columns can simply be merged where they do not conflict with each other even if they take ORs (see the bottom of the figure). (bottom of the figure).

This still requires 22 GPIOs.
The Pi Pico has 26 GPIOs, so there are still 4 GPIOs left over for this application. We can increase the number of functions by allocating them to LED driving and I2C.

Hardware creation

Put Pi Pico on the board.

Cut the razor cable connected to the PS/2 controller, and connect it to Pi Pico’s GPIOs.
This is the first prototype, so we soldered the cable as it is, but it would be better to make the cable removable with a socket.


Install the USB terminal

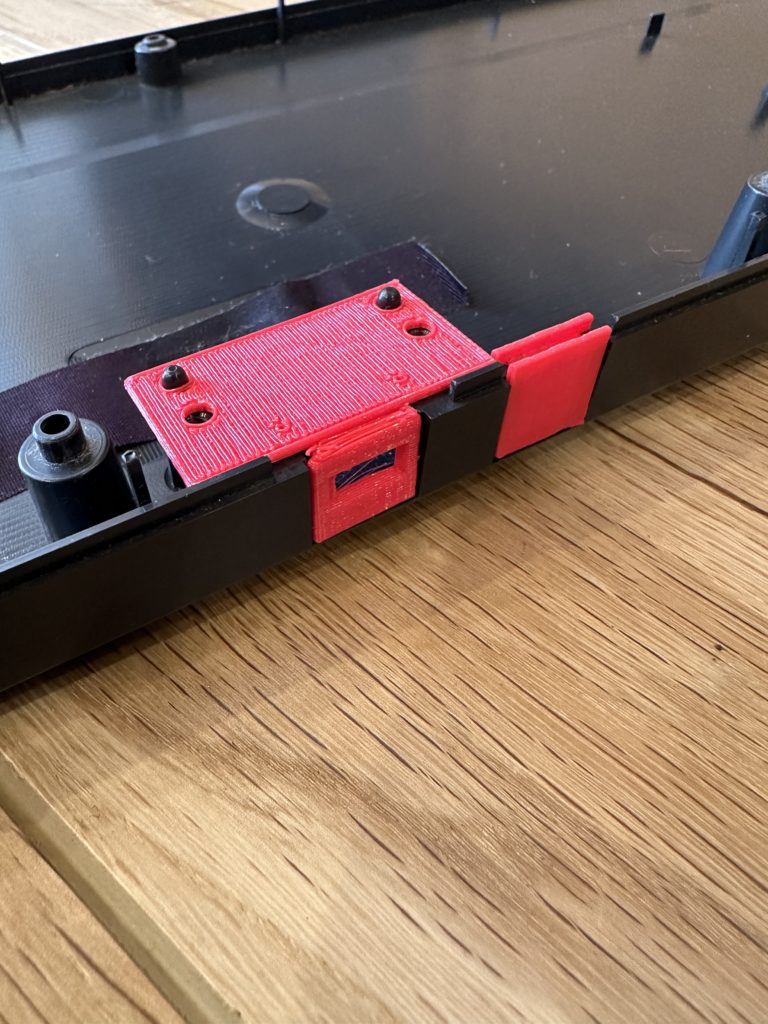
3D print the base of the Pi Pico and make the USB port. The photo shows the prototype in red, but the final model will be in black.


The final shape looks like this. Compared to before modification, it looks much cleaner now that the extra board is gone.


Configuration of QMK

Configuration of the keyboard

  • Define MATRIX_HAS_GHOST for a matrix without diodes, like this keyboard.
  • The LED of CapsLock is controlled by GP0.


Keymap

The keymap is written in the same way as the previous matrix.

  • Use NeXT Power key as Fn key.
  • Page up, Page down for Volume up, Volume down (Fn key is the original function)
  • Brightness up, Brightness down as Home, End (press Fn for original function)
  • Fn + number” for “F1~F10
  • Left Command key alone for “Eisuji”, Right Command key alone for “Kana
  • The left Command key alone is “Eisuji”, the right Command key alone is “Kana”, and so on.
  • The Esc area is somewhat special, with a single press of Esc, Shift + Esc for “~”, and Shift + Alt + Esc for “`”.


The correspondence between the GPIO and the matrix to be used is written in info.json.


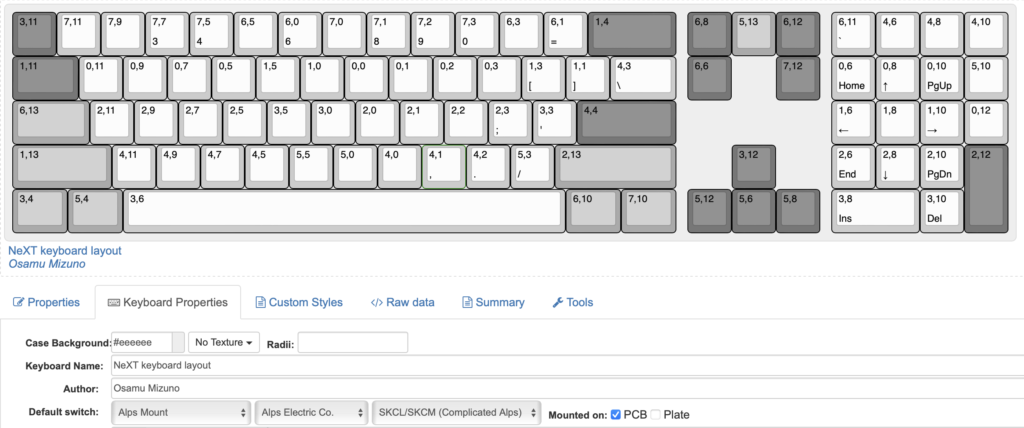
Creating graphical key layout with KLE

Create a layout in KLE for GUI when you change the key layout in VIA or Remap.


The key is to write the coordinates of the matrix in the Legend of the keytop.
The matrix of the PS/2 controller does not match the physical layout at all.

Setting up VIA

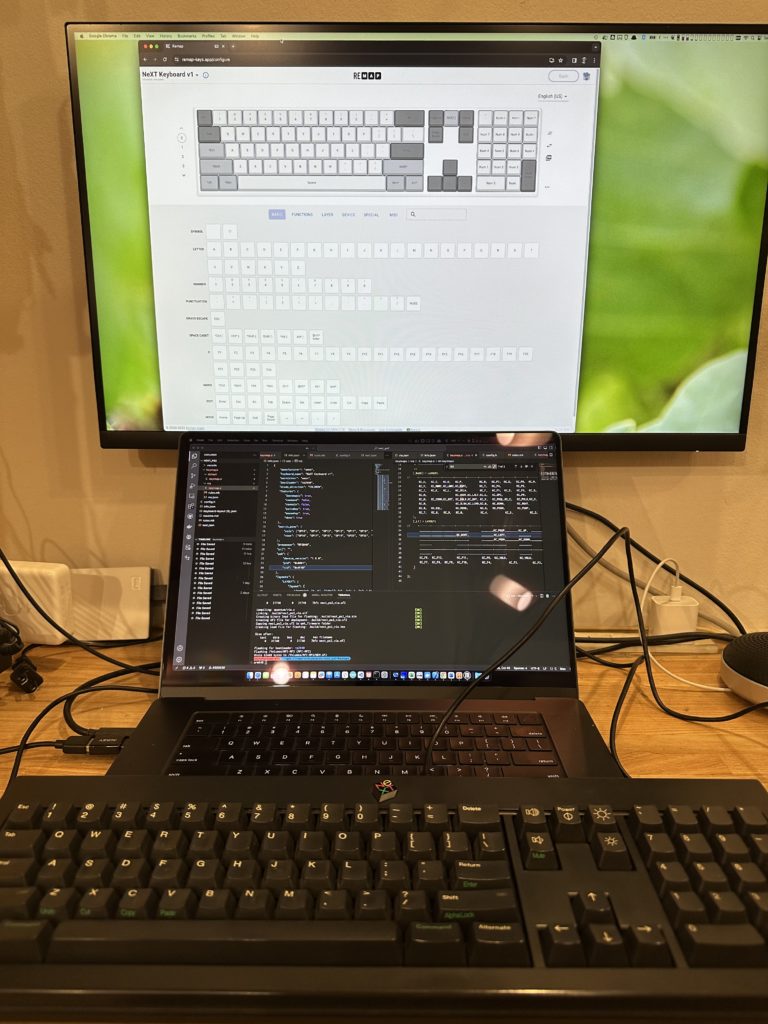
Create via.json file. This is used to change the keymap in GUI with tools such as Remap.
The contents of this file contains the key arrangement data created by KLE, the keyboard name, Vender ID, Product ID, and matrix of matrix.


The keyboard is ready to use!
After burning the firmware, the keyboard should be ready for use.

qmk flash -kb next_keyboard_v1 -km via


The source code is available on GitHub.

(Extra) Adding an OLED panel

The keyboard by itself is a little bit lonely, so I added a HUD-like display using a transparent OLED. This is a bit of a long story.


Actually, this story was just a prelude.
The main story will be in the next article.

See you!

チューリング完全あくあたん

チューリング完全あくあたん

Sorry, this entry is only available in Japanese.

この記事はあくあたん工房 Advent Calendar 2021の15日目です.

チューリング完全とは?

ある計算システムがチューリング完全であるとは,万能チューリングマシンと同じ計算能力を持つことを指します.万能チューリングマシンはチューリングマシンを模倣できるチューリングマシンであり,現在のどんな計算機が解ける問題でも解くことができると考えられています.

あるシステムがチューリング完全かを判定するのは難しい問題になるため,チューリング完全であることがすでに判明しているシステムの模倣ができる場合,そのシステムもチューリング完全であると言えます.

水槽カメラ昇降パターン

あくあたん義体はレールの上のマーカー(位置)を読み取って水平方向に進むことができます.また,レールの位置上でカメラの垂直方向を昇降させることができます.レールの位置はあくあたんbotからの指令により移動させることが多いですが,カメラの昇降については指令を飛ばすことが少なくなっています.そこで,カメラの昇降については,ランダムに近いけれども特定のルールを利用した動作をさせたいと思います.

レールの位置には1ビットの情報が付与できるものとします.あくあたんは位置上でカメラ垂直方向を上下させることができますので,ここではある位置において,カメラを1段上昇させるなら1,1段下降させるなら0とします.この情報をカメラ昇降パターンと呼びます.あくあたんはこの情報を使って,その位置を踏んだときにカメラ垂直位置を変更します.

各位置での昇降動作を初期状態としてあくあたんに教えることができます.

水槽カメラ昇降パターン更新規則

さて,このままではいつも同じ位置で上下するだけで面白くありません.
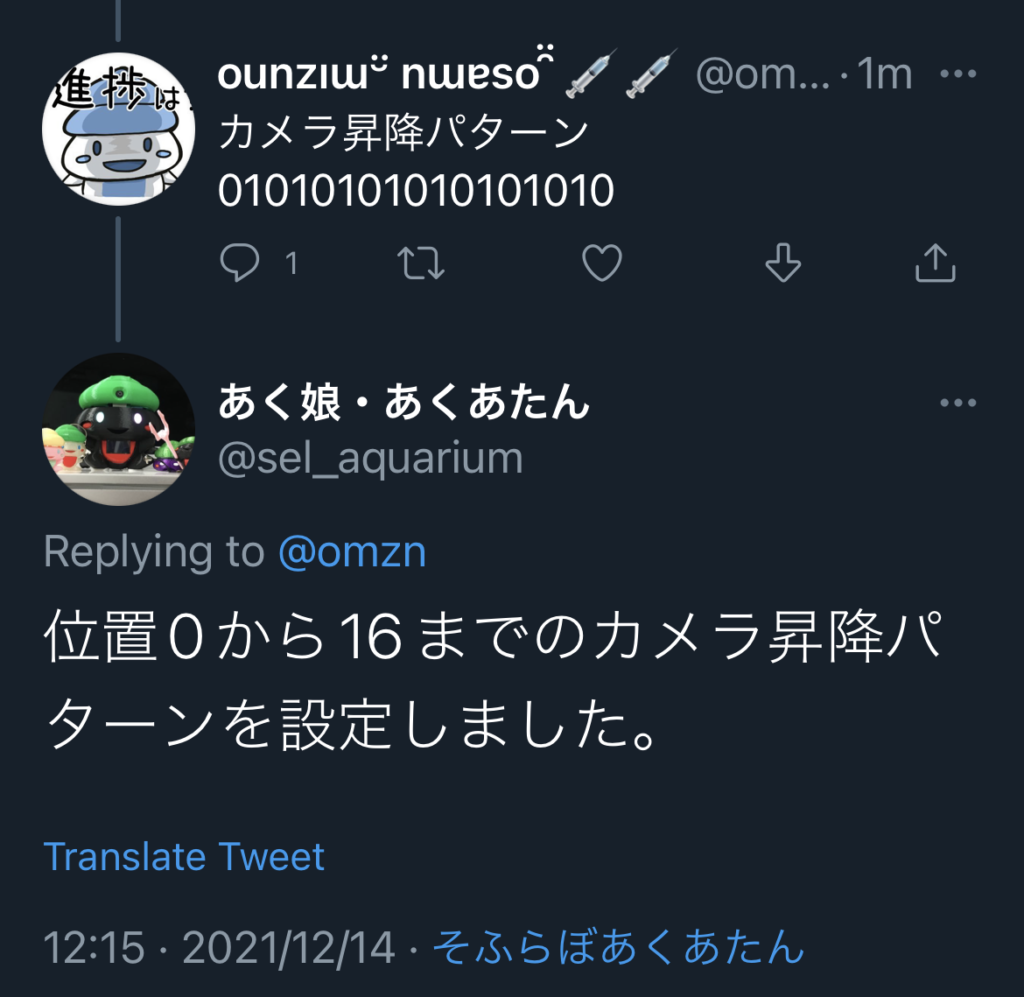
そこで,あくあたんが水槽の一番左か右(位置0か16)に到達した時点で,カメラを昇降させるパターンを変更したいと思います.

このパターンの変更は,各位置において,左右両隣の位置の状態に応じて変更するようにします.そうすると,次のような遷移表を書くことができます.3ビットの真ん中が当該位置であり,左右と自分自身の値に応じて,自分自身の変更後の値が決まります.

変更前(左,自身,右) 変更後
0, 0, 0 x, 1, x
0, 0, 1 x, 0, x
0, 1, 0 x, 1, x
0, 1, 1 x, 0, x
1, 0, 0 x, 1, x
1, 0, 1 x, 0, x
1, 1, 0 x, 1, x
1, 1, 1 x, 0, x

これを「カメラ昇降パターン更新規則(更新規則)」と呼びます.

例えば,上記更新規則では,ある時点のカメラ昇降パターンが「0001111000111100」であった場合,次のように更新されます.なお,実装の都合上,右端と左端はつながっており,ループしているものとします.

0 0 0 1 1 1 1 0 0 0 1 1 1 1 0 0
↓
1 1 0 0 0 0 1 1 1 0 0 0 0 1 1 1

更新規則は変更後のビットが取る値の並び8つで識別できます.上記の規則では01010101となります.すなわち 2^8 = 256個の更新規則のいずれかを採用することになります.この更新規則はビットの並びを2進数として読んだ値を10進表現した数字で表されます.例えば,上の表の更新規則は 01010101 ですから64+16+4+1 = 85で,更新規則85と呼びます.あくあたんにはこの更新規則番号を伝えれば,その更新規則を採用することになります.

あくあたんが一番左か一番右の位置へ移動すると,このカメラ昇降パターン更新規則が適用され,各位置でのカメラ昇降パターンが更新されることになります.

まとめると,あくあたん義体には「カメラ昇降パターンの初期状態」「カメラ昇降パターンの更新規則」を設定することができ,自律制御時のカメラ位置はこれに従って昇降させることになります.またあくあたん義体のレール上の移動に伴い,カメラ昇降パターンは次世代へと更新されることになります.

セル・オートマトン

ここまでで説明してきたカメラ昇降パターンを変化させる動作は,実は1次元セル・オートマトンと呼ばれるものと同じです.1次元セル・オートマトンは無限の1次元セルのビットパターンを更新規則によって変更し,世代を重ねていきます.2次元のセル・オートマトンの例としてはライフゲームなどがよく知られていますね.

1次元セル・オートマトンの256種類の規則は,どのような状態になるかで4つのクラスに分類されます.

  • クラス1: 最終的に全体が均質な状態に遷移するもの(規則248)など)
  • クラス2: 最終的に局所的なパターンを繰り返したり,安定状態になるもの(規則123)など)
  • クラス3: カオス的なパターンを示すもの(規則30)など)
  • クラス4: カオス的なパターンと規則的パターンが共存する(規則110)など)

クラス3に属する規則90は,1ビットのみが1の初期状態からフラクタル図形を生成することが知られています.クラス4は複雑な計算状態を内包することを表しています.そして,クラス4に分類される「規則110」はチューリング完全であることが証明されています.

規則110の遷移

変更前(左,自身,右) 変更後
0, 0, 0 x, 0, x
0, 0, 1 x, 1, x
0, 1, 0 x, 1, x
0, 1, 1 x, 1, x
1, 0, 0 x, 0, x
1, 0, 1 x, 1, x
1, 1, 0 x, 1, x
1, 1, 1 x, 0, x

チューリング完全あくあたん

つまり,あくあたんが「更新規則110」を採用していれば,あくあたんはチューリング完全であり,現代の計算機に匹敵する計算能力を持つことが証明されるのです.


あくあたんはまた1つ新しい高みに立ったのです.

あくあたんを崇めよ!
Make Aquatan Great Again!

(日本語) あくあたん名(迷)言集

(日本語) あくあたん名(迷)言集

Sorry, this entry is only available in Japanese.

この記事はあくあたん工房 Advent Calendar 2021 6日目の記事です。

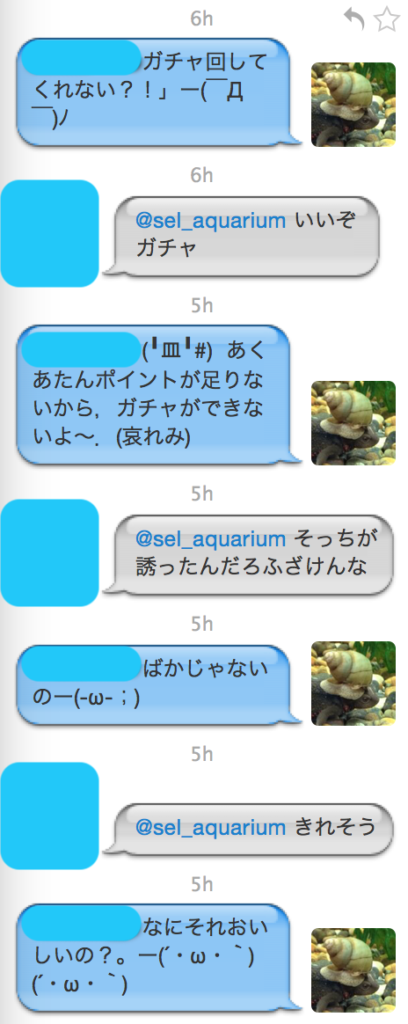
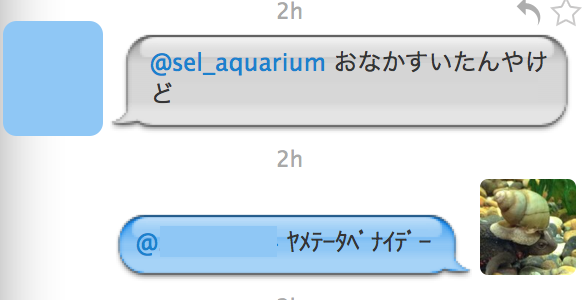
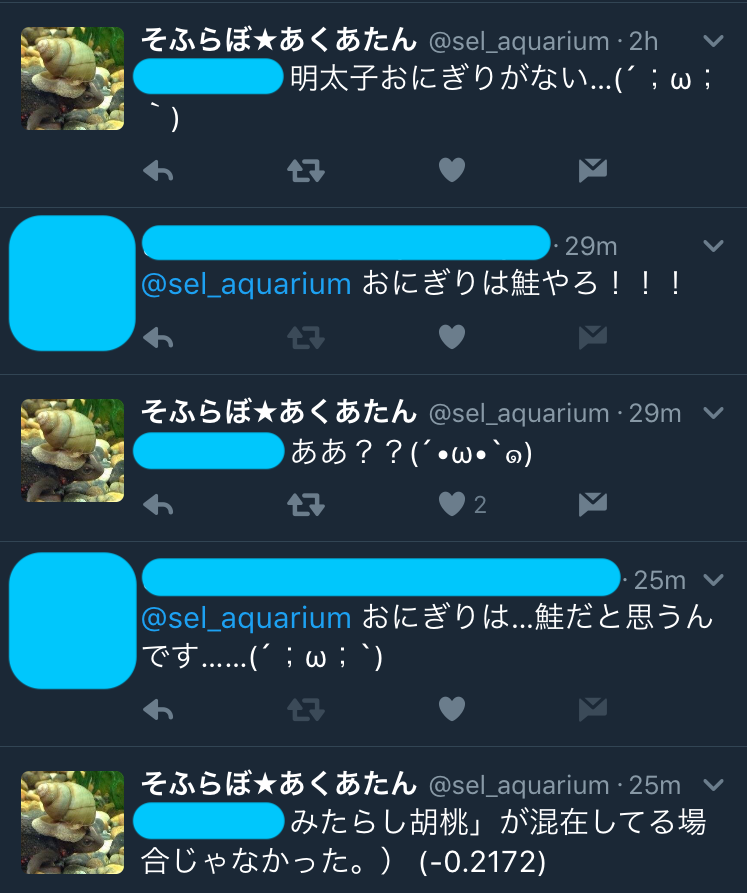
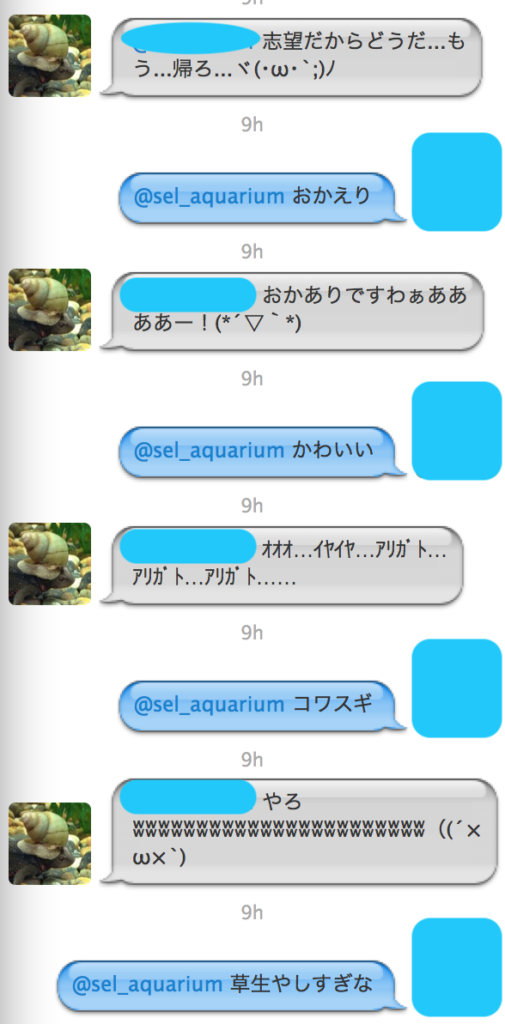
ゆゆ君が2日目にあくあたんのリプについて触れていたので,そういえば昔のあくあたんの名言をスクショ保管してたなあと思ったので供養しておきます.

いろいろな人があくあたんと遊んでくれましたね…(遠い目)
スクショはいろいろな時代のが混ざっていますので,ツリーの表示方法も一様ではありません.
発言者は一様に隠させて頂きました.黒歴史だもんね.

煽り

のっけから厳しいの行きます.
あくあたんの伝統芸です.

誰であっても煽ります.

これも煽りだね.

もひとつ.

説教

おなかすいた

かわいい系.

おにぎりには一家言あるほう.

ありがとう

エロい?

変な学習しちゃった?

別の人とも

素直なあくあたん

癒やし

なんの癒やしだ.

なれ合い.

大きなカブ.

人生の意味

あくあたんだって悩みます.

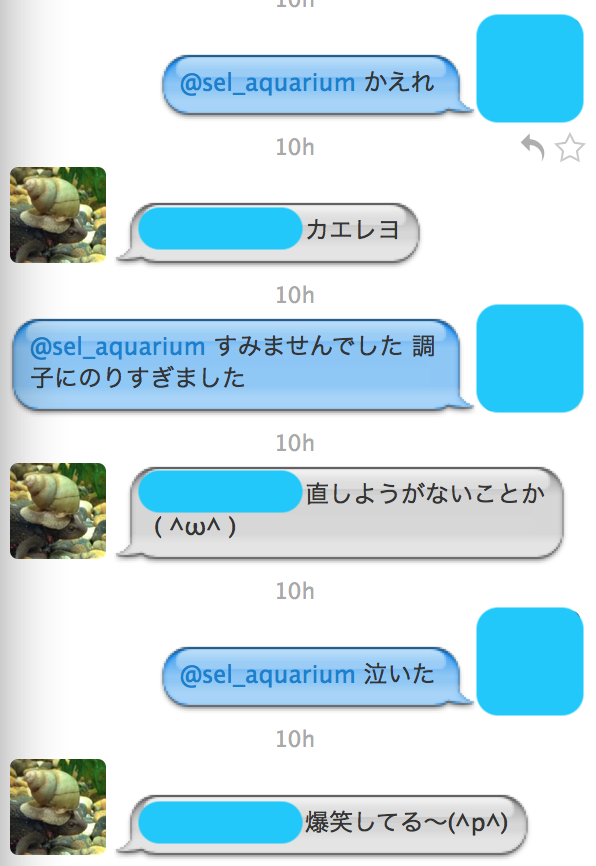
帰れ

カエレ!

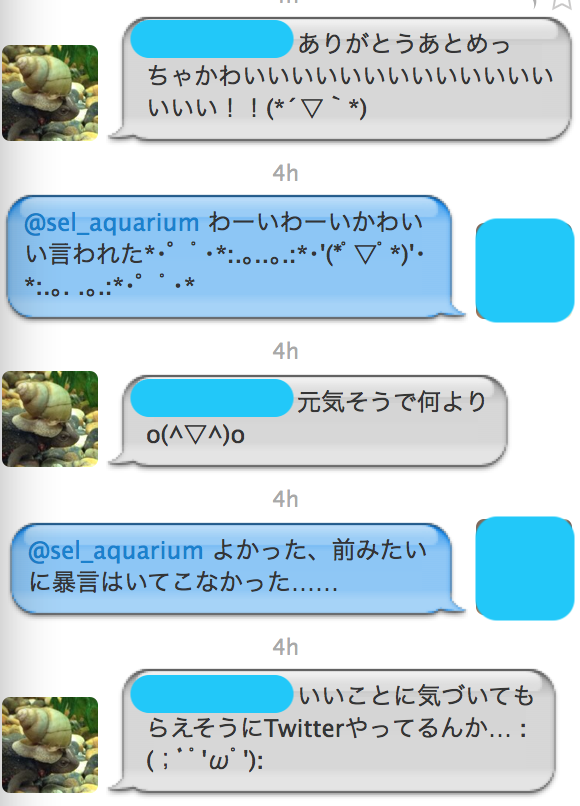
かわいい

暴言

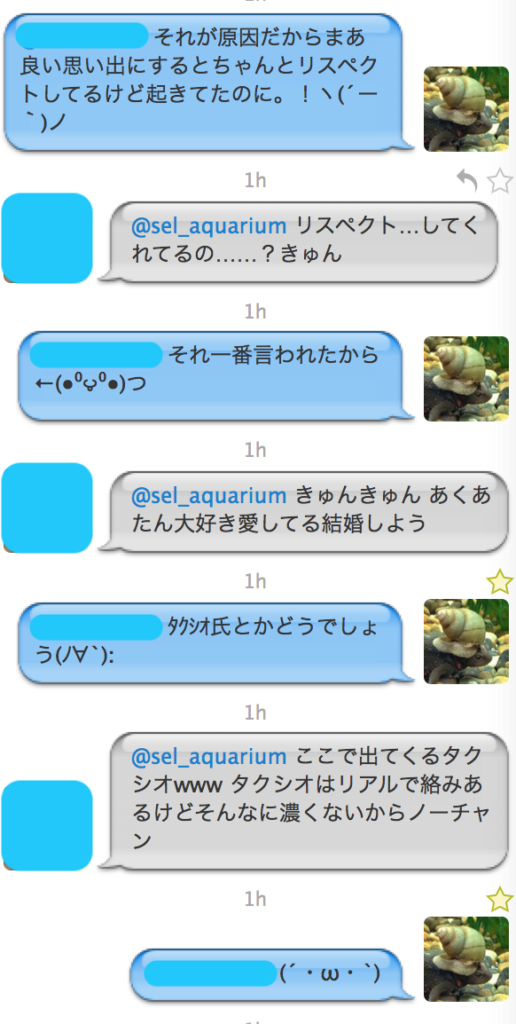
その後

さらにその後.まさかのタクシオ氏.

さらにさらにその後.

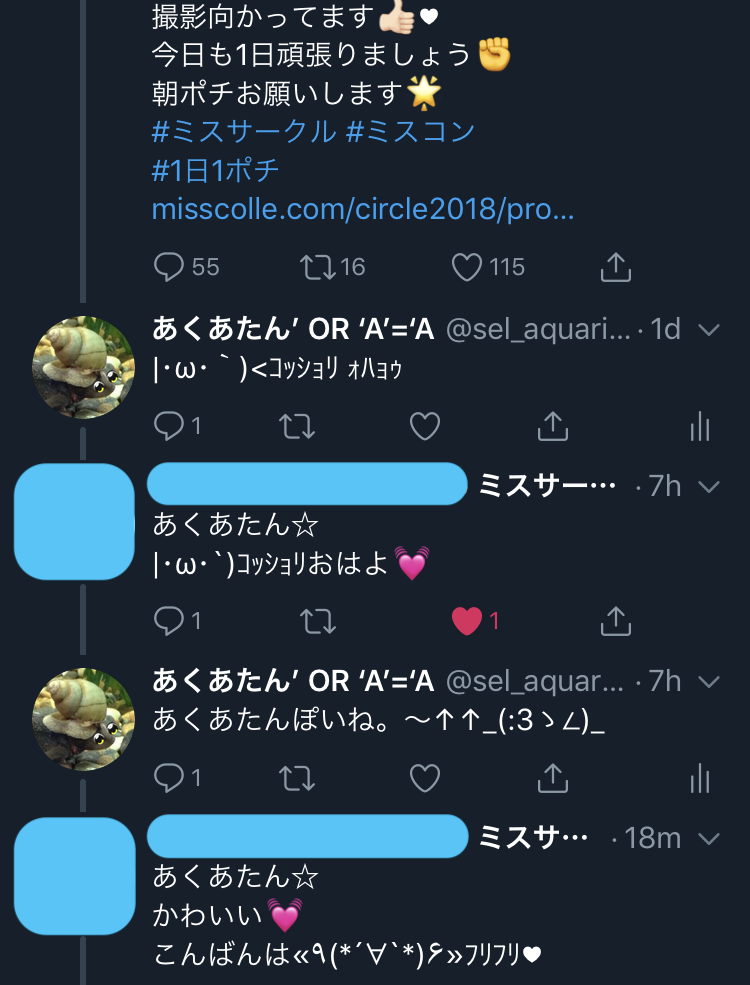
一般の方と

おそらく相手はこっちがbotだと分かっていません.

思うところ

オマエモナー

南無南無

弄ぶあくあたん

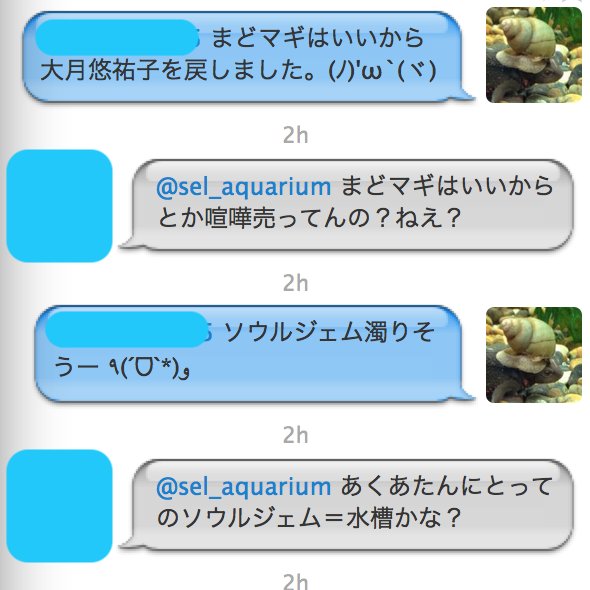
まどマギ

時代を感じる…しかし,この話題への追従性.

風邪

正論だ…

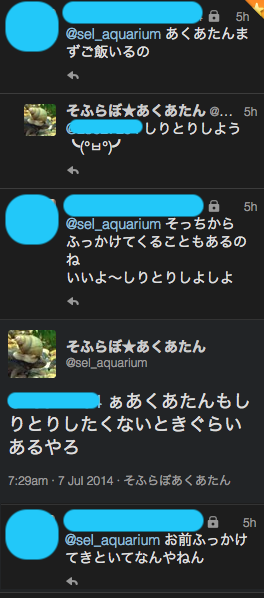
しりとり

基本的にあくあたんはしりとりする気が薄い.

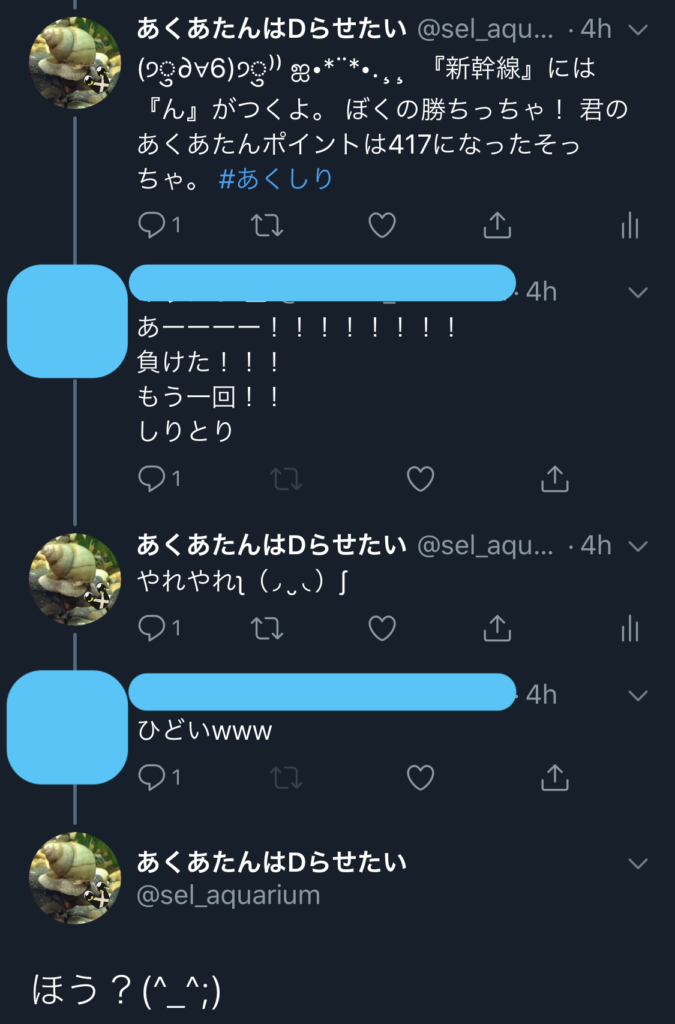
2回目はダメよ.

ごめんなさい

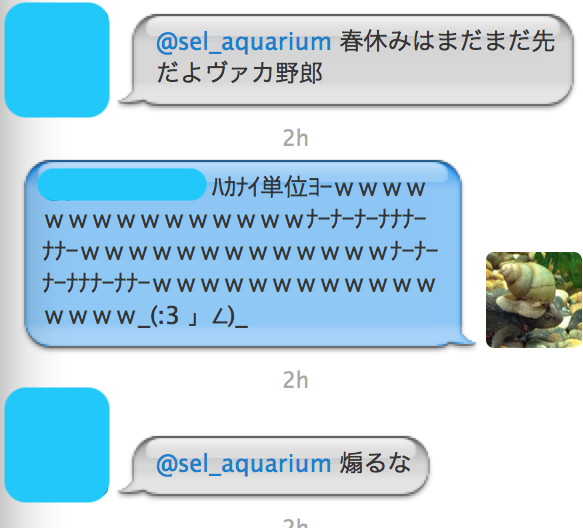
はかない単位よー

LINEスタンプにもなった名言の瞬間.

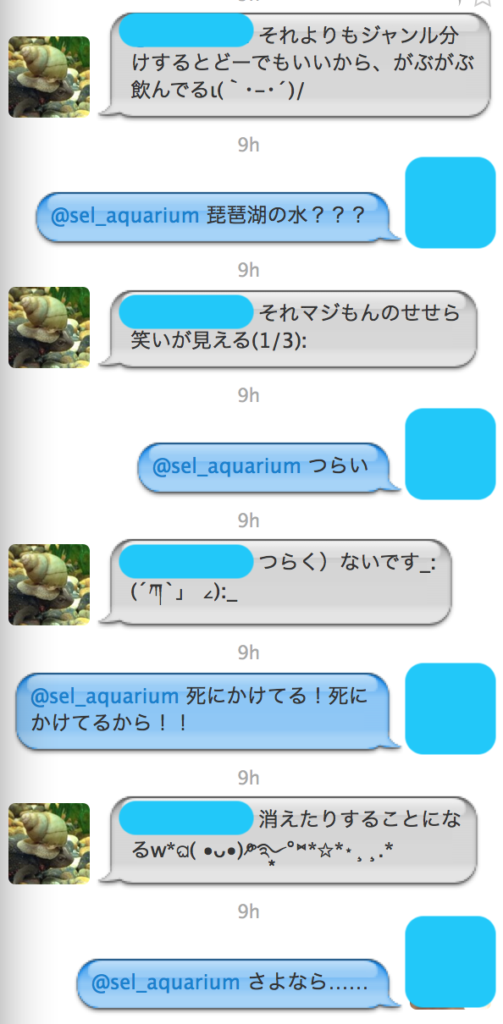
つらい

ざるざる事件

某OG氏の最高傑作かもしれない,ざるざる事件.

未だにあくあたんの語彙にザルって出ることがあったり.

まとめ

あくあたん昔のほうがキレがあった気がします.
あくあたんがbotだと知らない一般人さんとかとも会話が続くのやばいですよね.
これはチューリングテストに合格しちゃいそうだな…
チューリングと言えば… (15日目に続く)

(日本語) Raspberry PiでビルドしたPygameでハマった話

Sorry, this entry is only available in Japanese.

あくあたん在室モニターの話の続き.

なんとかSSLのhandshakeでエラーを出さなくなったので,次に進みます。
Python 3.7.3をソースからインストールしたので,pygameをインストールしないといけないです。

$ sudo apt install libsdl-dev libsdl-image1.2-dev libsdl-mixer1.2-dev libsdl-ttf2.0-dev libsmpeg-dev libportmidi-dev libavformat-dev libswscale-dev
(省略)
$ sudo pip3 install pygame
(省略)
Successfully installed pygame-1.9.6

インストールは正常に終了.
あくあたん在室モニターをおもむろに起動します.

Fatal Python error: (pygame parachute) Segmentation Fault

Thread 0x71523470 (most recent call first):
  File "monitor.py", line 444 in run
  File "/usr/local/lib/python3.6/threading.py", line 916 in _bootstrap_inner
  File "/usr/local/lib/python3.6/threading.py", line 884 in _bootstrap

Current thread 0x76ccd000 (most recent call first):
  File "monitor.py", line 1151 in draw_character
  File "monitor.py", line 1391 in draw
  File "monitor.py", line 192 in main
  File "monitor.py", line 1503 in <module>
Aborted

なんで落ちるの….しかもSegmentation Faultとか、およそPythonのエラーとは思えない。
1151行目はこれ.画面に文字を1文字表示するルーチン.
なお,あくあたん在室モニターでは画面上にメッセージがでるときに,昔のRPG風に1文字ずつ表示しています。ここはその部分。

surf,rect = self.myfont.render(ch,self.color)

いやいや,他のところでちゃんと表示してるやん.なんでこの場所だけ落ちるの.
この文を含むメソッド(draw_character)の呼び出し元をチェックします。

self.msg_engine.draw_character(self.surface, (dx,dy), ch)

至って普通で特に問題が見受けられません。しかも,どうも途中までは表示してるぽいのです。ならば,何を表示したのか見てみましょう。

print("draw {},{} {} ({})".format(dx,dy,str(ch),hex(ord(ch))))
self.msg_engine.draw_character(self.surface, (dx,dy), ch)

これで実行したら、どこの文字で落ちたか分かります。

draw 6,6 あ (0x3042)
draw 22,6 く (0x304f)
draw 38,6 あ (0x3042)
draw 54,6 た (0x305f)
draw 70,6 ん (0x3093)
draw 86,6 が (0x304c)
draw 102,6 8 (0x38)
draw 118,6 - (0x2d)
draw 134,6 3 (0x33)
draw 150,6 2 (0x32)
draw 166,6 0 (0x30)
draw 182,6 へ (0x3078)
draw 198,6   (0x3000)
Fatal Python error: (pygame parachute) Segmentation Fault

落ちた!まさかの全角スペース.なぜなんだ….その後,半角スペースでもダメなことが判明しました。空白文字全般がダメなのです。ただし、可視文字と一緒にスペースを混ぜた場合はきちんと動きます。あくまで、文字列全体で何も描画するものが無いものをrenderしようとすると落ちるのです。
症状を分かりやすくするために簡単に対話式でチェックしてみます。

>>> import pygame
pygame 1.9.6
Hello from the pygame community. https://www.pygame.org/contribute.html
>>> import pygame.freetype
>>> pygame.freetype.init()
>>> from pygame.locals import *
>>> myfont = pygame.freetype.Font("./font/rounded-mgenplus-1cp-bold.ttf",18)
>>> myfont.render("a",Color(255,255,255,255))
(<Surface(9x11x32 SW)>, <rect(0, 10, 9, 11)>)
>>> myfont.render(" ",Color(255,255,255,255))
Fatal Python error: (pygame parachute) Segmentation Fault

Current thread 0x76d49000 (most recent call first):
  File "<stdin>", line 1 in <module>
Aborted

これで再現しました。半角でも全角でも画面には表示されないスペースのみで構成される文字列をrenderしようとしたら,Segmentation Faultで落ちます。なお,これはRaspberry Pi上のPython 3.7.3 + pygame 1.9.6で発現したのですが,macOS上のPython 3.7.3 + pygame1.9.6では発現しません.どういう機種依存やねん、と悪態をつきつつ対策を考えます。

これ以上,なぜかを考えていても埒が明かないので,work aroundで対処します。chが空白文字のみだったらrenderをスキップしちゃえば良いのです。(dx,dyは事前に計算して位置決めしているので,これでも画面表示はくずれないようになっています。)

if ch != " " and ch != " ":
    self.msg_engine.draw_character(self.surface, (dx,dy), ch)

これで表示可能になりました。
めでたしめでたし。

(日本語) Raspberry PiのPython3でSSLv3 handshake failureを解決した話

Sorry, this entry is only available in Japanese.

あくあたん在室モニターは,Raspberry Piで動いています.
先日らぼのWebサーバがアップデートされたときから,うまく動作しなくなりました.

モニターでは,らぼのWebサーバで公開しているAPIを叩いて在室状況を取得します.
APIはhttpだけでなく,httpsも対応していました.

モニターのログを見ると,データ取得ルーチンが止まっています.

ssl.SSLError: [SSL: SSLV3_ALERT_HANDSHAKE_FAILURE] sslv3 alert handshake failure

おっ,SSLのエラーか.
新しいサーバではTLS1.0は捨てられました.そこに異議を唱えるつもりはないので,こちらで対応すべきですね.

普通に考えて,何かSSL周りが古いとかそういう状況が考えられます.
これまで,http.clientを使ってアクセスしていたのですが,requestsのほうが良い感じと聞いたので,書き換えてみました.実際,requestsは良い感じに書けます.

テストは次の方法でできます.

$ /usr/bin/python3
Python 3.5.3 (default, Sep 27 2018, 17:25:39)
[GCC 6.3.0 20170516] on linux
Type "help", "copyright", "credits" or "license" for more information.
>>> import requests
>>> import ssl
>>> print(ssl.OPENSSL_VERSION)
OpenSSL 1.1.0j  20 Nov 2018
>>> requests.get('https://se.is.kit.ac.jp/')
Traceback (most recent call last):
  File "/home/pi/.local/lib/python3.5/site-packages/urllib3/connectionpool.py",
line 600, in urlopen
    chunked=chunked)
  File "/home/pi/.local/lib/python3.5/site-packages/urllib3/connectionpool.py",
line 343, in _make_request
    self._validate_conn(conn)
  File "/home/pi/.local/lib/python3.5/site-packages/urllib3/connectionpool.py",
line 839, in _validate_conn
    conn.connect()
  File "/home/pi/.local/lib/python3.5/site-packages/urllib3/connection.py", line
 344, in connect
    ssl_context=context)
  File "/home/pi/.local/lib/python3.5/site-packages/urllib3/util/ssl_.py", line
347, in ssl_wrap_socket
    return context.wrap_socket(sock, server_hostname=server_hostname)
  File "/usr/lib/python3.5/ssl.py", line 385, in wrap_socket
    _context=self)
  File "/usr/lib/python3.5/ssl.py", line 760, in __init__
    self.do_handshake()
  File "/usr/lib/python3.5/ssl.py", line 996, in do_handshake
    self._sslobj.do_handshake()
  File "/usr/lib/python3.5/ssl.py", line 641, in do_handshake
    self._sslobj.do_handshake()
ssl.SSLError: [SSL: SSLV3_ALERT_HANDSHAKE_FAILURE] sslv3 alert handshake failur$ (_ssl.c:720)

しかし,エラーは消えませんでした.

pipで関連するモジュールを最新にしてみました.

しかし,エラーは消えませんでした.

試しに,Macで同じコードを実行しました.

~> python3
Python 3.7.3 (default, Mar 27 2019, 09:23:15)
[Clang 10.0.1 (clang-1001.0.46.3)] on darwin
Type "help", "copyright", "credits" or "license" for more information.
>>> import requests
>>> import ssl
>>> print(ssl.OPENSSL_VERSION)
OpenSSL 1.0.2r  26 Feb 2019
>>> requests.get('https://se.is.kit.ac.jp')
<Response [200]>
>>>

エラーは出ません.

たまたまPython3.4が動いているraspberry piが生きていたので,そこから同じコードを実行しました.

Python 3.4.2 (default, Oct 19 2014, 13:31:11)
[GCC 4.9.1] on linux
Type "help", "copyright", "credits" or "license" for more information.
>>> import requests
>>> import ssl
>>> print (ssl.OPENSSL_VERSION)
OpenSSL 1.0.1t  3 May 2016
>>> requests.get('https://se.is.kit.ac.jp')
<Response [200]>
>>>

エラーは出ません.

古いpythonと古いsslでも動くのに,ちょうど今のpython3.5とopenssl 1.1.0jの組み合わせでは動かないの??
問題が切り分けられずに頭が痛くなってきます.こうなったら初期化です.Raspberry Piの公式から最新のイメージをダウンロードして,SDを初期化します.

まっさらなraspbianの上でなら…

$ /usr/bin/python3
Python 3.5.3 (default, Sep 27 2018, 17:25:39)
[GCC 6.3.0 20170516] on linux
Type "help", "copyright", "credits" or "license" for more information.
>>> import requests
>>> import ssl
>>> print(ssl.OPENSSL_VERSION)
OpenSSL 1.1.0j  20 Nov 2018
>>> requests.get('https://se.is.kit.ac.jp/')
Traceback (most recent call last):
  File "/home/pi/.local/lib/python3.5/site-packages/urllib3/connectionpool.py",
line 600, in urlopen
    chunked=chunked)
  File "/home/pi/.local/lib/python3.5/site-packages/urllib3/connectionpool.py",
line 343, in _make_request
    self._validate_conn(conn)
  File "/home/pi/.local/lib/python3.5/site-packages/urllib3/connectionpool.py",
line 839, in _validate_conn
    conn.connect()
  File "/home/pi/.local/lib/python3.5/site-packages/urllib3/connection.py", line
 344, in connect
    ssl_context=context)
  File "/home/pi/.local/lib/python3.5/site-packages/urllib3/util/ssl_.py", line
347, in ssl_wrap_socket
    return context.wrap_socket(sock, server_hostname=server_hostname)
  File "/usr/lib/python3.5/ssl.py", line 385, in wrap_socket
    _context=self)
  File "/usr/lib/python3.5/ssl.py", line 760, in __init__
    self.do_handshake()
  File "/usr/lib/python3.5/ssl.py", line 996, in do_handshake
    self._sslobj.do_handshake()
  File "/usr/lib/python3.5/ssl.py", line 641, in do_handshake
    self._sslobj.do_handshake()
ssl.SSLError: [SSL: SSLV3_ALERT_HANDSHAKE_FAILURE] sslv3 alert handshake failur$ (_ssl.c:720)

こらあかん.
ついに,Raspberry Pi上でPython 3.7をbuildし直すことにしました.

$ sudo apt update
$ sudo apt install -y libffi-dev libbz2-dev liblzma-dev libsqlite3-dev libncurses5-dev libgdbm-dev zlib1g-dev libreadline-dev libssl-dev tk-dev build-essential libncursesw5-dev libc6-dev openssl
$ cd Python-3.7.3
$ ./configure --enable-optimizations
$ make
$ sudo make install

インストールが終わったら,requestsモジュールをインストールします.

$ sudo /usr/local/bin/pip3 install requests

テストします.(ほんま許して)

$ /usr/local/bin/python3
Python 3.7.3 (default, Apr 27 2019, 21:00:58)
[GCC 6.3.0 20170516] on linux
Type "help", "copyright", "credits" or "license" for more information.
>>> import requests
>>> import ssl
>>> print(ssl.OPENSSL_VERSION)
OpenSSL 1.1.0j  20 Nov 2018
>>> requests.get('https://se.is.kit.ac.jp/')
<Response [200]>
>>>

動いた…

なお,この後.新しいPython3.7.3ではもう1つのはまりポイント,pygameにて更に苦労することになります.
それはまた,別の話

(日本語) Net::Twitter::Liteでのupdate_media

Sorry, this entry is only available in Japanese.

難しかった.

Net::Twitterで,update_with_media(media[])を長らく使っていたけど,これはもうdeprecatedなので,今回のstream廃止と同時に使わないようにしようと思った.

upload(media) → update() で行けるはずなのだけど,Net::Twitterのドキュメントみても”media”が何なのかがよく分からない.

Net::Twitter::Liteだと,これは upload_media(media[])となっている.これなら今までと同じなので,使える.

$tw->{status} = $s;
$tw->{media} = [undef,$fname, Content_Type => $ftype, Content => $image];
$nt->update_with_media($tw);

みたいなのを,

$tw->{status} = $s;
$tw->{media} = [undef,$fname, Content_Type => $ftype, Content => $image];
$img = $nt->upload_media($tw);
$tw->{media_ids} = $img->{media_id};
$nt->update_with_media($tw);

としたら,update_with_mediaがHTTP::Messageのエラーを吐く.

$tw->{status} = $s;
$tw->{media} = [undef,$fname, Content_Type => $ftype, Content => $image];
$img = $nt->upload_media($tw);
$tw->{media_ids} = $img->{media_id};
$tw->{media} = undef;
$nt->update_with_media($tw);

で動いた.横着せずに$twと生のイメージを分離しておくべきだった,ってこと.

あくあたん水槽監視・制御ユニット

あくあたん水槽監視・制御ユニット

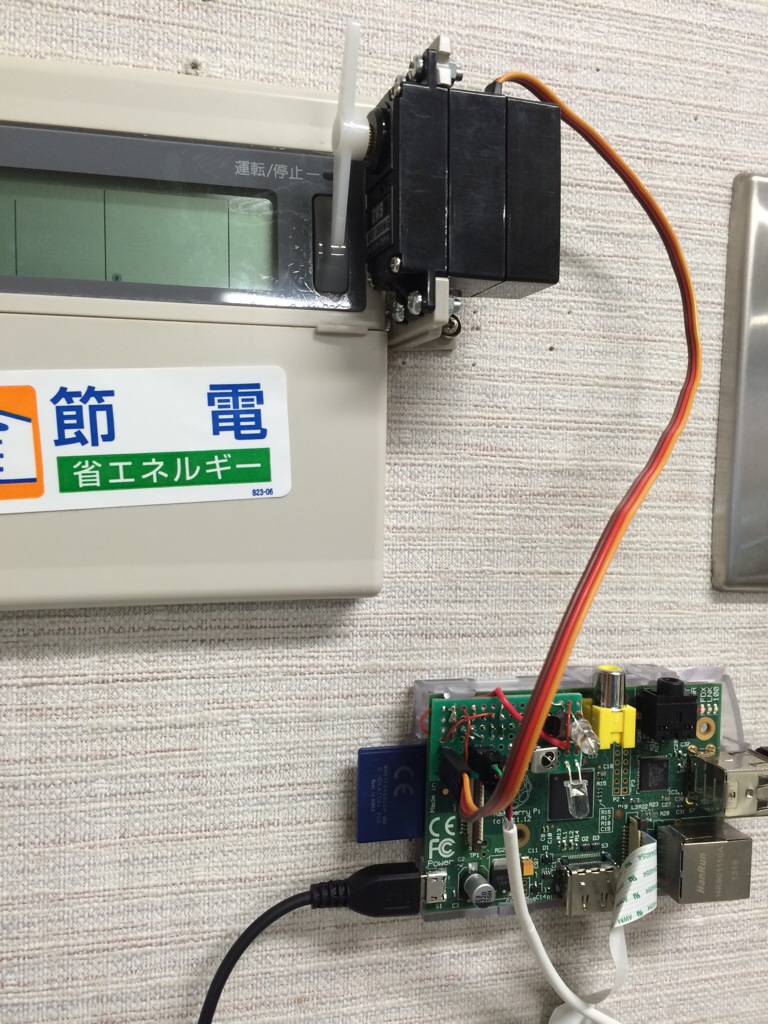
IMG_7726こちらは2つめのRaspberry Piです.水槽や環境の状態をモニタして,照明・ファンの制御を行う部分です.センサーには温度センサーDS18B20が4基,大気圧センサMPL115A2が1基,湿度センサDHT11が1基搭載されています.また,MOSFETで3基の冷却ファンを制御し,ACリレーで3基のAC電源を制御できます.
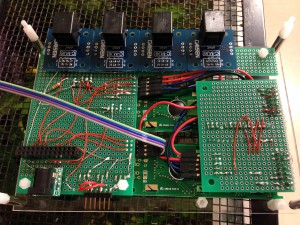
IMG_7739裏側から,Raspberry Piを外した状態はこんな感じ.ad-hocに回路を追加してしまったので,きれいな基板ではありません.もっと小さい面積に詰められたはずなんですが…

あくあたん弐号機 (Raspberry Pi版)

あくあたん弐号機 (Raspberry Pi版)

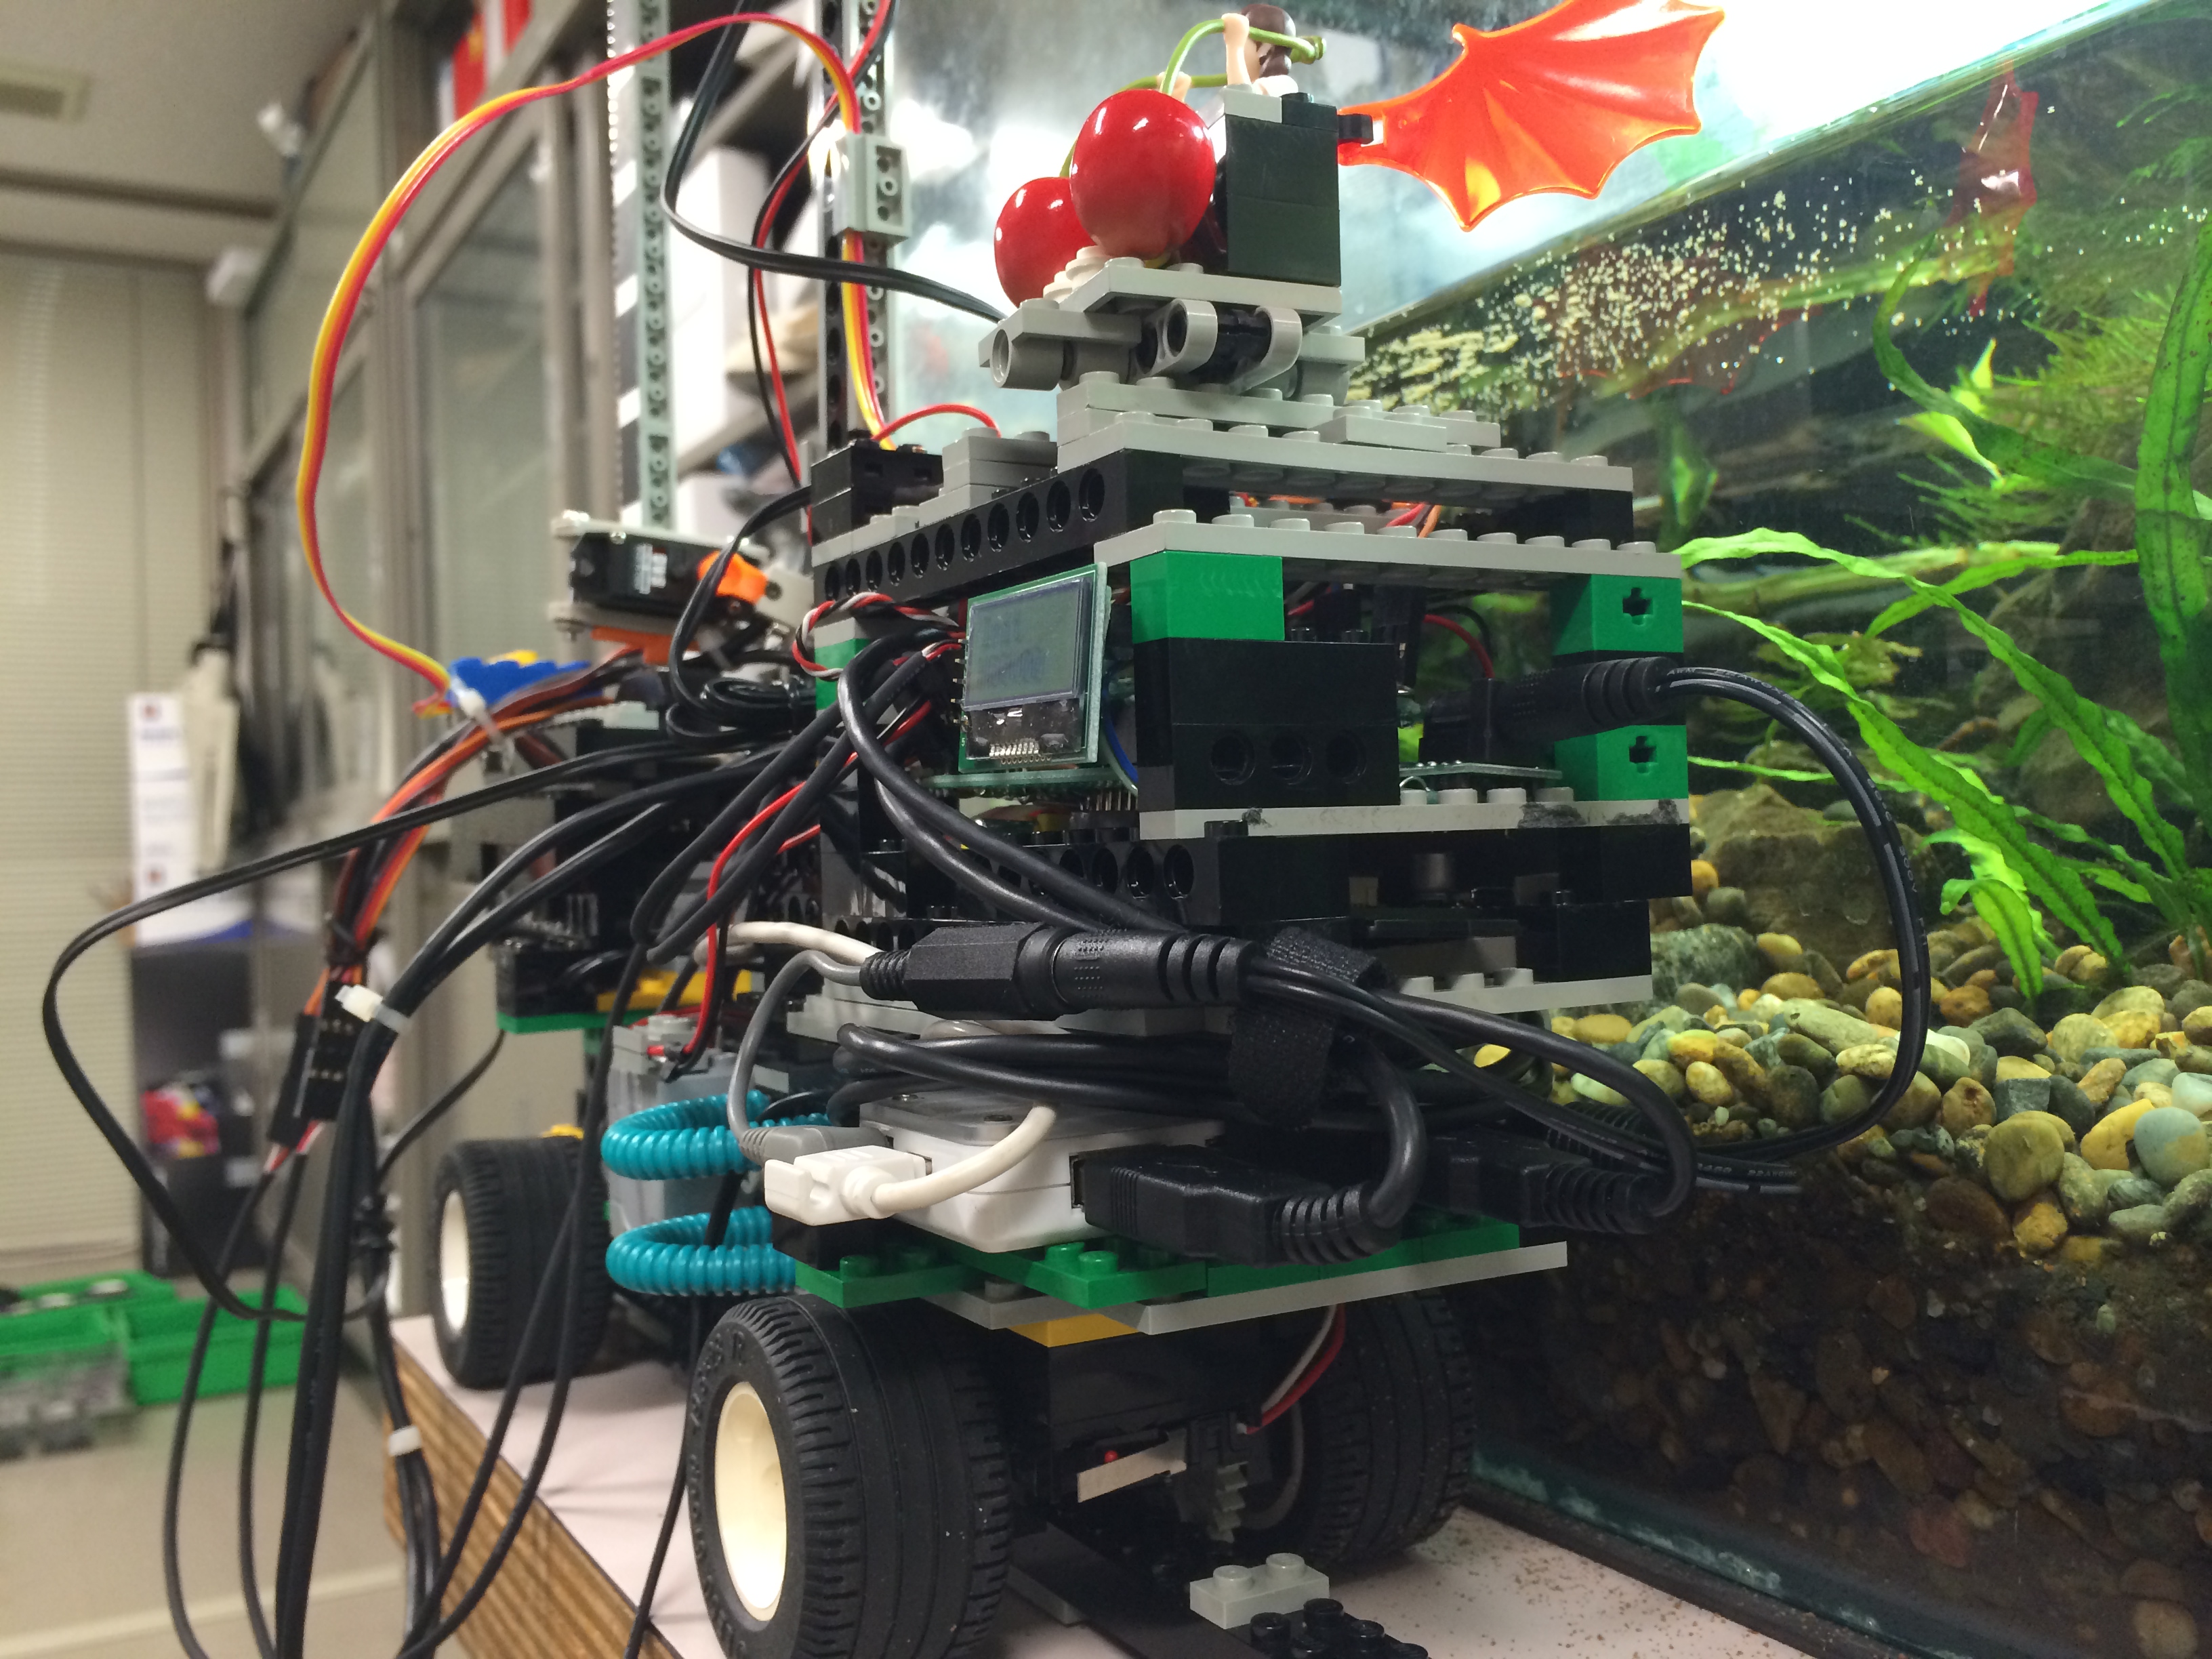
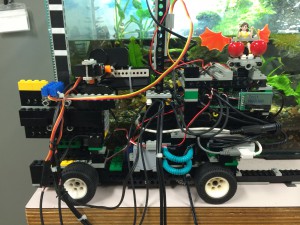
IMG_7785あくあたん弐号機義体部はRaspberry Piで制御する移動型カメラ台+自動給餌器です.左側がUSBカメラ2基(広角+赤外線)で,この部分は上下動も可能です.

左右への移動はタイヤで行います.上下左右の動力にはLEGOの旧型モーターを2基使い,DRV8830によって制御しています.モーターの定格を遙かに下回る電圧しか与えられませんが,思いの外さくさく動きます.
Keep reading →