This article is the 15th day of the advent calendar of Studio Aquatan 2023.
This is Prof. omzn (keyboard modification studies).
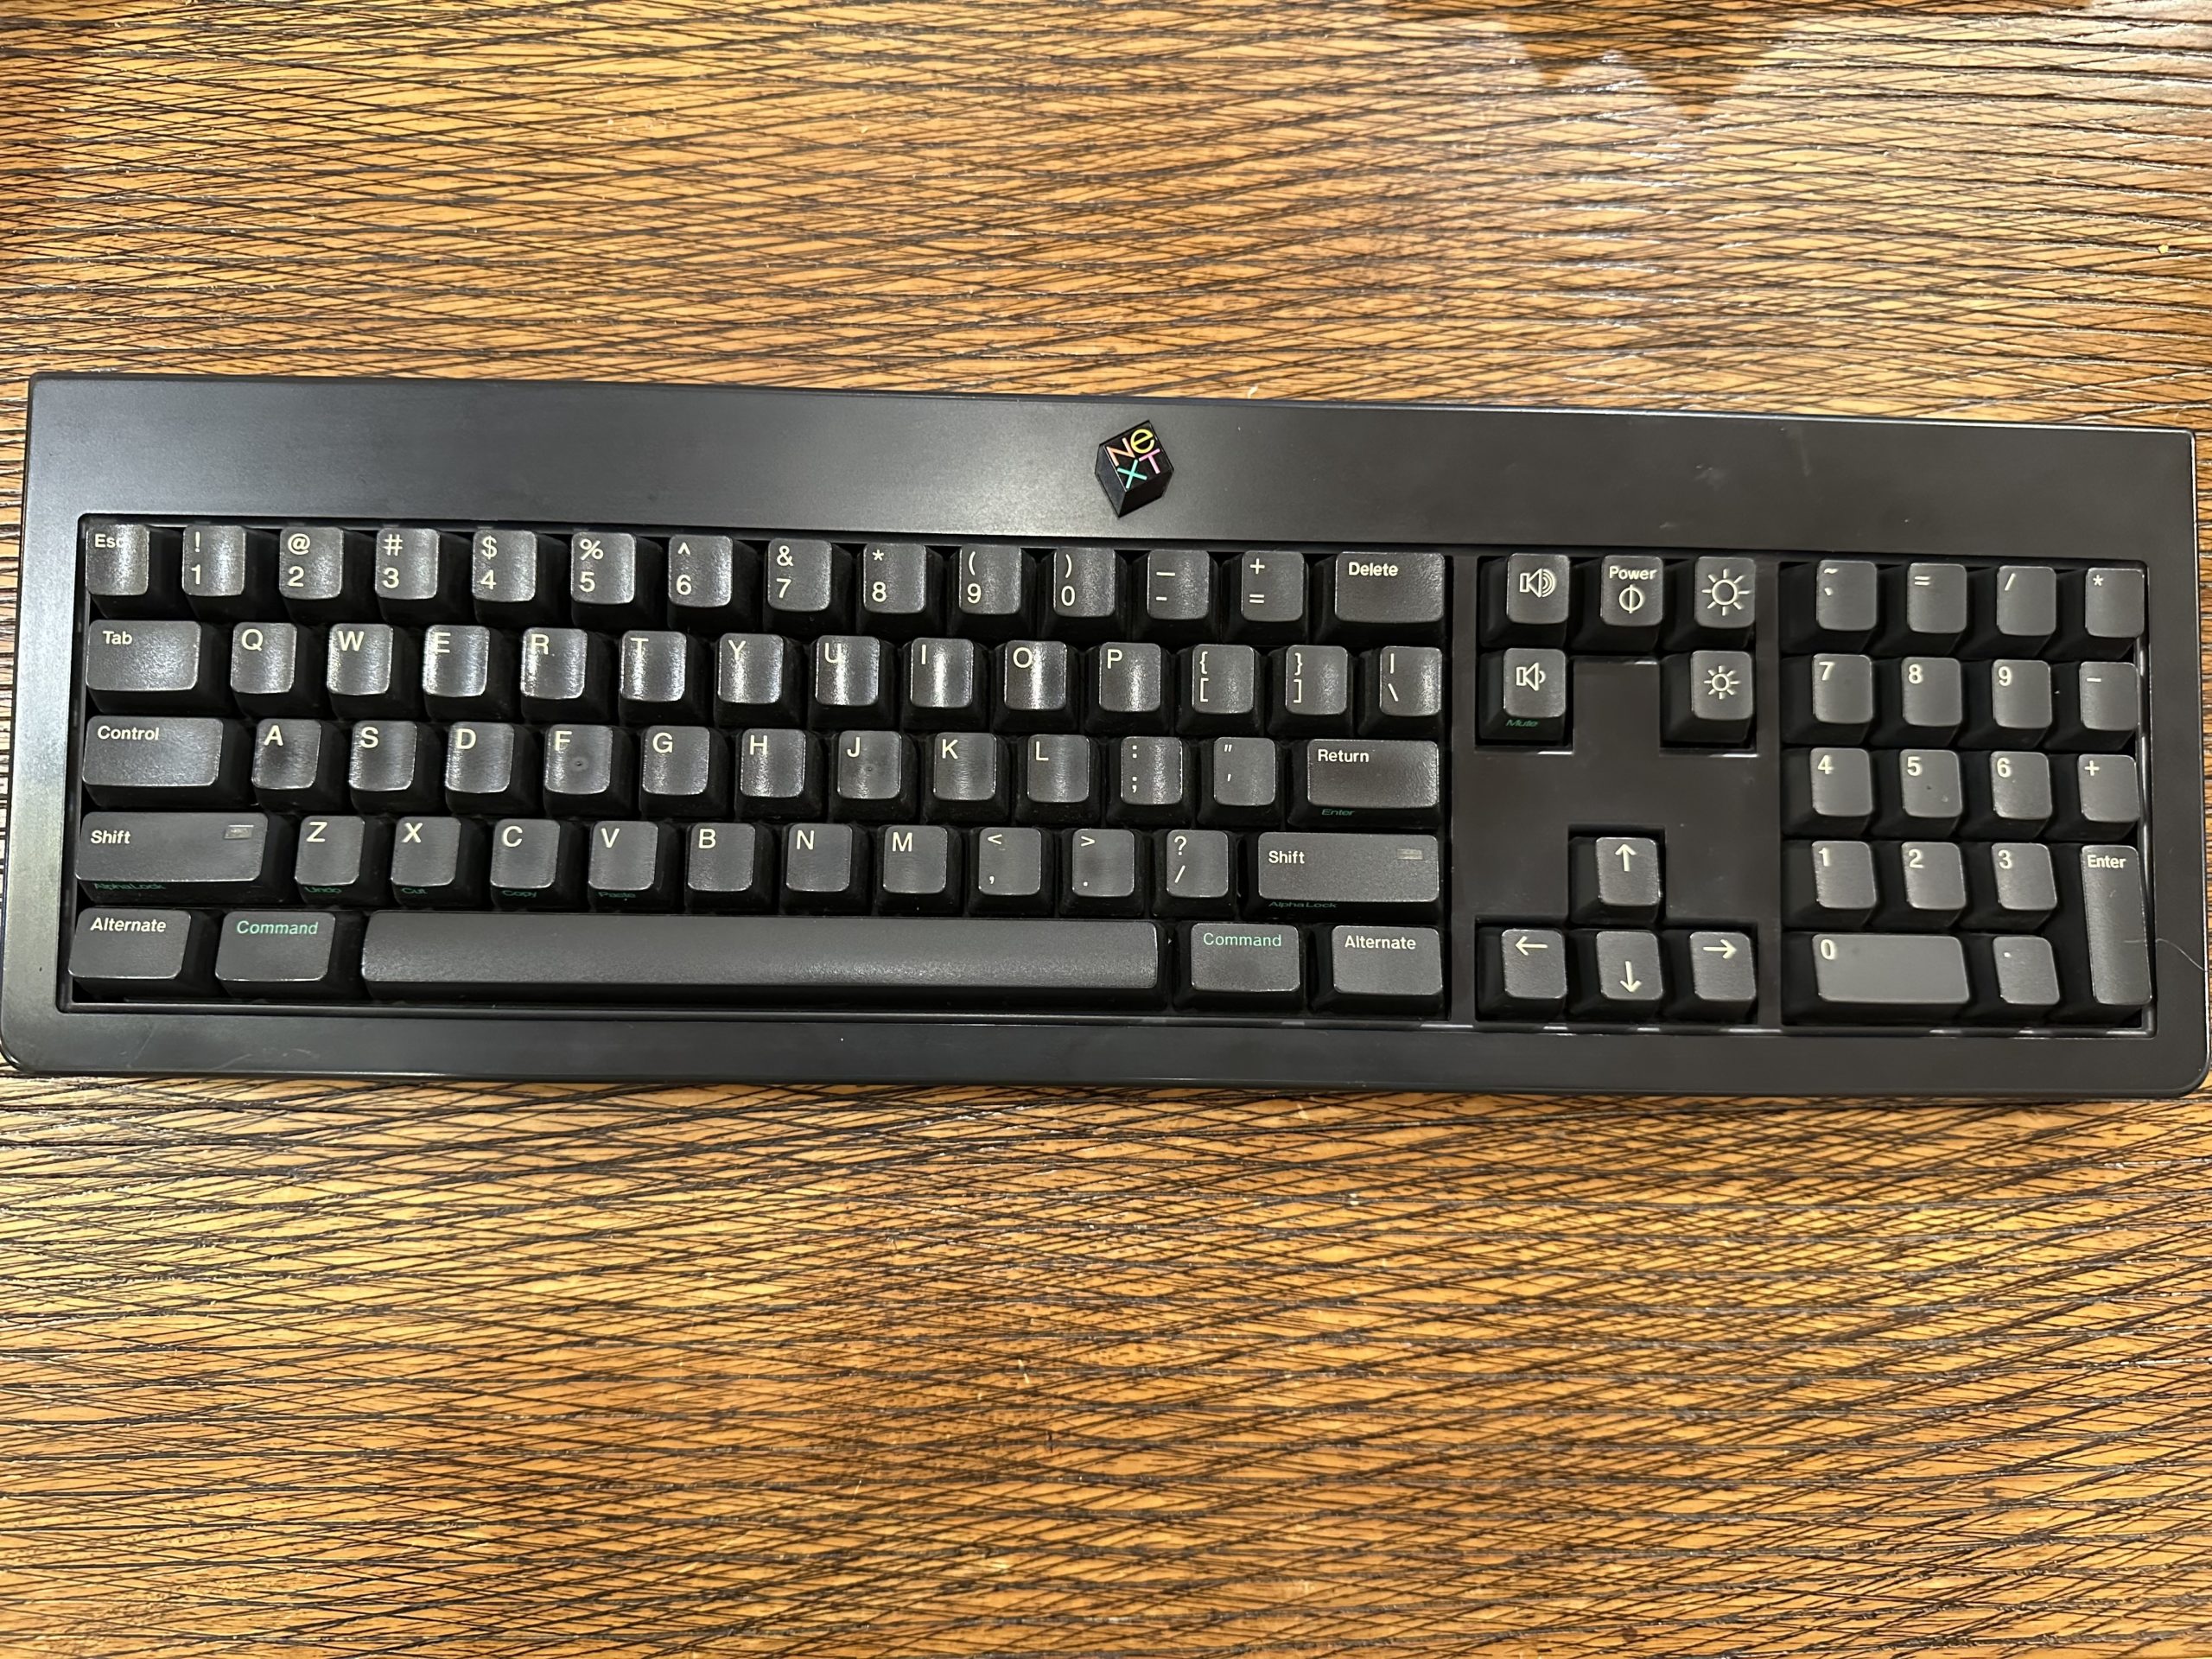
Heisei Version of the NeXT Keyboard
When I was still young, in the 2000s, I enjoyed modifying old computers to convert them into the latest PCs.
I modified NeXT cube, NeXT station, Macintosh LC II (I think), Mac G4 cube, etc. to make a mini PC.
Despite all the hard work, we produced a terrible machine that could not deliver much performance, and would run out of control quickly because of its broken thermal design.
I feel bad for the old computers that were sacrificed.
The NeXT keyboard was something like a Mac-style ADB, but at the time it was just a useless keyboard.
Then, young omzn had a flash of inspiration.
“I think I can get a controller from a junk PS/2 keyboard lying around here and port it to the NeXT keyboard.”
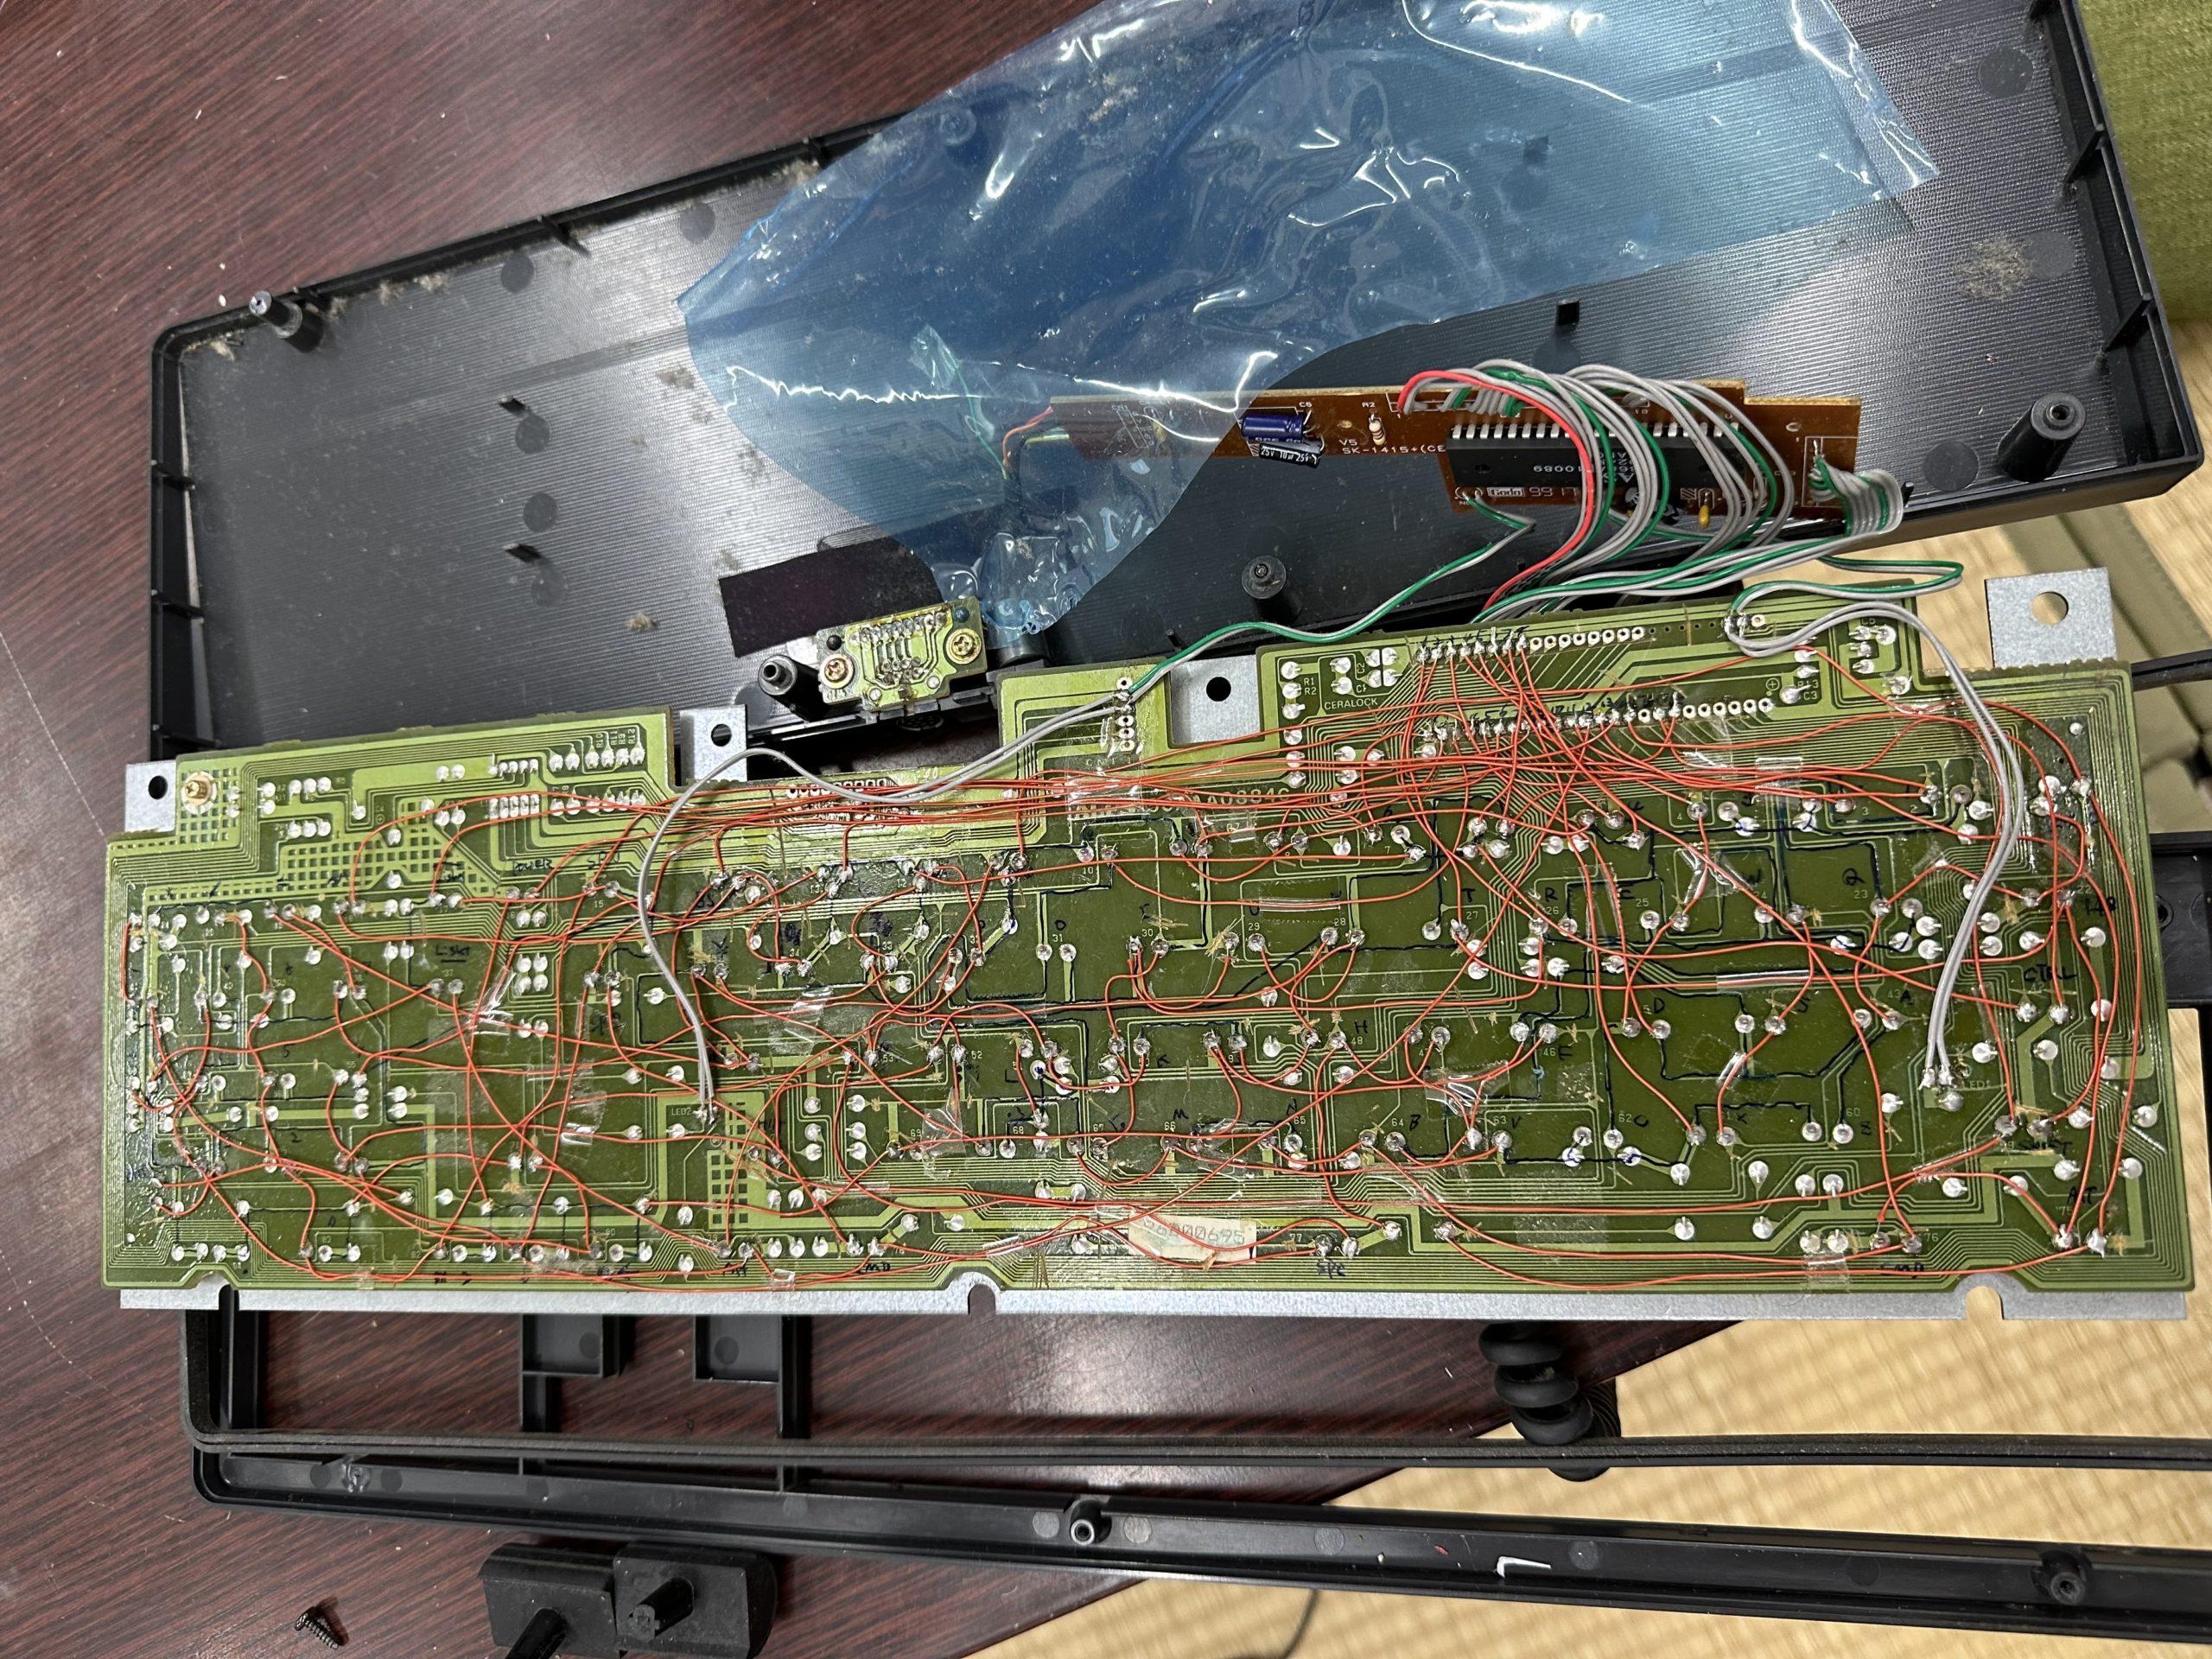
He immediately investigated the keyboard mechanism, and found that the keyboard had a key matrix decoder on it, and, unfortunately, the key matrices were all different.
“I want to make the most of this PS/2 keyboard I’ve taken apart…”
Here, omzn had another flash of inspiration.
“I see, I can rewire the NeXT side to fit this PS/2 keyboard.”
Thus was born the Heisei version of the NeXT keyboard.
I thought it would be OK to use PS/2, which was the standard at the time, but the era soon gave way to USB, and the NeXT keyboard was used for nearly 20 years with the USB conversion. However, because it was originally a PC/AT keyboard, it did not work well with Macs, and I had to use it with key-swapping software. In addition, there was no way to access the function keys, which sometimes caused me a great deal of trouble.
Therefore, for 20 years, I had been thinking, “Someday, I would like to remake this keyboard into a modern keyboard….”
Reiwa NeXT Keyboard V1
In the fall of 2023, Yuyu showed me a keyboard that he had made by himself, which ignited my heart, and I started to aim for a complete transition to a self-made keyboard.
Basically, what we need to do is the same as before, which is to make a matrix decoder that matches the physical matrix. QMK provides an easy mechanism to do this.
Layout
The keyboard looks like a normal keyboard, except that the Function keys are missing, and the backquote is on the numeric keypad, but that’s OK.
Physical Switches
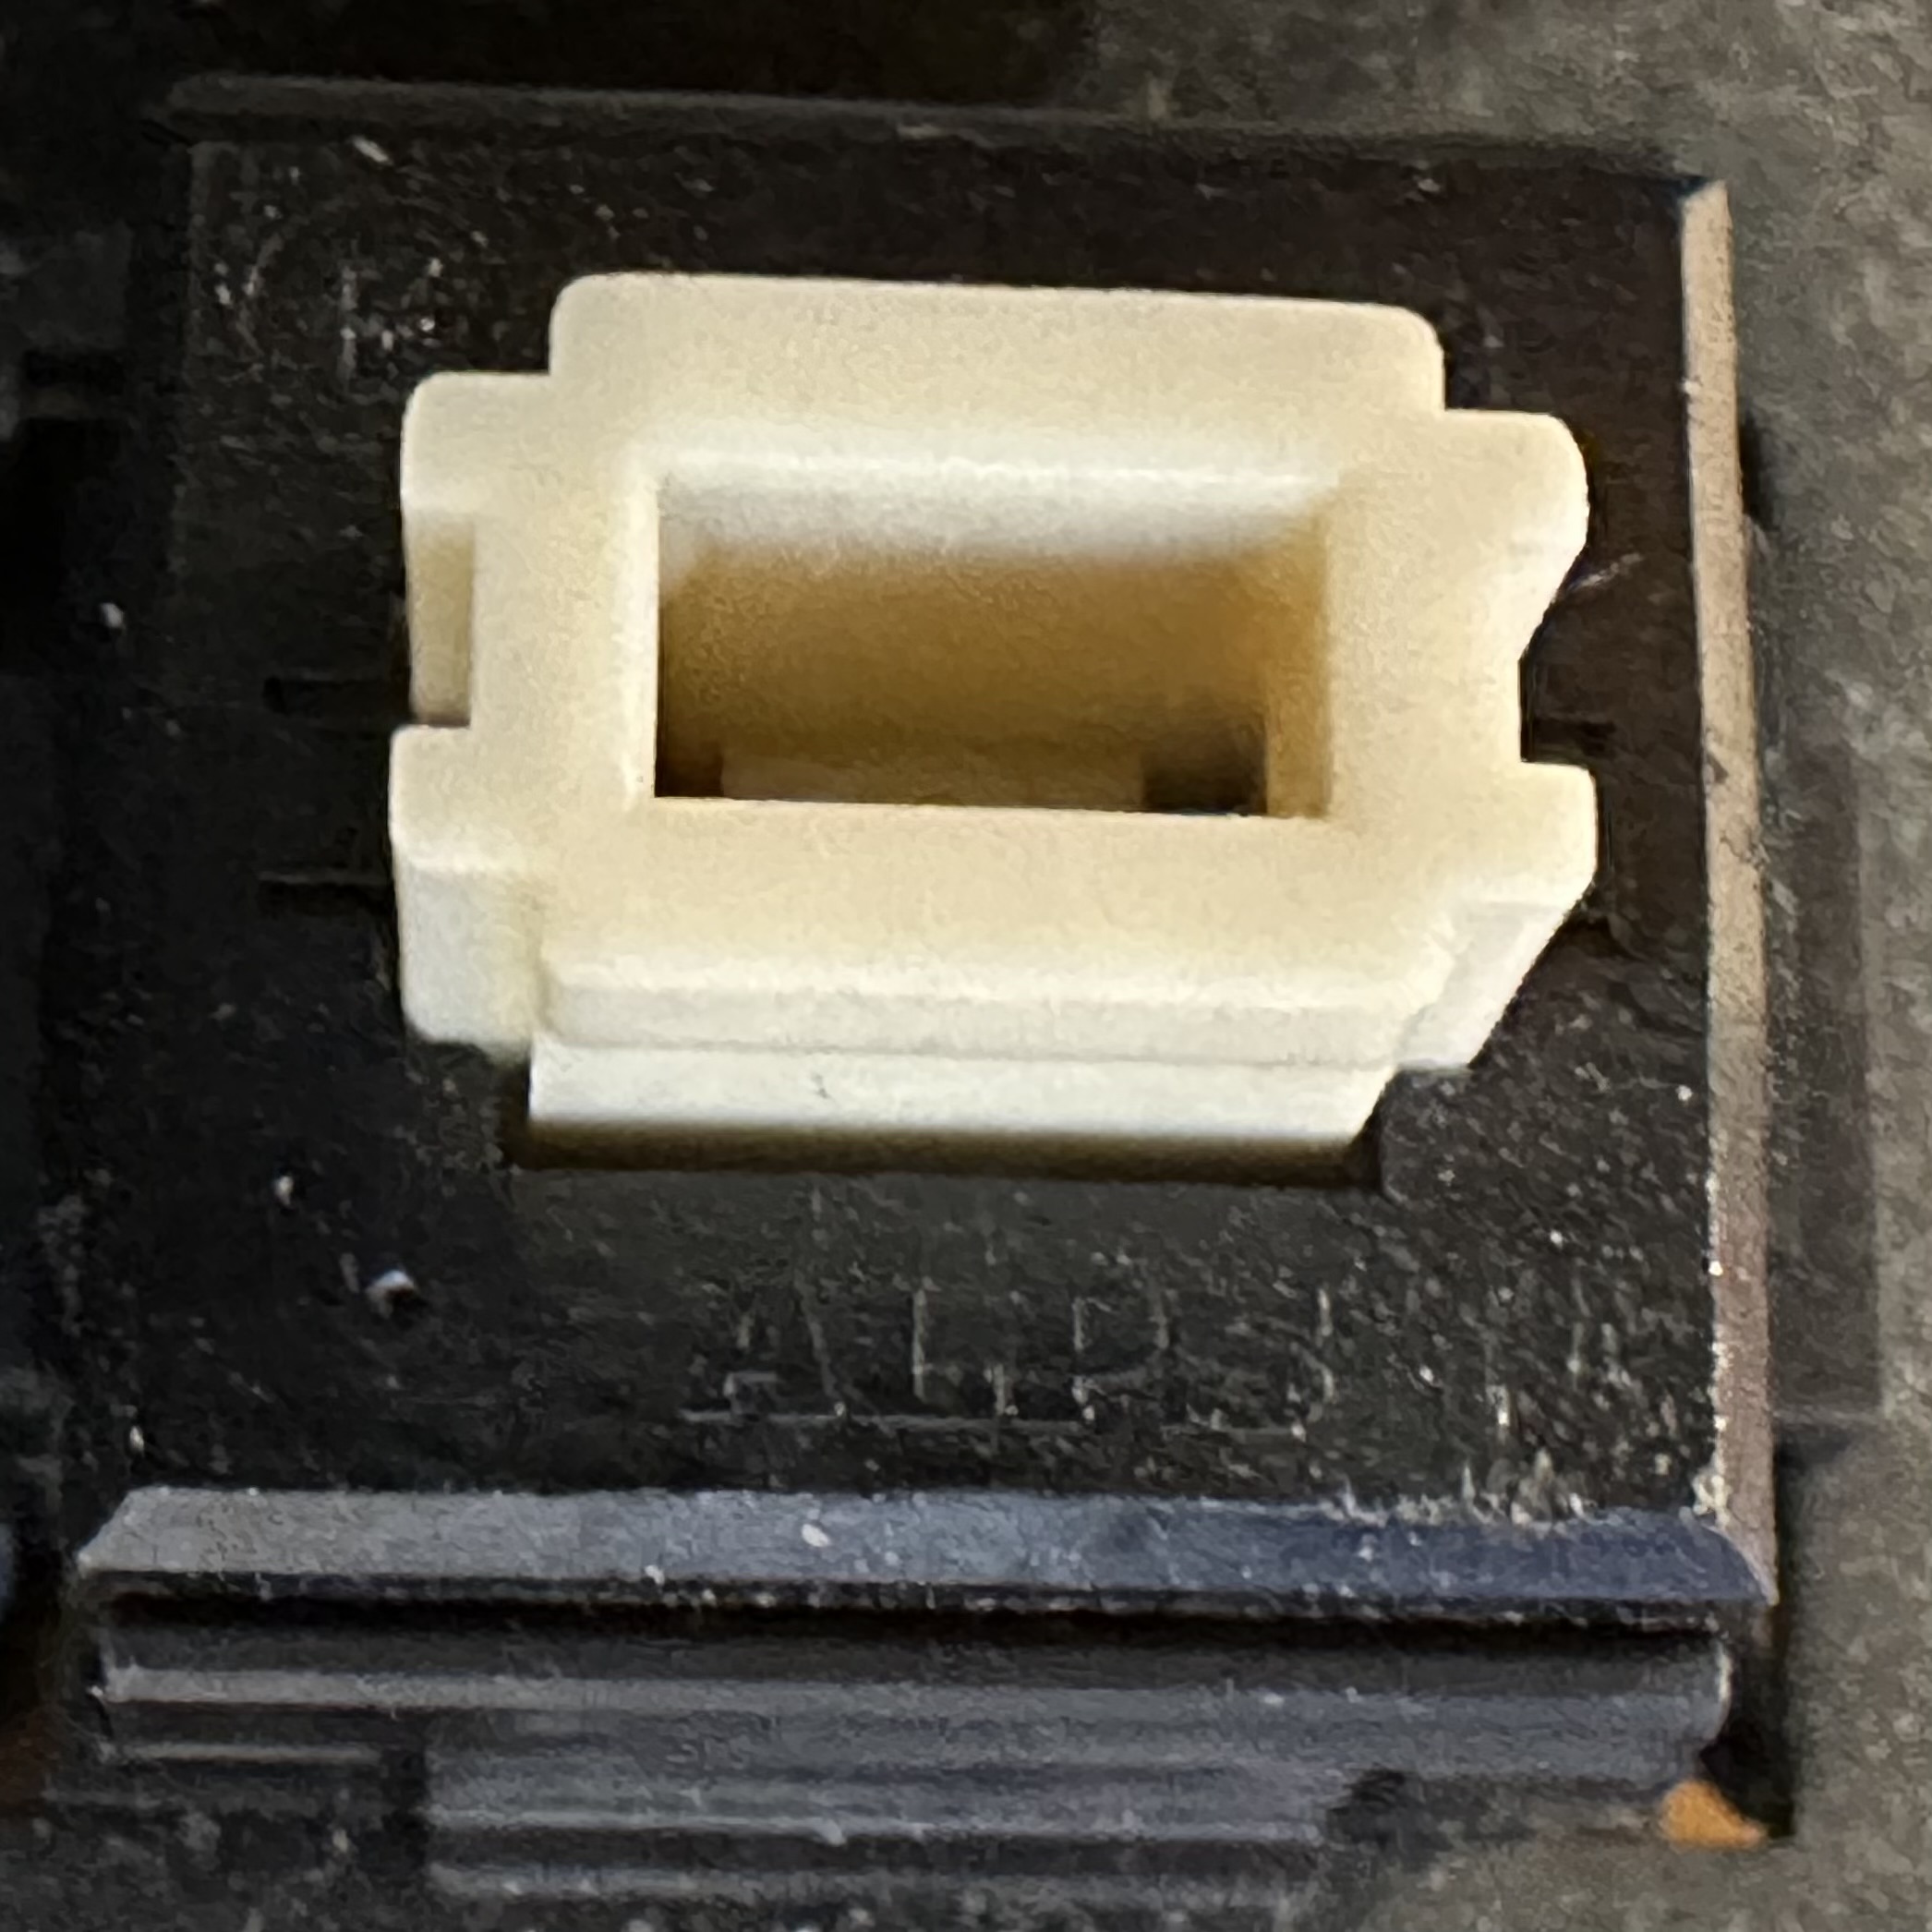
The NeXT keyboard uses ALPS cream axes. The light click feeling is very addictive.
(For more information about ALPS axis, please visit this site.)
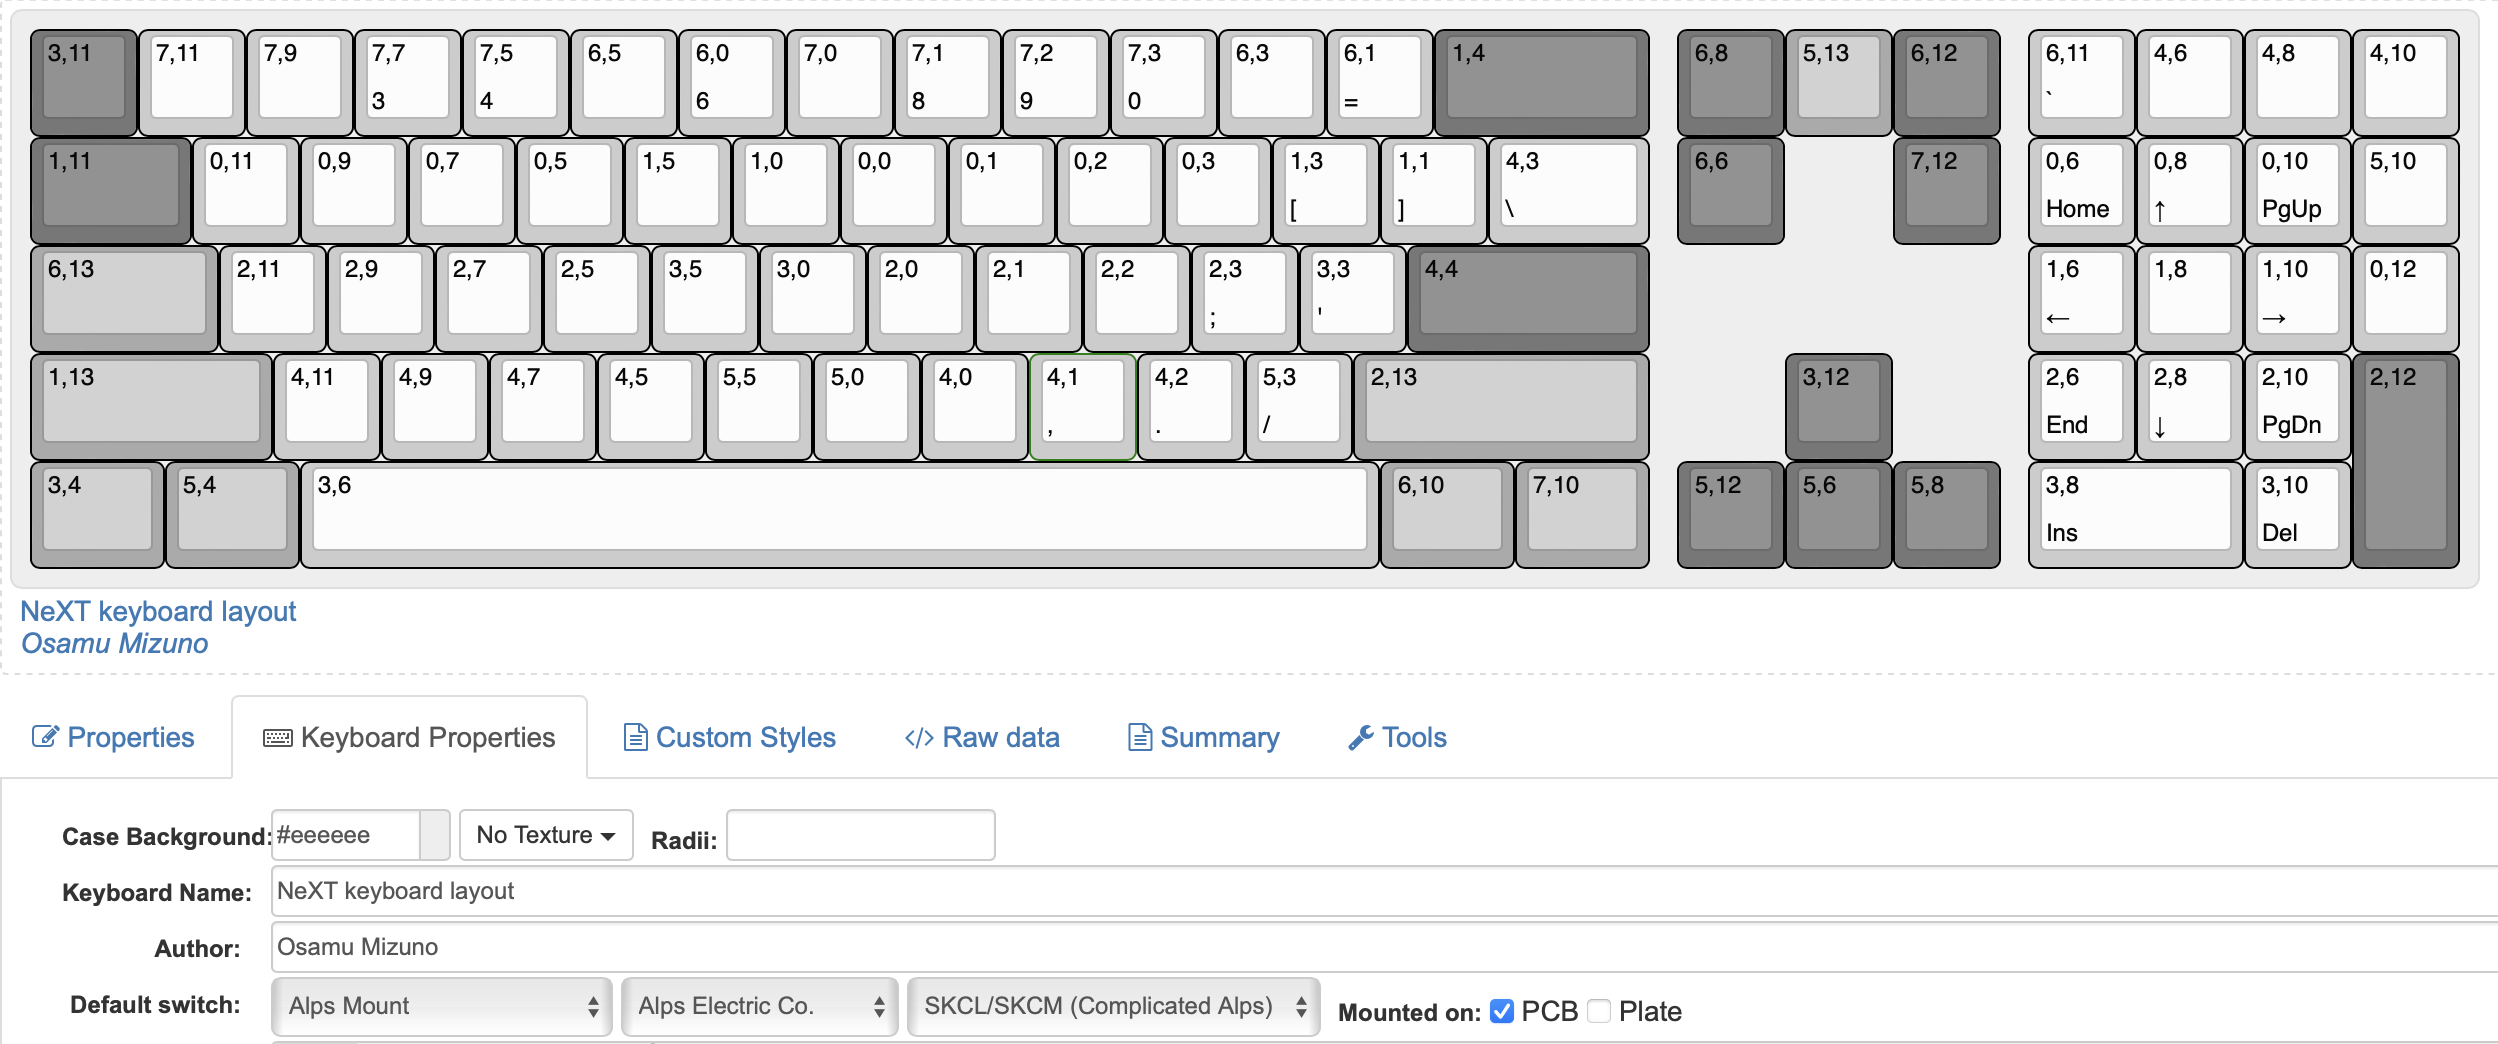
Matrix Analysis
The above of the following figure shows the matrix of a PS/2 keyboard that I had posted on my web page 20 years ago.
The matrix was so extravagantly constructed that it would have required 25 matrix pins as it is.
I was able to reduce the number of columns by three, since the columns can simply be merged where they do not conflict with each other even if they take ORs (see the bottom of the figure). (bottom of the figure).
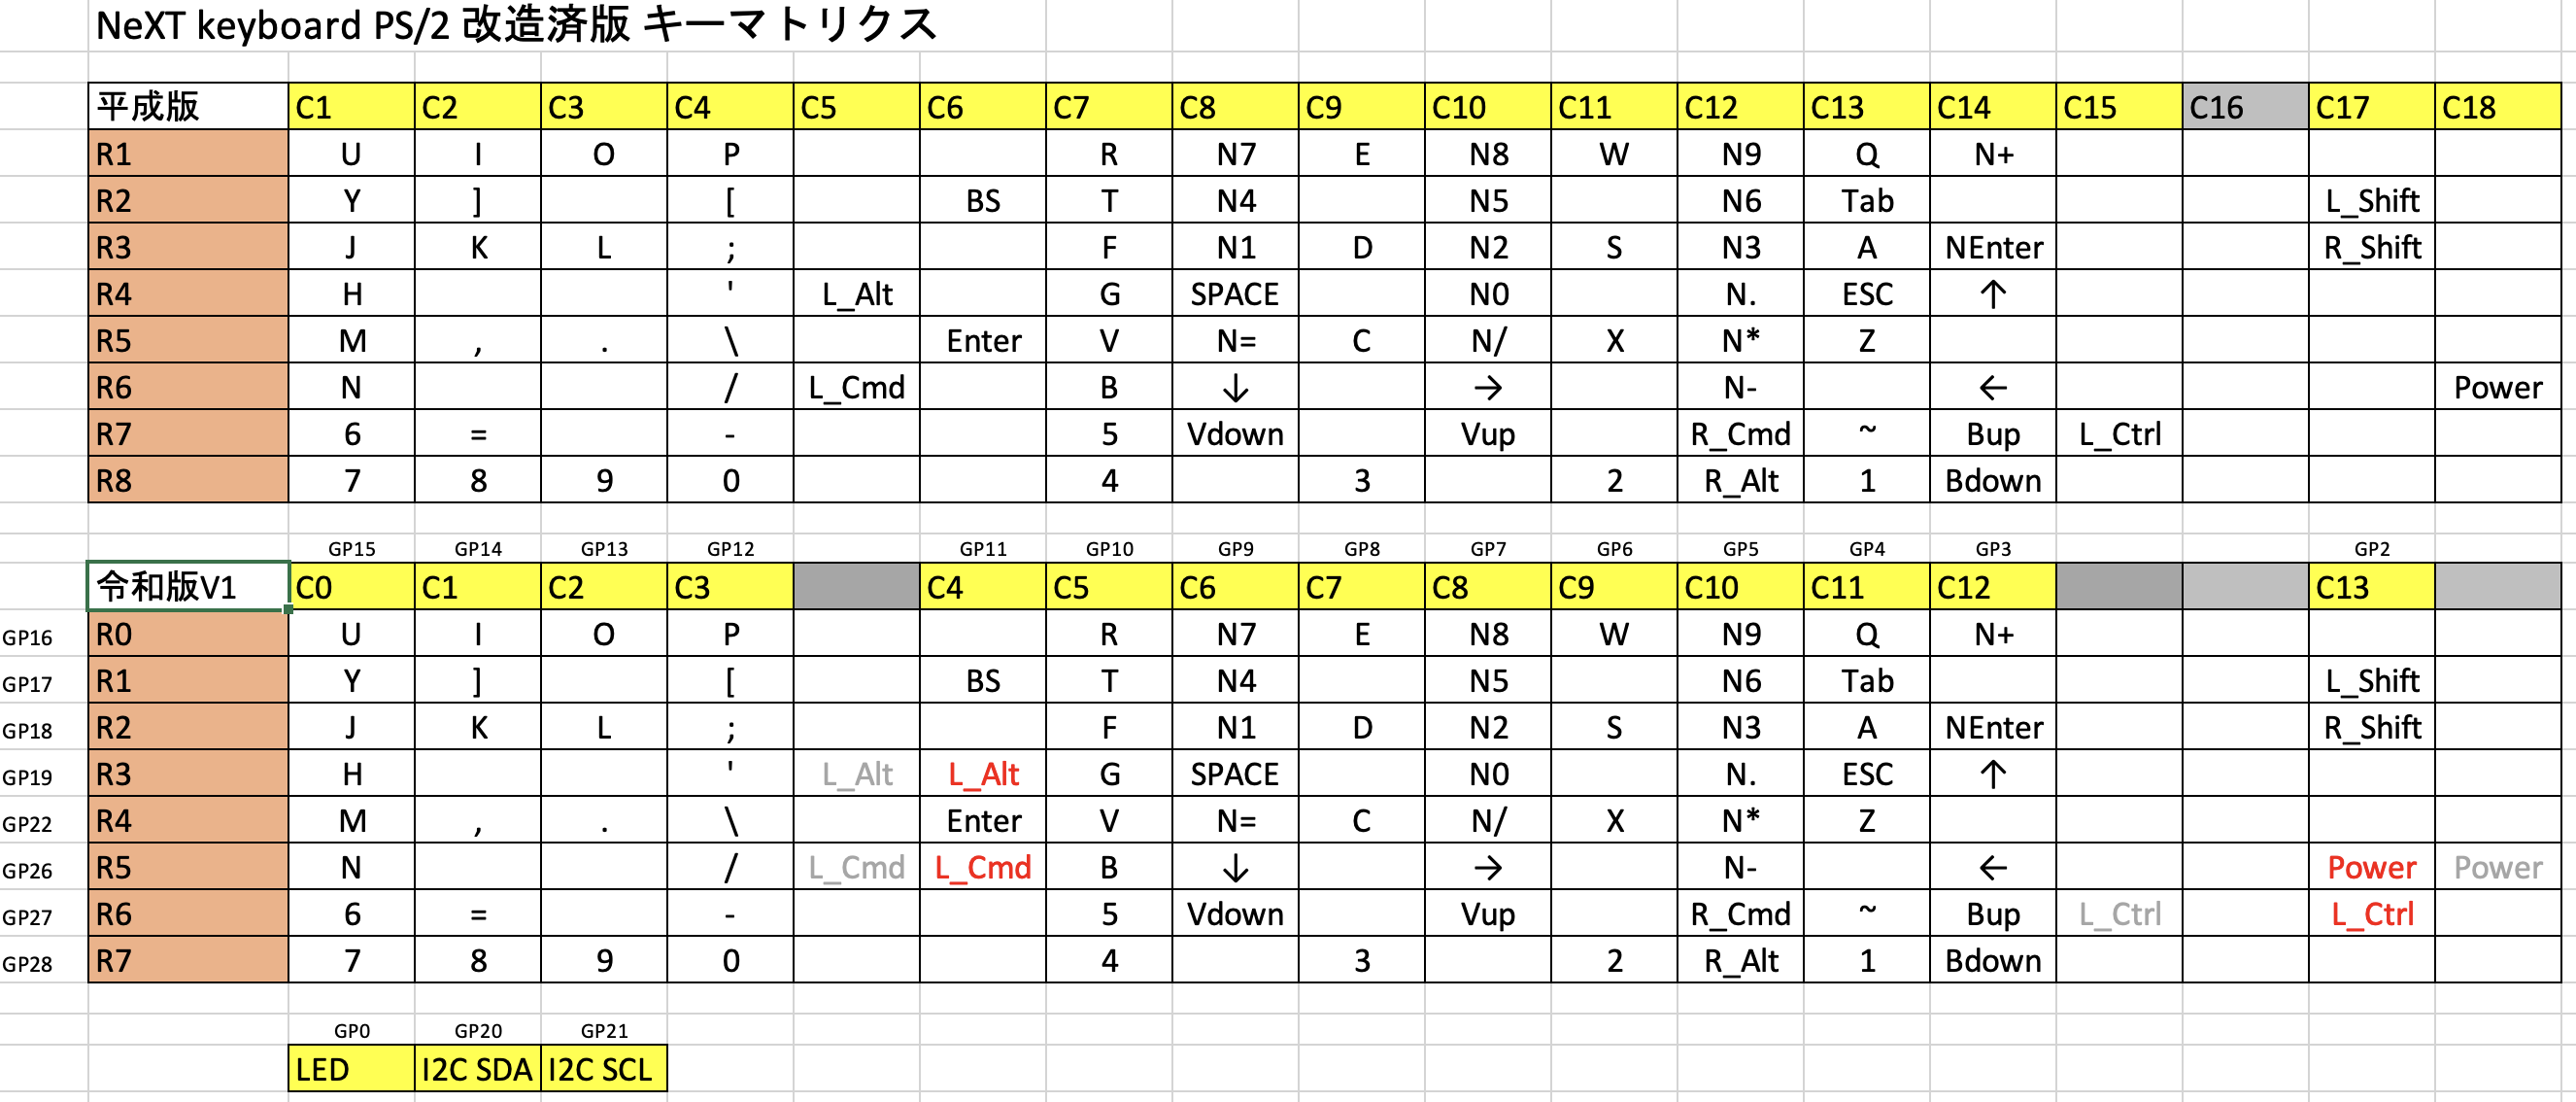
This still requires 22 GPIOs.
The Pi Pico has 26 GPIOs, so there are still 4 GPIOs left over for this application. We can increase the number of functions by allocating them to LED driving and I2C.
Hardware creation
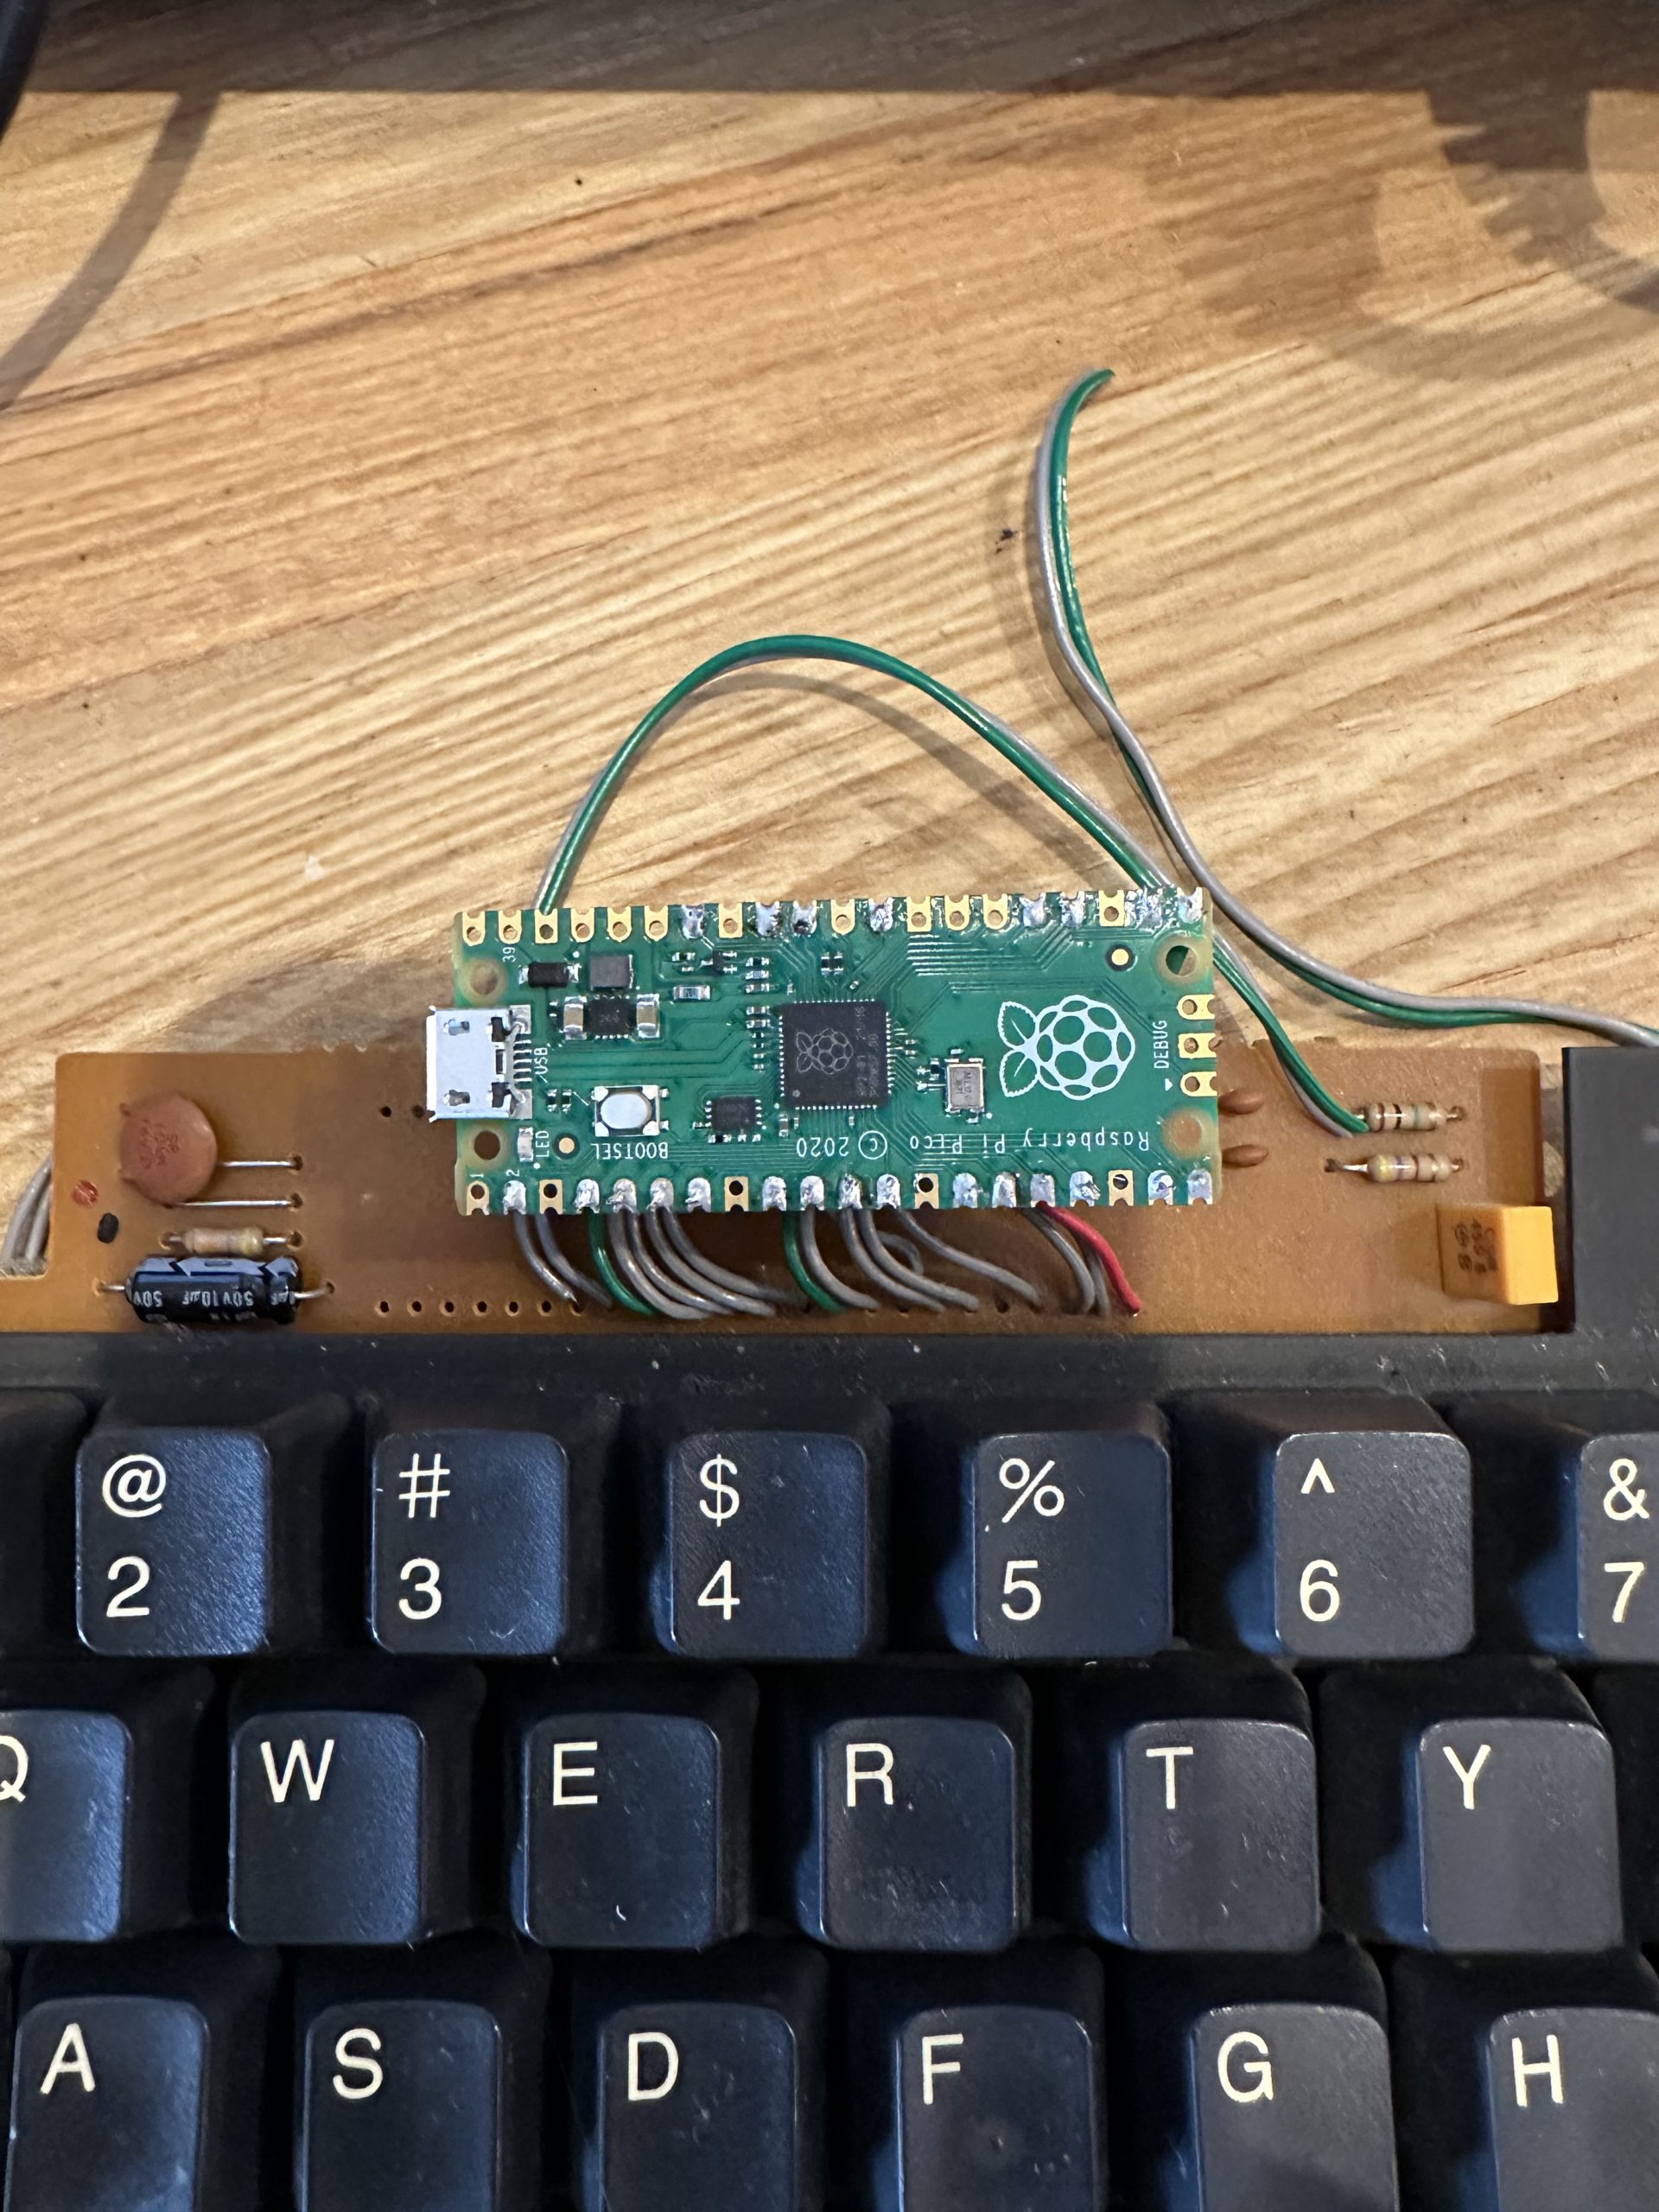
Put Pi Pico on the board.
Cut the razor cable connected to the PS/2 controller, and connect it to Pi Pico’s GPIOs.
This is the first prototype, so we soldered the cable as it is, but it would be better to make the cable removable with a socket.
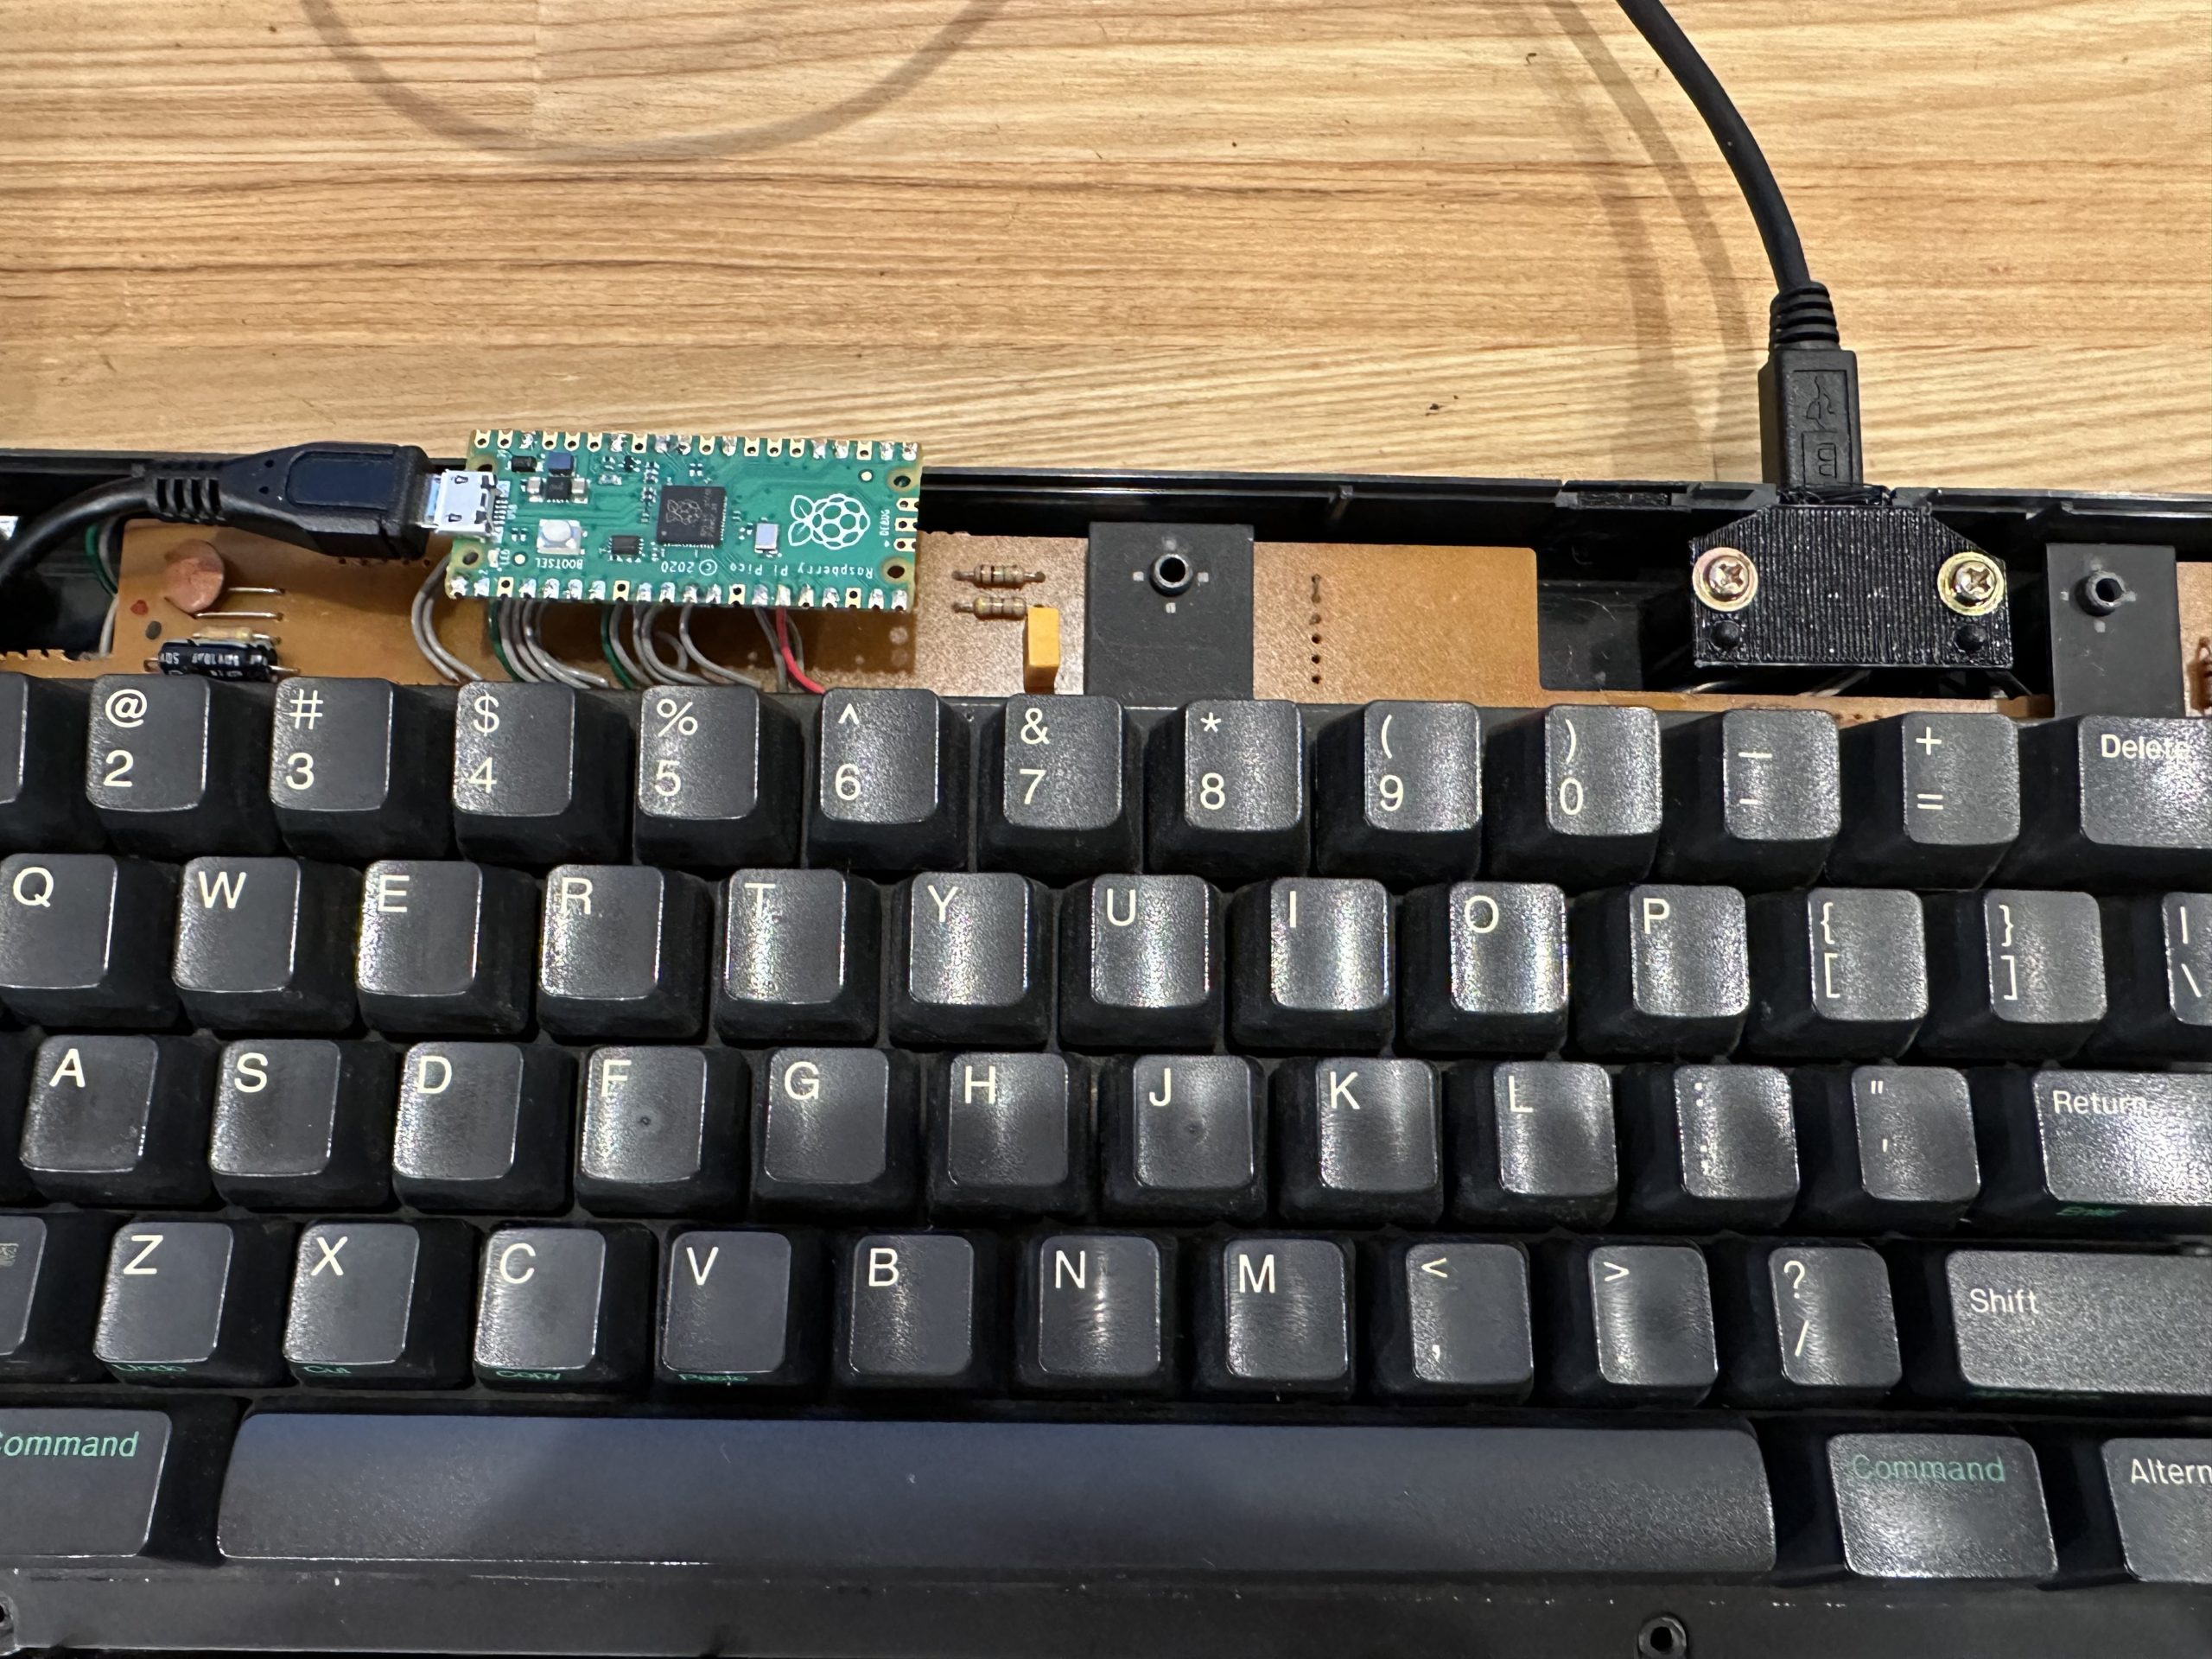
Install the USB terminal
3D print the base of the Pi Pico and make the USB port. The photo shows the prototype in red, but the final model will be in black.

The final shape looks like this. Compared to before modification, it looks much cleaner now that the extra board is gone.
Configuration of QMK
Configuration of the keyboard
- Define MATRIX_HAS_GHOST for a matrix without diodes, like this keyboard.
- The LED of CapsLock is controlled by GP0.
Keymap
The keymap is written in the same way as the previous matrix.
- Use NeXT Power key as Fn key.
- Page up, Page down for Volume up, Volume down (Fn key is the original function)
- Brightness up, Brightness down as Home, End (press Fn for original function)
- Fn + number” for “F1~F10
- Left Command key alone for “Eisuji”, Right Command key alone for “Kana
- The left Command key alone is “Eisuji”, the right Command key alone is “Kana”, and so on.
- The Esc area is somewhat special, with a single press of Esc, Shift + Esc for “~”, and Shift + Alt + Esc for “`”.
The correspondence between the GPIO and the matrix to be used is written in info.json.
Creating graphical key layout with KLE
Create a layout in KLE for GUI when you change the key layout in VIA or Remap.
The key is to write the coordinates of the matrix in the Legend of the keytop.
The matrix of the PS/2 controller does not match the physical layout at all.
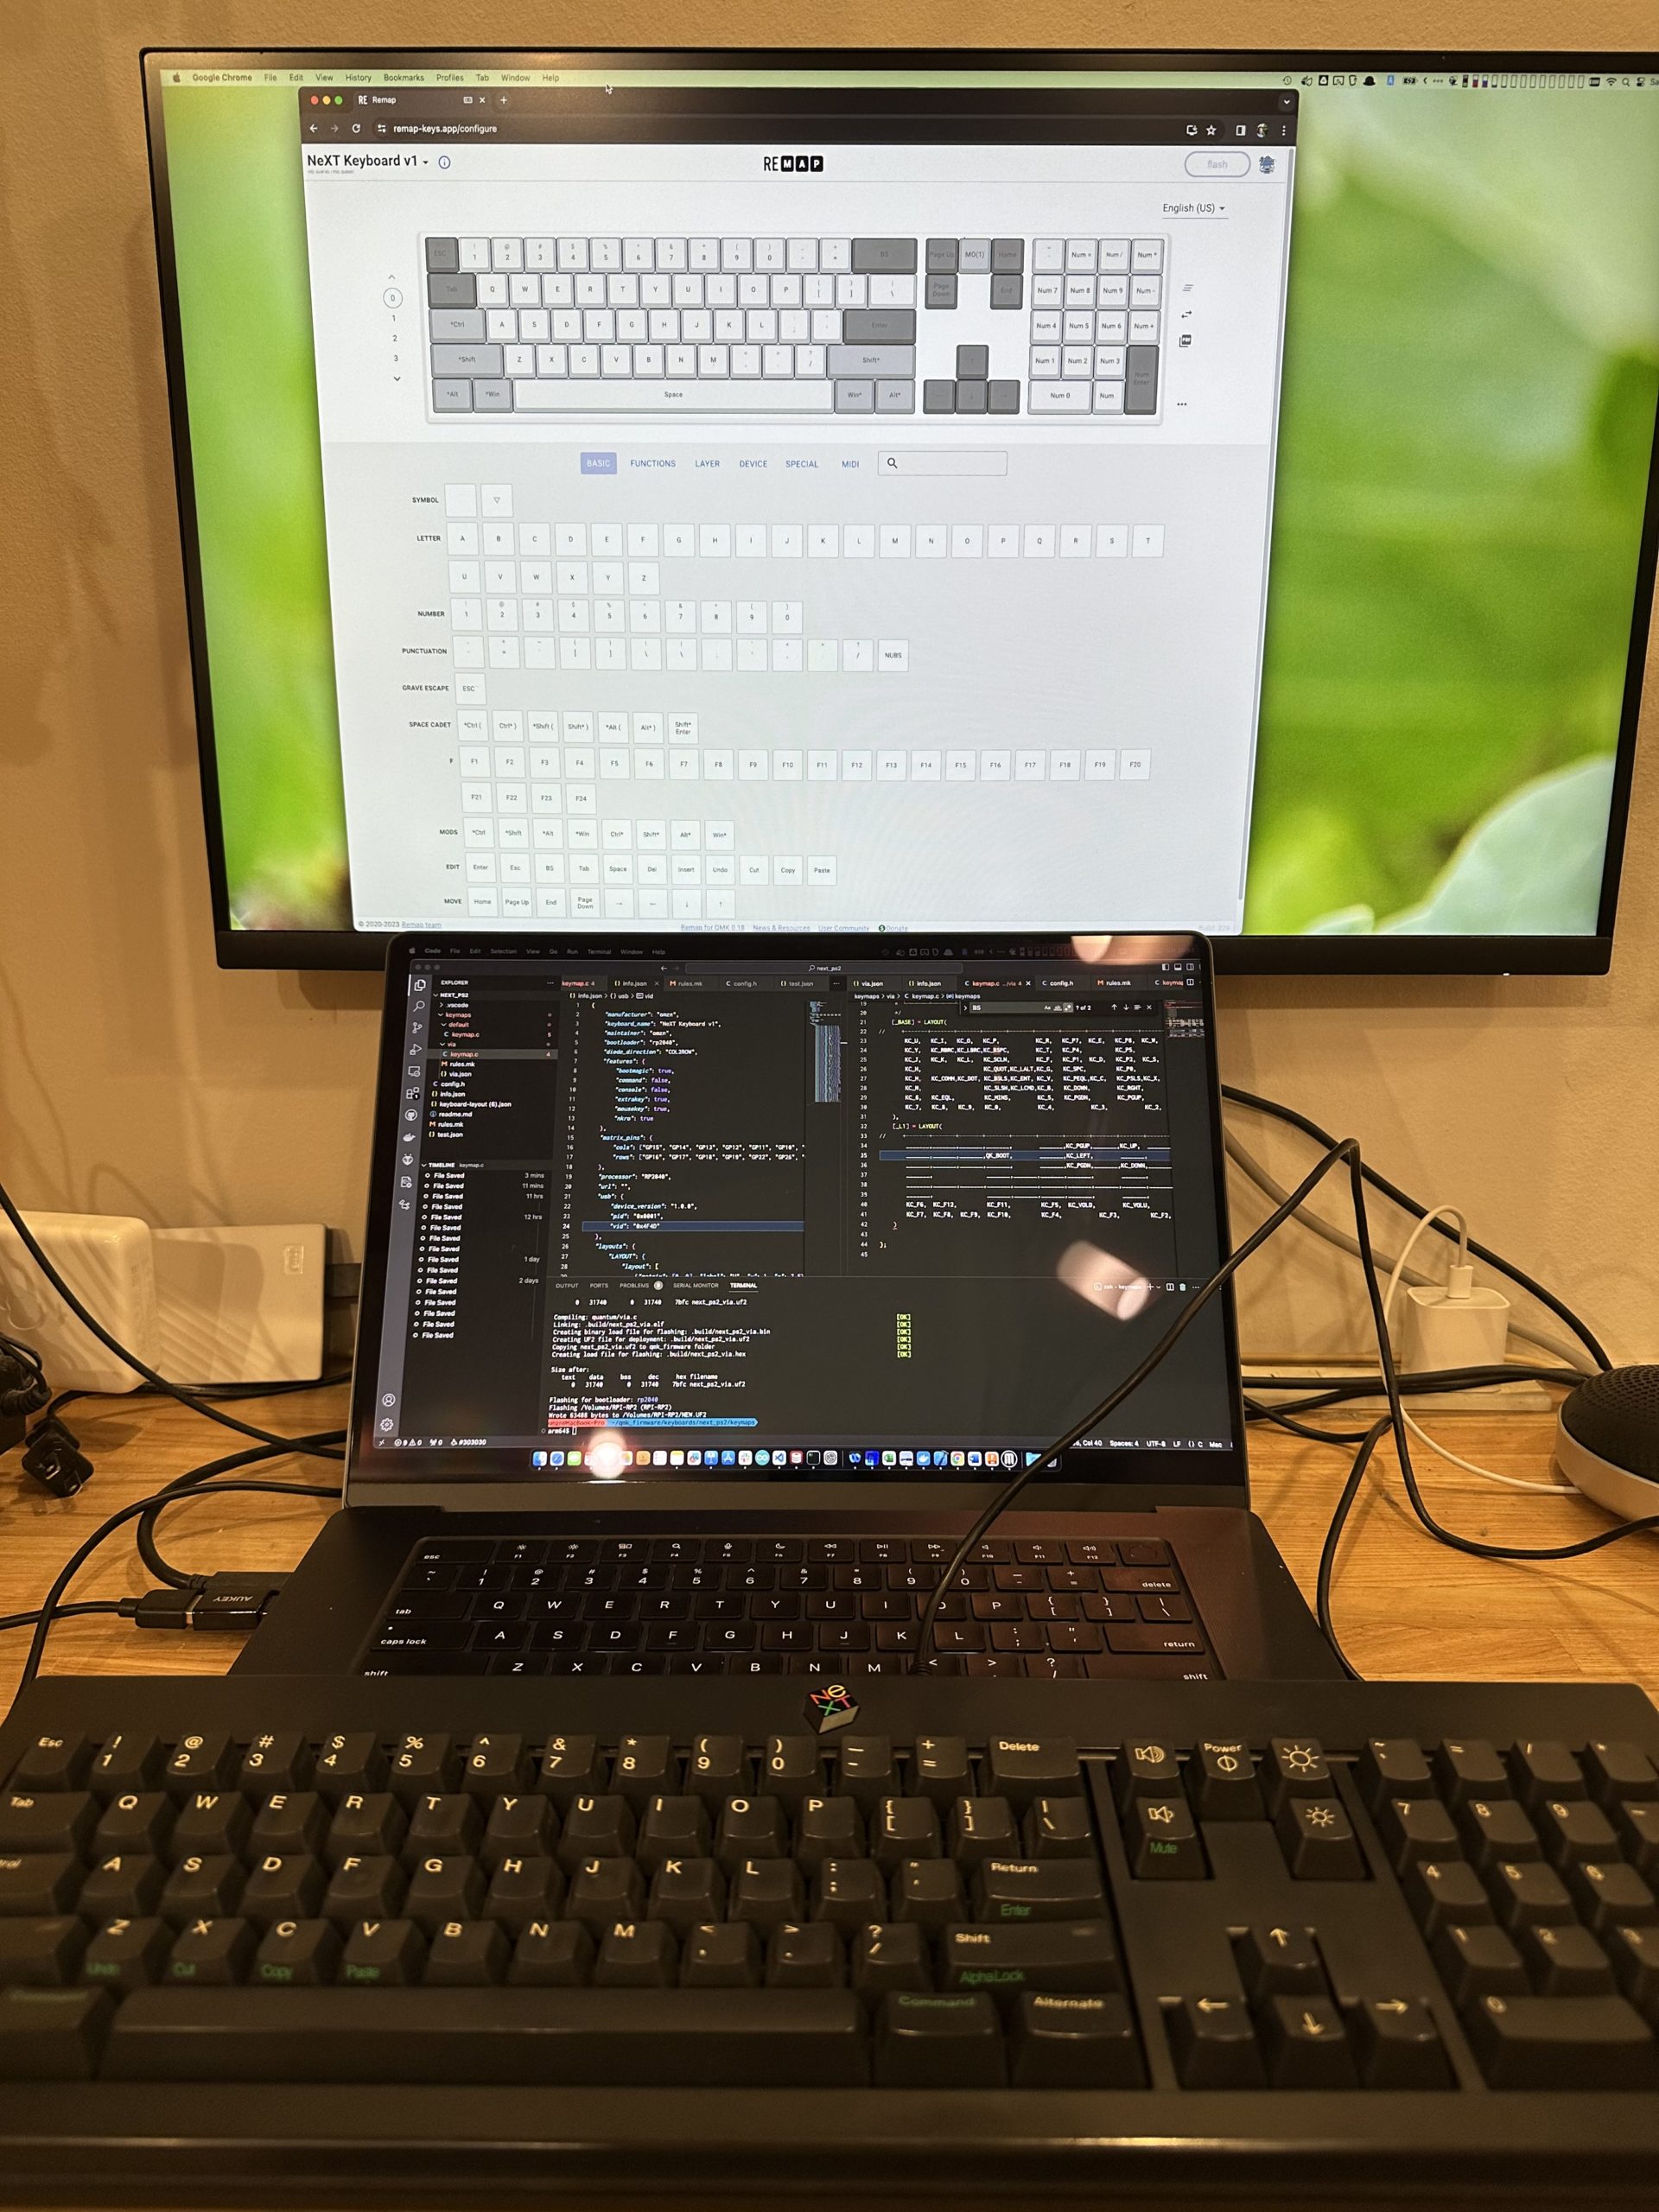
Setting up VIA
Create via.json file. This is used to change the keymap in GUI with tools such as Remap.
The contents of this file contains the key arrangement data created by KLE, the keyboard name, Vender ID, Product ID, and matrix of matrix.
The keyboard is ready to use!
After burning the firmware, the keyboard should be ready for use.
qmk flash -kb next_keyboard_v1 -km via
The source code is available on GitHub.
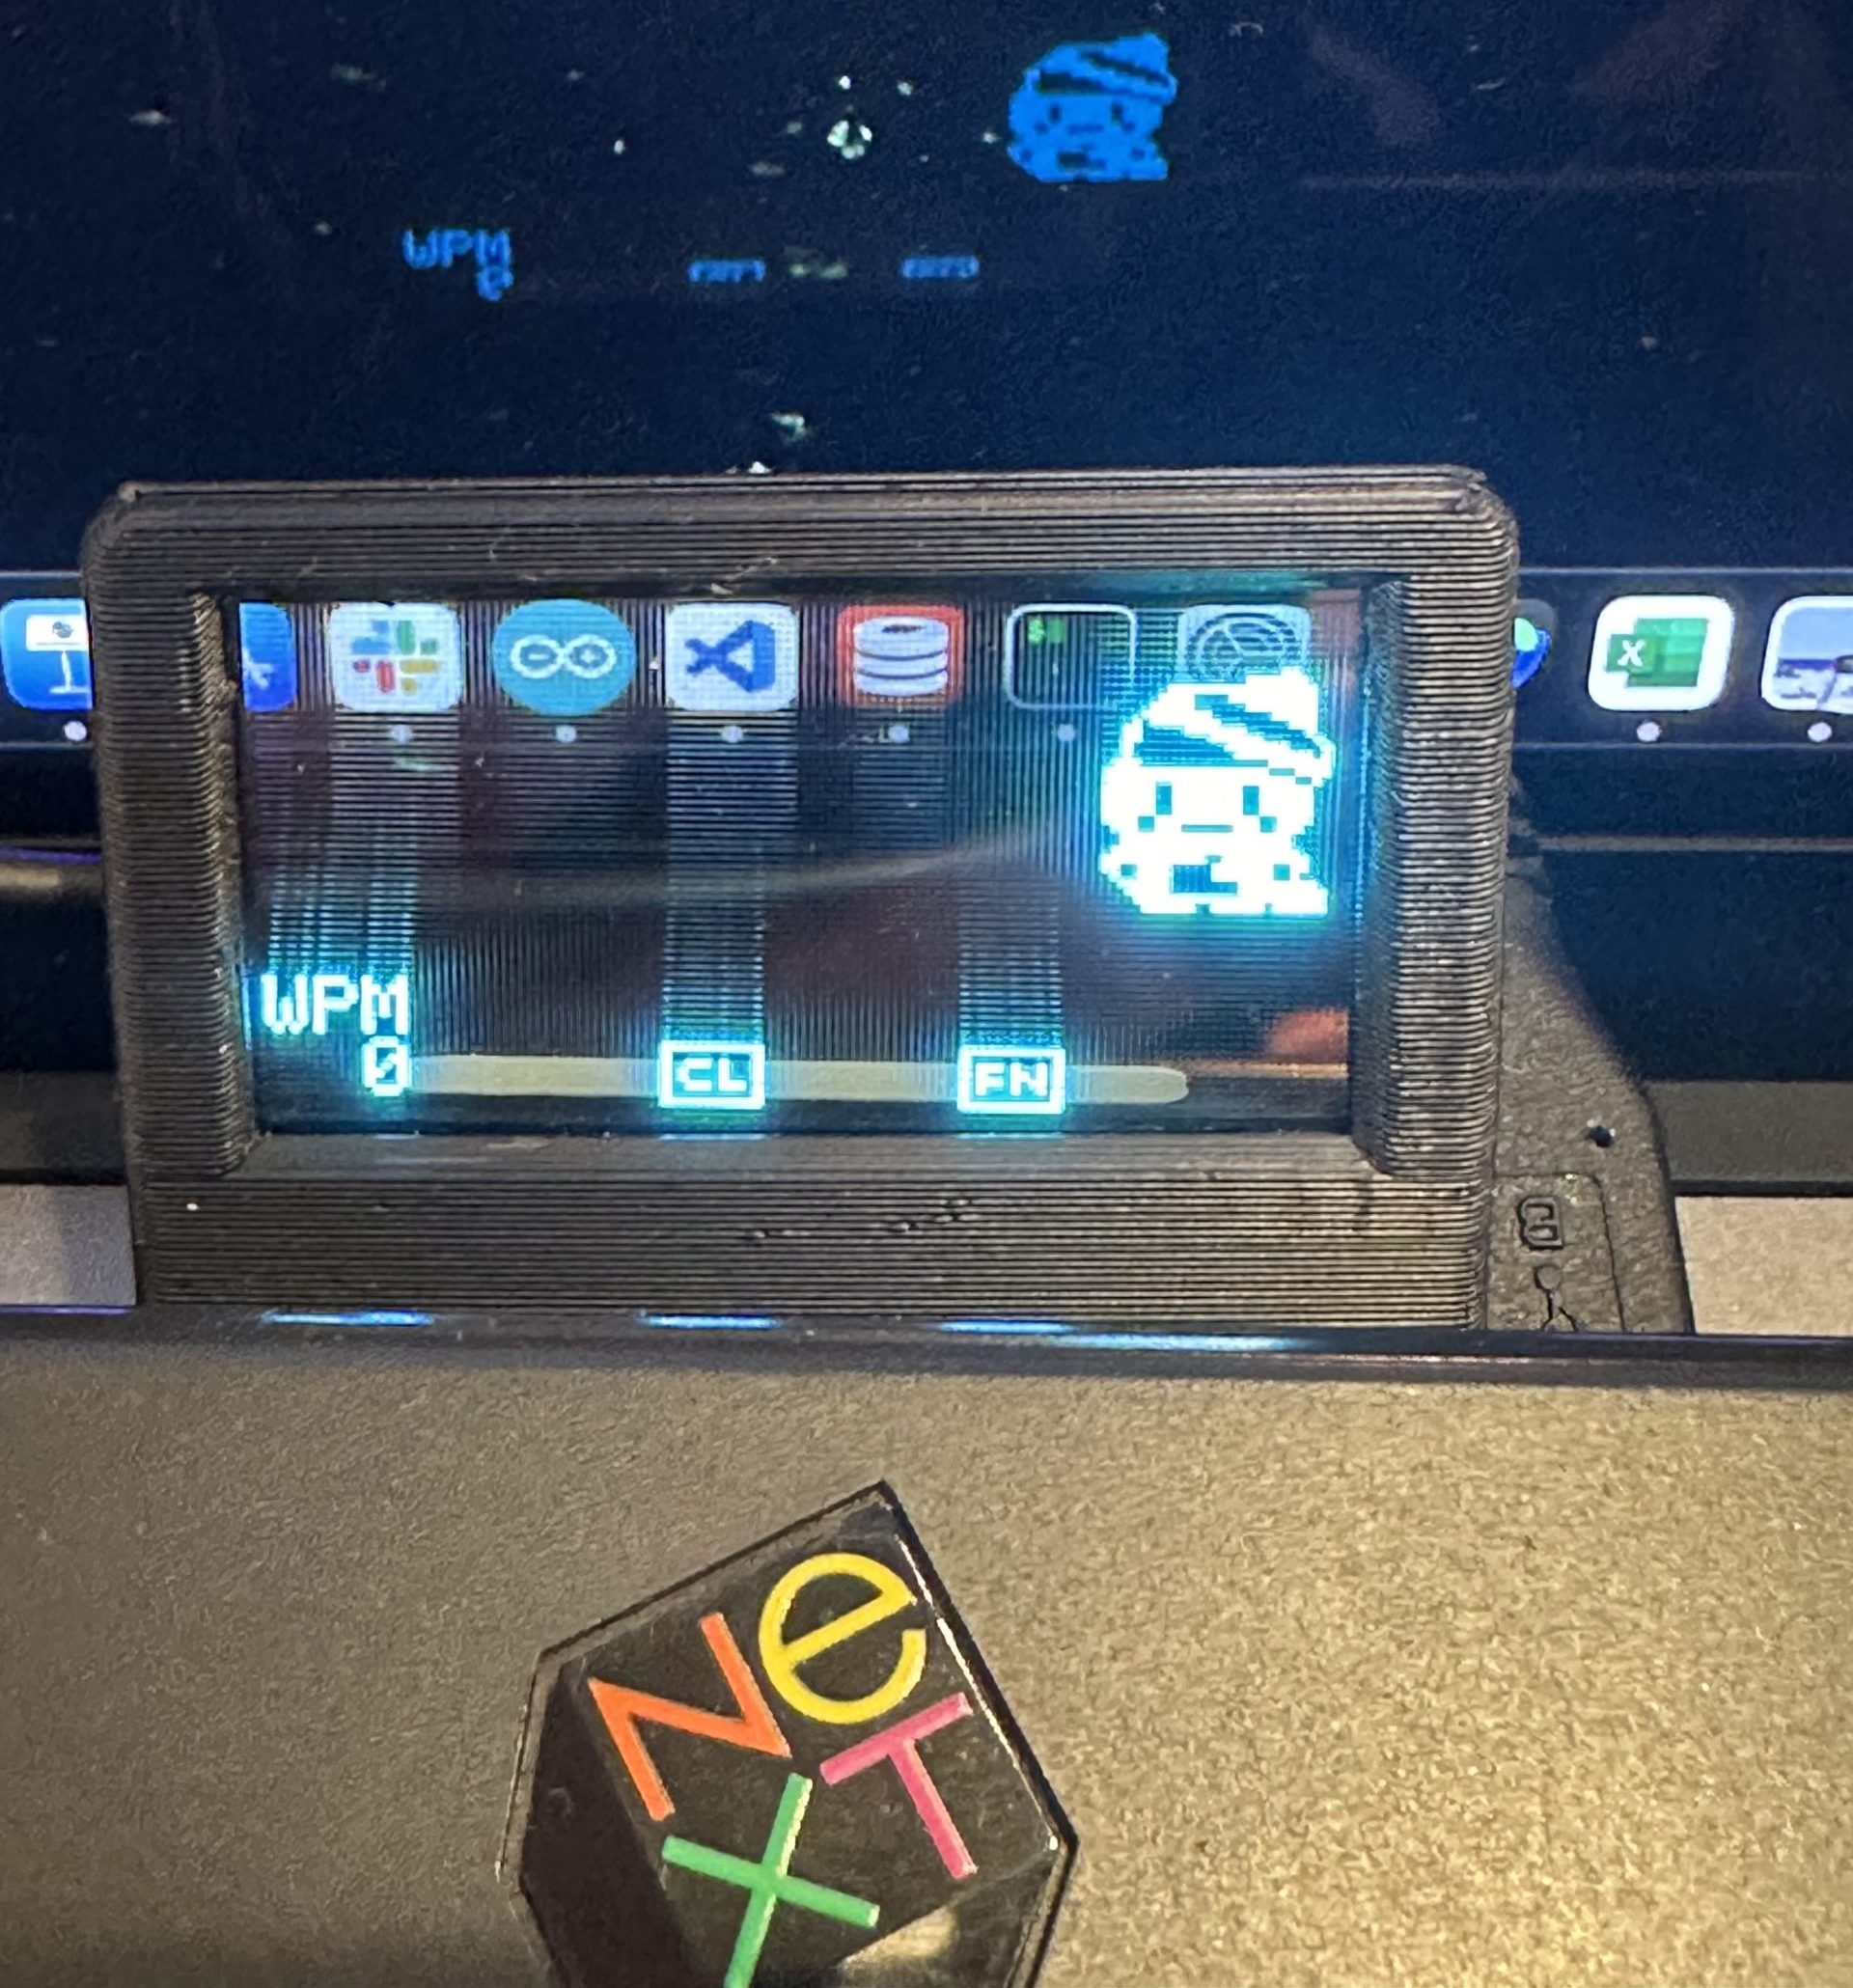
(Extra) Adding an OLED panel
The keyboard by itself is a little bit lonely, so I added a HUD-like display using a transparent OLED. This is a bit of a long story.
Actually, this story was just a prelude.
The main story will be in the next article.
See you!