Build Your Own Leopard Gecko Incubator
This is the 8th day of Studio Aquatan 2023 Advent Calendar.
Hello, this is omzn, the lizard professor.
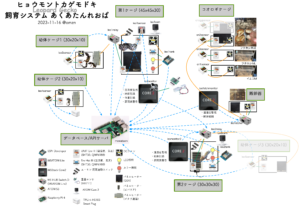
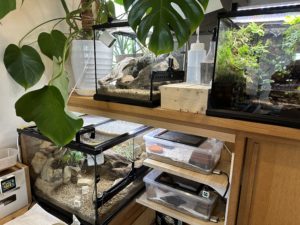
I have been keeping Leopard Gecko since last year, and have been managing it by borrowing a part of Akuatan system. (Click to enlarge) This system is now much larger than the aquarium.
there are four cages for lizards…
Today’s topic
This year, my leopard lizard started to lay eggs, so I made an incubator after much trial and error.
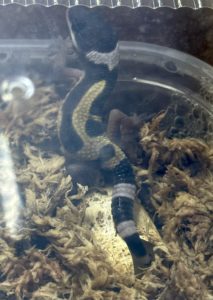
The first eggs hatched in my incubator, so I am recording them here.
Leopard Lizard Eggs
The leopard gecko generally lays two eggs per brood.
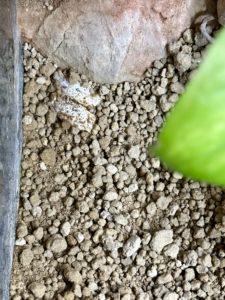
The eggs are laid in an egg-laying site created by digging up the bottom floor of the cage and then backfilled, so they can be dug up and transferred to the incubator. After the eggs are retrieved, the laying female still tries to hide them by covering the area where she laid them with soil, but it is a futile effort….
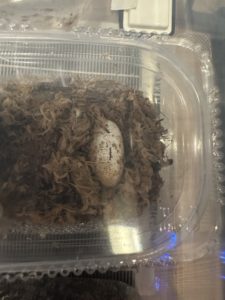
The eggs have soft eggshells that feel fluffy when touched. If the egg is accidentally rolled or dropped, it will die, so I mark with a magic marker where the egg was on the top when I dug it out. After that, always store the eggs with this mark on the top.
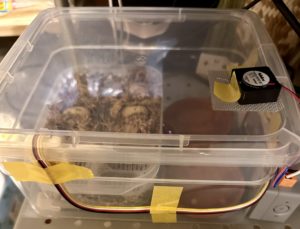
The incubator is placed in a Tupperware container lined with moss. Check manually from time to time to see if the moss is keeping the eggs moist.
Management of Leopard Lizard Eggs
It is recommended that the eggs of the Leopard Lizard Monster be maintained at a temperature of 26°C to 34°C and a humidity of 80% to 90%. Depending on the temperature, it is said that the eggs hatch in 40 to 70 days.
Since it is quite a long process, it is best to keep the eggs in a quiet place with stable temperature and humidity. The eggs hatched in 53 days after being kept at 28°C. Two more eggs hatched around 53 days later.
Humidity
If the humidity is not sufficient, the eggs will dry out and die. If the humidity is too high, the eggs will dry out and die, and if the humidity is too low, they will become moldy.
Therefore, I would like to keep the inside of the incubator at a constant humidity level. As for humidification, the incubator will be humidified on its own if we place something containing moisture (such as water moss) inside the incubator without doing anything in particular, so we will build the incubator with the policy of reducing the humidity that has risen too high.
Temperature
Temperature-dependent sex determination (TSD) determines sex according to the temperature during incubation[1].
(Note that if the incubation temperature is kept below 28°C, almost 100% of the eggs will be female.)
Therefore, temperature control is essential if the sex is to be fixed.
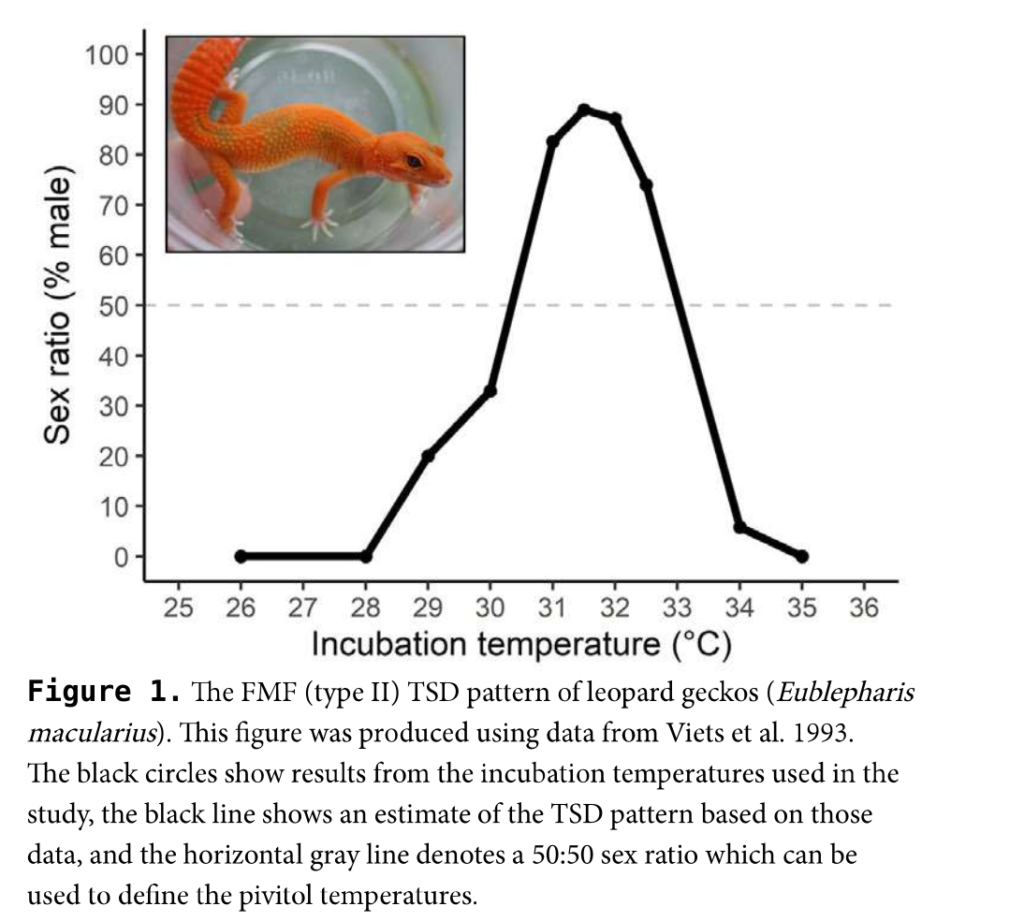 ヒョウモントカゲモドキの温度依存性決定([1]より引用)
Temperature-dependent determination of leopard geckos (quoted from [1])
Regardless of the sex, the temperature should not fall below 26°C, so some kind of heat-retention device is necessary. Here, I use a sheet heater to keep the temperature on the higher side. In my breeding environment, the room temperature is always around 26°C because the entire building is air-conditioned 24 hours a day. Therefore, in environments where the room temperature is too high and cooling is necessary, cooling must be taken into consideration.
Installation of the incubator
According to the above management policy, a mechanism to control the temperature and humidity inside the incubator is to be built.
The required components are as follows
- M5 HUB Switch D (2-channel 100 VAC relay)
- M5ATOM Lite (M5 ATOM S3, M5 ATOM S3 Lite, or any other type)
- DC fan (5V drive)
- ENV III Unit (SHT30 temperature/humidity sensor)
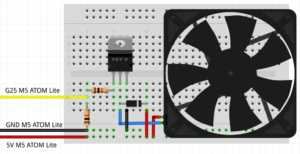
- MOSFET (2SK4017)
- 10kΩ resistor x 2
- Sheet heater
- DAISO shoe case
The main body of the incubator is a small shoe case from Daiso. A regular sized shoe case would be fine, but it may be too wide to hold the incubator. Also, the small size may be available only at larger Daiso stores. The small size can hold up to 10 eggs, and since it is 100 yen, there is no hesitation in processing the material, which is very good.
For humidity control, a fan is mounted.
Send PWM to the MOSFET through pin 25 of M5ATOM Lite to turn the fan in steps of 0 to 255. (Actually, the fan will not turn unless the PWM is set at about 65 because electromotive force is required.)
The fan is installed in a hole in the incubator lid, and the fan is turned in a direction that releases the internal moisture to the outside.
The humidity is measured by the ENV III Unit’s SHT30. The temperature and humidity can be easily obtained with this temperature/humidity sensor.
The fan is driven by PID control using humidity as an input. Since humidity is sensitive to fan operation, the humidity acquisition interval is as short as 2 seconds. In reality, it would be fine to simply turn the fan ON and OFF at a threshold value, but the following code is used for study purposes.
int Fan::manageByHumid(float h) {
  const float dt = 2;
  const float kp = 10, ki = 1, kd = 10;

  static float diff_p = 0, diff_c = 0, integral = 0;
  float p, i, d;
  int prev_power = fan();

  diff_p = diff_c;          // 湿度の差 (%)
  diff_c = h - _target_humid;  // 湿度の差 (%)
  integral += (diff_c + diff_p) / 2.0 * dt;
  integral = integral > 50 ? 50 : (integral < -50 ? -50 : integral);

  p = kp * diff_c * (diff_c < 0 ? 5 : 1); // 1 % で pwm 10 :負の時は x 5
  i = ki * integral;                //
  d = kd * (diff_c - diff_p) / dt;  // 1% で pwm 10
  float power = p + i + d;
  int ipower = constrain((int)power, 0, 255);
  DPRINTF("humid: %.1f, target: %.1f, power: %.1f (%3d)\n", h, _target_humid, power, ipower);
  fan(ipower);
  return (ipower && !prev_power || !ipower && prev_power);
}
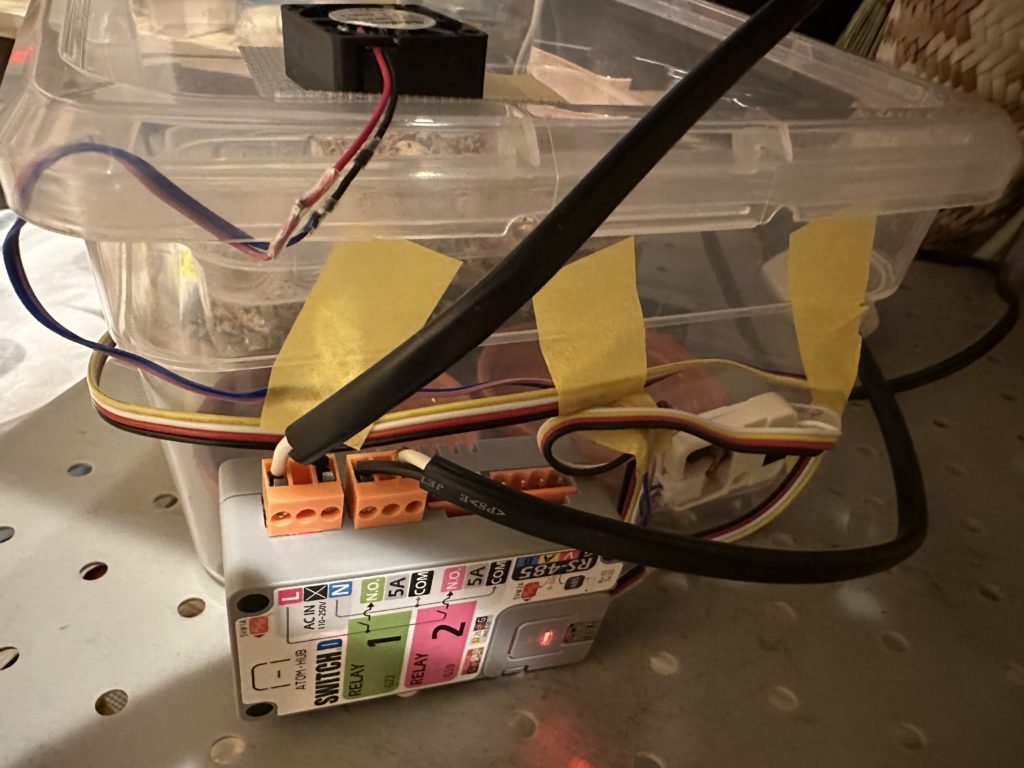
The temperature is controlled by driving the seat heater with an AC relay.
Using M5 HUB Switch D allows ATOM Lite to run on a 100 V power supply, eliminating the need for extra wiring.
The second GROVE connector on the body of the M5 HUB Switch D has pin 25, so the fan circuit described above can be made at the end of this GROVE connector. Since the temperature change is not as short as the humidity change, the upper and lower thresholds are set to control the ON and OFF of the fan.
The final appearance will look like this.
The software will use a general-purpose environmental sensor system that is being developed by myself. This system is very useful because only the modules to be used can be enabled by the software. I am also building a server that records temperature, humidity, etc. using Raspberry Pi.
Incubator Monitor
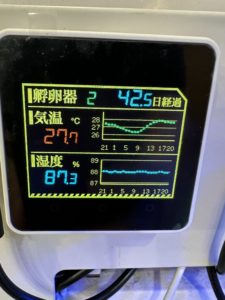
An incubator monitor is also created to record the current temperature and humidity, the history of the incubation, and the number of days the eggs have been incubated.
The first eggs were kept in the living room next to the lizard cage, and the second and later eggs were moved to a storage room, where the humidity was more stable due to the lack of human activity.
Young leopard geckos
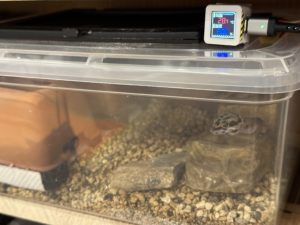
The same system can be used for rearing juvenile lizard cages, since the juvenile lizard needs a higher temperature and humidity environment than the parent. The cages are also made from Daiso shoe cases.
The humidity of the cage is set to keep the humidity at about 70% to 80%, and the current status is displayed on the LCD of M5 ATOM S3.
Crickets
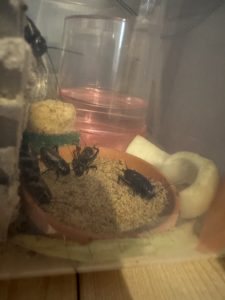
The same system can also be used to maintain crickets. This year, I have been able to keep three generations of Dipterocarpus crickets by using this system. (ongoing).
The crickets are kept at about 60% humidity, but they are still doing well.
I hope the cricket farm will continue this year…
